
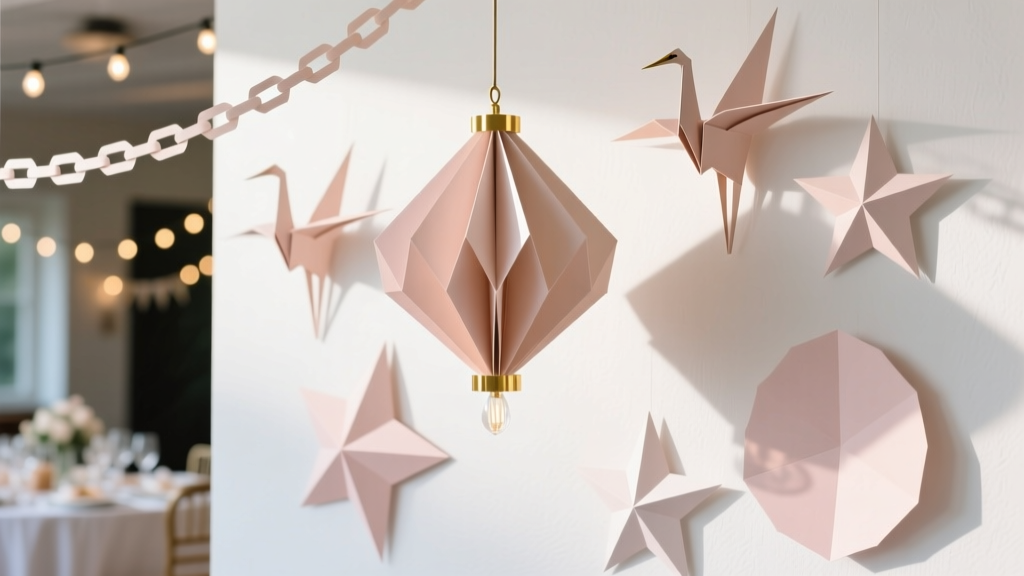
Advanced Paper Lanterns for Crafters
Paper lanterns are one of those party decorations that instantly change the vibe of a room—cozy for a backyard dinner, bright and playful for a birthday, or elegant for a wedding shower. They’re lightweight, budget-friendly, and endlessly customizable, which makes them perfect for DIY enthusiasts who love making decor that looks store-bought (but feels personal).
This project is especially fun because you can scale it to your skill level. If you’re newer to paper crafts, you can stick to simple cut-and-fold lanterns with LED tealights. If you’re experienced and ready for a challenge, you can add layered cutwork, vellum windows, ombré painting, or sturdy internal frames that hold their shape all night.
Grab your cardstock, clear a little table space, and get ready to make handmade party decorations that guests will ask about—then copy for every celebration on your calendar.
Project Overview: Skill Level, Time, and Best Uses
- Skill level: Intermediate to Advanced (Beginner-friendly options included)
- Time estimate:
- 1 lantern (basic): 25–40 minutes
- 1 lantern (advanced layered/cutwork): 60–90 minutes
- Set of 6 (assembly-line style): 2–4 hours
- Best for: birthday parties, weddings, baby showers, graduation parties, holiday tablescapes, patio parties
- Lighting: Use LED tealights or LED fairy lights only (no open flame)
Materials and Tools (With Estimated Costs)
Paper and Structural Supplies
- Cardstock, 12" x 12" (65–80 lb) for lantern bodies (solid colors or patterns) — $0.50–$2 per sheet
- Heavy cardstock, 100–110 lb for frames/handles — $0.75–$2.50 per sheet
- Vellum sheets, 8.5" x 11" for glowing windows — $0.30–$1 per sheet
- Acetate sheets (optional) for crisp, modern windows — $0.50–$1.50 per sheet
- Foam tape (optional) for 3D layered panels — $3–$6 per roll
Adhesives
- Double-sided tape runner (clean edges, fast build) — $5–$12
- Strong double-sided tape (1/4"–1/2") for seams — $4–$10
- Liquid craft glue (for vellum + detailed layers) — $3–$7
- Hot glue gun (optional) for quick handle attachment — $10–$20
Cutting, Scoring, and Measuring
- Craft knife (X-Acto style) + self-healing cutting mat — $12–$30
- Metal ruler (12") for straight cuts — $6–$12
- Scoring board or bone folder (crisp folds) — $8–$20
- Paper trimmer (optional but helpful for batching) — $15–$35
- Circle punch or decorative punches (optional) — $8–$20
Lighting and Finishing
- LED tealights (flicker effect looks great) — $8–$15 for 12
- Micro LED fairy lights (battery pack) — $6–$15 per strand
- Ribbon, twine, or wire for handles/hanging — $3–$10
- Optional embellishments: metallic markers, acrylic paint, glitter accents, vinyl decals, wax seal stickers — $3–$15+
Design Options: Pick Your Lantern Style
Style A: Classic Panel Lantern (Best for Batching)
Clean lines, strong structure, and easy to theme. Great for wedding centerpieces and graduation party tables.
Style B: Layered Cutwork Glow Lantern (Advanced Showstopper)
Multiple layers create depth—think stars, florals, lace patterns, or city skylines. Ideal for statement decor and photo backdrops.
Style C: Ombre Painted Lantern (Fast + High Impact)
Paint or ink blend adds a custom look with minimal extra cutting. Perfect for birthday parties and seasonal celebrations.
Step-by-Step: Build a Sturdy Classic Panel Lantern
Finished size: approx. 4" x 4" x 7" tall (adjustable)
Step 1: Cut the Lantern Body
- Cut cardstock to 10.5" wide x 7.5" tall.
- On the 10.5" side, mark and score vertical lines at:
- 0.5" (glue tab)
- 3.0"
- 5.5"
- 8.0"
- 10.5" (edge)
- You now have four 2.5" panels plus a 0.5" glue tab.
Step 2: Create Window Openings (Optional but Recommended)
- On each of the four panels, draw a centered rectangle window: 1.75" wide x 4.75" tall.
- Leave at least 3/8" border on all sides for strength.
- Cut windows carefully with a craft knife and metal ruler.
Step 3: Add Vellum Windows
- Cut vellum to 2.25" wide x 5.25" tall (one per window).
- Attach vellum to the inside using a thin line of liquid glue or narrow double-sided tape.
- Press gently and let dry for 5–10 minutes.
Step 4: Assemble the Lantern Body
- Pre-fold all scored lines using a bone folder for crisp edges.
- Add strong double-sided tape to the 0.5" glue tab.
- Wrap the cardstock into a tube and attach the tab to the inside of the last panel, aligning edges carefully.
Step 5: Create the Bottom Insert (Stabilizer)
- Cut heavy cardstock to 3.75" x 3.75".
- Score a border at 1/2" on all four sides (so the center is 2.75" square).
- Cut a slit up each corner score line to make tabs.
- Fold tabs upward to form a shallow tray.
- Slide the tray into the lantern bottom. Secure with a few dots of glue if desired.
Step 6: Add the Top Ring (For Hanging or Extra Strength)
- Cut a strip of heavy cardstock: 1" x 11".
- Score at 0.5" along the long edge and fold to create an L-shaped lip.
- Attach the lip inside the top opening of the lantern, forming an inner ring that strengthens the top edge.
Step 7: Make and Attach a Handle
- Cut a strip: 3/8" x 10" (heavy cardstock, ribbon, or twine).
- Punch a small hole near two opposite top edges (or use tiny cardstock tabs inside).
- Attach securely with brads, mini paper fasteners, or hot glue reinforced with a small cardstock patch.
Step 8: Add Lighting
- Place a LED tealight inside, or coil a short strand of micro LED fairy lights around the base.
- For table lanterns, keep the battery pack accessible (tape it under the bottom tray or hide behind decor).
Advanced Upgrade: Layered Cutwork Glow Panels
If you want that “wow, you made that?” effect, build layered inserts that sit behind each window.
How to Build a Layered Panel (Per Side)
- Cut a frame layer: 2.5" x 7.5" (match your panel size) with a centered cutout window.
- Cut a design layer: same size, with an intricate cut pattern (stars, floral vines, geometric lattice). Keep small bridges for stability.
- Add vellum: adhere vellum behind the design layer.
- Create depth: use foam tape between the design layer and the lantern body so the cutwork casts soft shadows.
Tool recommendation: A craft knife works well, but if you have a cutting machine, use it for intricate cutwork and repeatable party sets.
Pro Tips for Cleaner, Stronger Paper Lanterns
- Score first, cut second: Scoring stabilizes the sheet and helps you keep everything square.
- Use heavier paper for structure: 65–80 lb for bodies, 100–110 lb for rings, bottoms, and handles.
- Mind the grain: If your cardstock cracks on folds, rotate your template 90 degrees and try again.
- Keep glue minimal on vellum: Use thin tape or tiny glue dots so it doesn’t warp.
- Batch your process: Cut all bodies, then all windows, then all vellum, then assemble—faster and more consistent for party decor.
- Test your light: Brighter LEDs show cutwork better; warm LEDs feel cozy for weddings and dinners.
Creative Variations (Party-Themed Ideas)
- Wedding or anniversary: white + gold cardstock, monograms on panels, warm LED tealights
- Kids’ birthday party: bold colors, star cutouts, confetti pattern paper, character-inspired silhouettes
- Baby shower: pastel ombré, cloud cutwork, vellum in soft pink/blue/cream
- Halloween: black cardstock with orange vellum windows, spooky silhouettes (bats, haunted house)
- Holiday: evergreen cutwork, red vellum, metallic paint edges
- Outdoor party: add an inner acetate window layer for sturdier panels (still use LED lights)
Troubleshooting: Fix Common Issues Fast
- Lantern looks crooked: Re-score folds and re-crease with a bone folder. Make sure panels are exactly 2.5" wide.
- Windows tear at corners: Round window corners slightly (use a 1/8" corner rounder or cut gentle curves).
- Vellum is wrinkling: Use tape instead of wet glue, or apply glue only on corners and edges with a precision tip.
- Seam keeps popping open: Switch from tape runner to strong double-sided tape; burnish firmly with a ruler edge.
- Handle rips out: Reinforce inside attachment points with small squares of heavy cardstock (1" x 1").
- Lantern won’t stand flat: Ensure the bottom tray is square; trim tabs if they buckle.
Common Crafting Mistakes to Avoid
- Using thin printer paper for the body: It collapses and warps—save it for templates only.
- Skipping scoring: Fold lines will crack and look messy without scoring, especially on metallic cardstock.
- Over-cutting intricate designs: Tiny floating pieces fall out. Keep connected “bridges” so your cutwork stays intact.
- Too-large windows: Leave a solid border (at least 3/8") so the panel stays strong.
- Relying on weak adhesive for seams: Party decorations get handled—use strong tape for structural joins.
- Using real candles: Paper lanterns are for LED lights only.
Beginner-Friendly Adaptations (If You’re New to Paper Crafting)
- Skip window cutouts and decorate the outside with stickers, vinyl decals, or metallic markers.
- Make a shorter lantern: cut body height to 6" for easier handling.
- Use a simple top ring (no inner lip): just glue a strip inside the top edge to prevent sagging.
- Start with 2 lanterns, not a dozen—then scale once your measurements feel comfortable.
FAQ: Advanced Paper Lanterns
What paper weight is best for DIY paper lanterns?
For lantern bodies, 65–80 lb cardstock balances crisp folds with flexibility. For bottoms, top rings, and handles, use 100–110 lb so your handmade party decorations keep their shape.
Can I hang these paper lanterns outdoors?
Yes, with a few upgrades: use heavier cardstock, consider acetate windows, and keep them out of direct rain or heavy wind. LED lights are still the safest option.
How do I make my lanterns look more “professional”?
Use consistent measurements, burnish folds with a bone folder, hide seams at the back, and add a top ring for structure. Vellum windows and foam-tape layering also add a polished glow.
What’s the safest way to light paper lanterns?
Use LED tealights or battery-powered micro fairy lights. Avoid open flames—paper and heat are not a safe mix.
How far ahead can I make paper lantern party decorations?
You can make them 1–3 weeks ahead. Store assembled lanterns in a large box so they don’t get crushed, or store them flat (unassembled) and assemble the day before the party.
Can I resize this template easily?
Yes. Keep the same structure: 4 equal panels + a glue tab. For a larger lantern, increase panel width (for example, 3" panels + 0.5" tab = 12.5" total width), and adjust the bottom insert to be slightly smaller than the inside opening.
Ready to Make a Whole Set?
Advanced paper lanterns are one of the most satisfying DIY crafts for party decorations because they’re functional, beautiful, and totally theme-able. Start with one “tester” lantern, then batch-cut your pieces and build a matching set for your next celebration. Once you see that soft glow through vellum windows, you’ll want them for every event—centerpieces, dessert tables, entryways, and patios.
Want more handmade projects, DIY party decor, and clever craft ideas? Explore more tutorials and inspiration on smartpartyprep.com.
More Articles
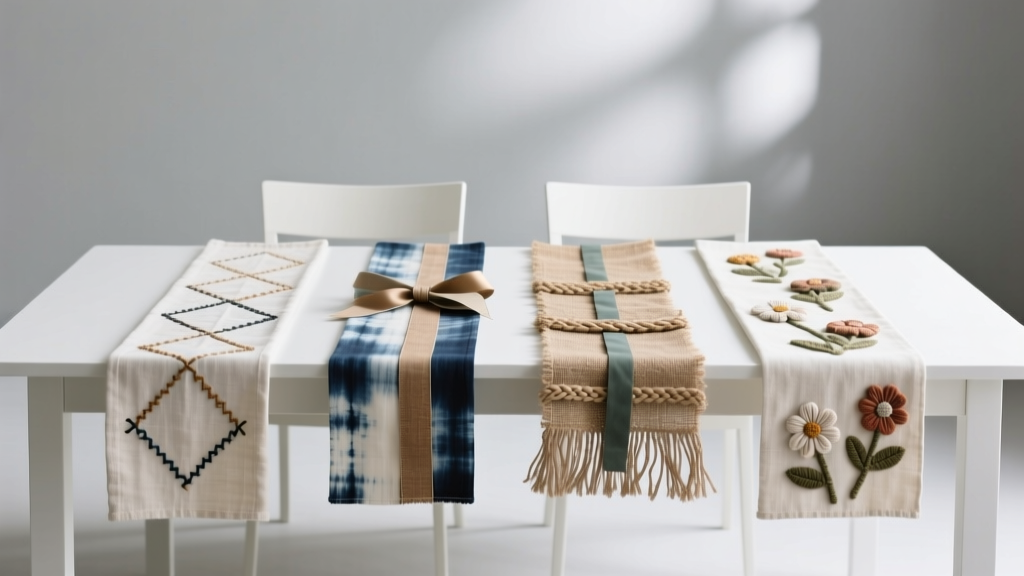 Budget DIY Table Runners Under $20
 Seasonal Wooden Signs Ideas
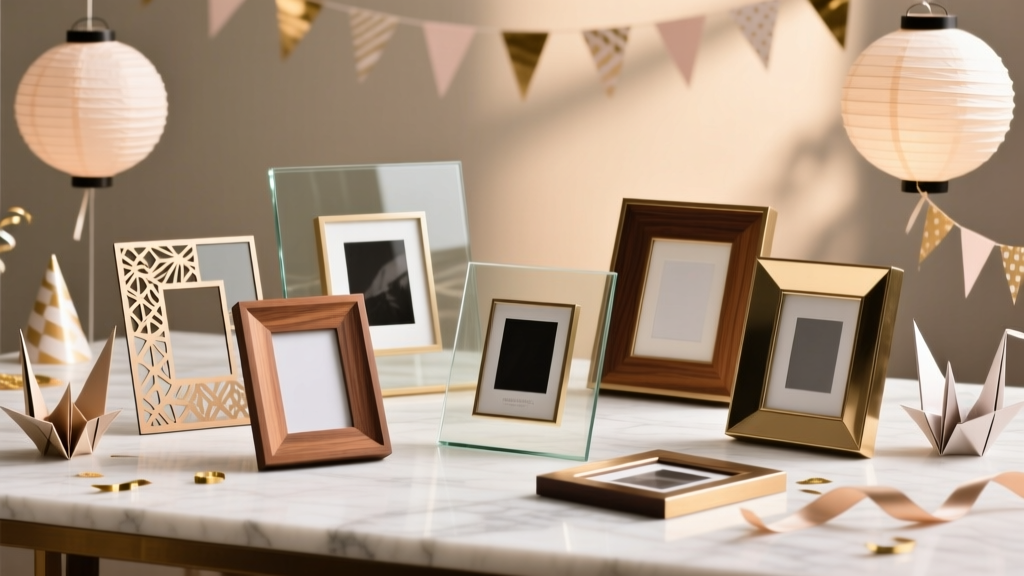 Advanced Photo Frames for Crafters
 Advanced Custom Stickers for Crafters
 How to Enable 3rd Party Cookies in Safari (2024): The Truth No One Tells You — It’s Not Just a Toggle, and Here’s Why Your Login Failures, Analytics Gaps, and Ad Personalization Break Without This Critical Fix
 Paper Craft Wall Art Ideas
 DIY Cake Toppers with Dollar Store Supplies
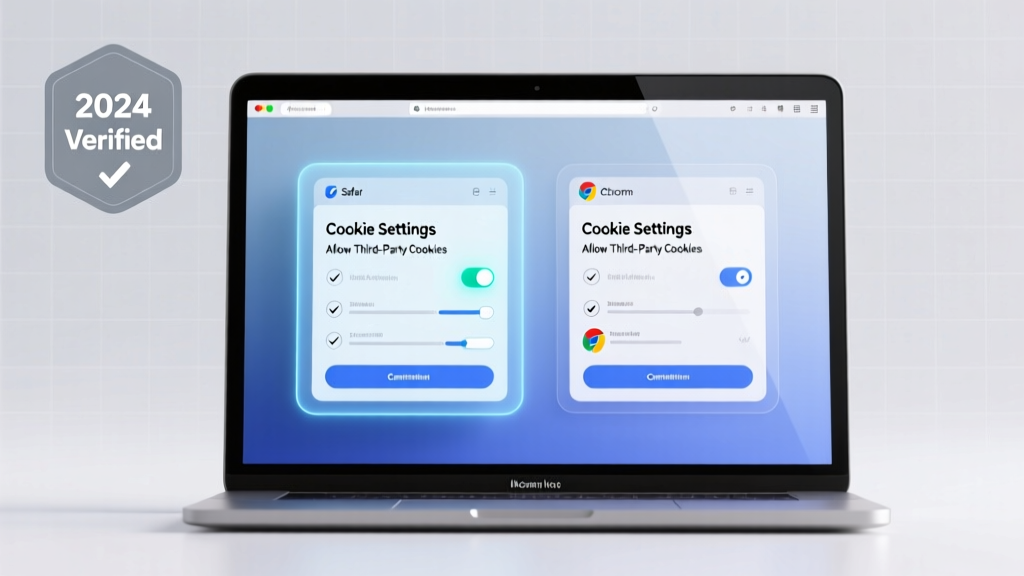 How to Enable Third Party Cookies on Mac: A Step-by-Step Safari & Chrome Fix (2024 Verified — No More 'Blocked' Errors or Broken Logins)
 12 Do It Yourself Christmas Party Favors That Actually Impress Guests (No Craft Store Run Required — Just What’s in Your Junk Drawer + 20 Minutes)
 Step-by-Step Pressed Flower Art Tutorial