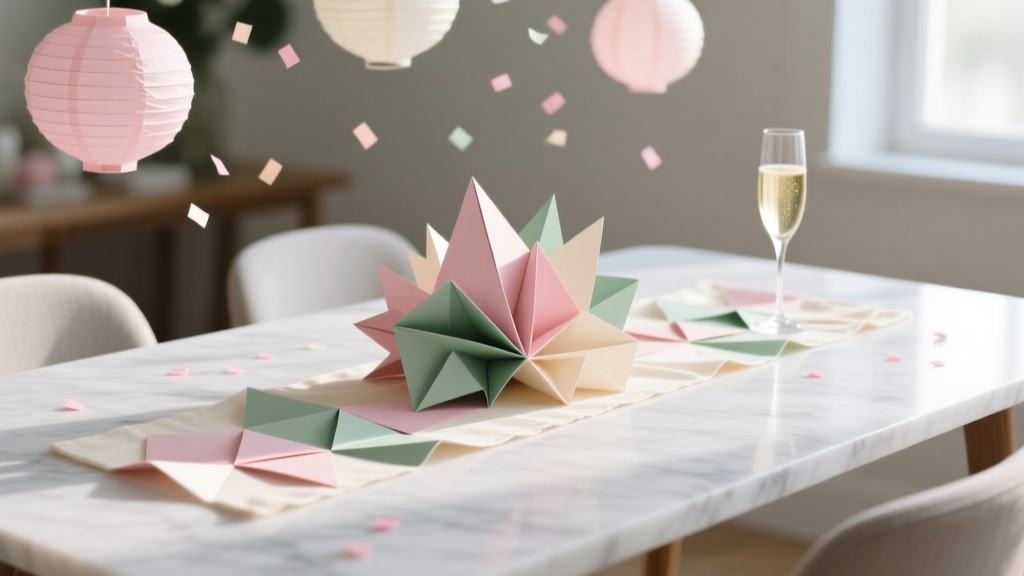
Paper Craft Table Runners Ideas
A table runner can change the whole vibe of a party table—instantly. The fun part? You don’t need expensive fabric, sewing skills, or a trip to the linen store to get that “styled” look. With paper craft table runners, you can create bold color, texture, and themed details that match your party decorations perfectly, then recycle or toss guilt-free when the celebration ends.
Paper runners are also a dream project for DIY enthusiasts because they’re fast, flexible, and totally customizable. Make one for a birthday, baby shower, bridal shower, graduation, holiday dinner, or even a cozy craft night. Whether you love crisp modern lines or layered, whimsical handmade projects, paper gives you endless ways to play.
Below you’ll find several paper table runner ideas, complete with measurements, step-by-step instructions, skill levels, time estimates, and practical tips so your runner looks great from setup to cake cutting.
Quick Planning: Sizing Your Paper Table Runner
Standard measurements (easy party math)
- Typical table widths: 30 inches (6 ft folding table), 36–42 inches (dining table)
- Typical runner width: 12–18 inches (most common: 14–15 inches)
- Runner length: table length + 10–20 inches (5–10 inches overhang on each end)
- Example for a 6 ft table (72 inches): make runner 84–92 inches long
Skill levels & time estimates
- Beginner: 30–60 minutes (stamped, doodled, or confetti runners)
- Intermediate: 60–120 minutes (layered fringe, geometric piecing)
- Advanced: 2–4 hours (3D florals, intricate cutouts, mixed-media)
Materials & Tools (with Estimated Costs)
Costs vary by brand and what you already own. These are typical U.S. craft-store or online prices.
Paper options (choose one main base)
- Kraft paper roll (18 in x 100 ft): $10–$18
- White or colored bulletin paper roll (18 in x 75 ft): $12–$20
- Butcher paper roll (18 in x 150 ft): $18–$28
- Wrapping paper (30 in wide; look for thicker “gift wrap”): $5–$12 per roll
Decor paper (for accents)
- Cardstock pack (8.5 x 11 in, 65–110 lb): $6–$15
- Tissue paper (20 x 26 in sheets): $1–$2 per sheet or $8–$12 per pack
- Scrapbook paper (12 x 12 in): $0.50–$1.50 per sheet
Adhesives (pick based on your technique)
- Glue stick (acid-free): $2–$5
- Double-sided tape (1/4–1/2 in): $4–$10
- Painter’s tape (1 in; for temporary holding): $4–$8
- Hot glue gun + glue sticks (for 3D elements): $10–$25
Tools you’ll actually use
- Scissors (sharp, 8 in): $8–$18
- Craft knife + self-healing cutting mat (best for straight edges): $15–$35
- Metal ruler (18–24 in): $8–$20
- Pencil + eraser (for layout lines): $1–$3
- Corner rounder punch (optional, neat finish): $6–$15
- Bone folder or old gift card (for crisp creases): $0–$10
Optional decorating supplies
- Acrylic paint (2 oz bottles): $1–$3 each
- Paint pens / metallic markers: $6–$15
- Stamps + ink pad: $8–$25
- Confetti (paper or biodegradable): $3–$8
Idea #1: Stamped Pattern Paper Runner (Fast + Polished)
Skill level: Beginner
Time: 30–45 minutes + 10 minutes dry time
Best for: birthday parties, baby showers, graduation, holiday tables
Measurements
- Width: 15 inches
- Length: 90 inches for a 6 ft table (adjust as needed)
Step-by-step
- Cut your base. Roll out kraft or white paper and cut to size using a craft knife + metal ruler for clean edges.
- Create a border guide. Lightly pencil a border line 1.5 inches from each long edge. This keeps stamping tidy.
- Test your stamp. Stamp on a scrap piece first to check ink coverage and spacing.
- Stamp in rows. Work from one end to the other. Use a repeating pattern (dots, stars, florals) or alternate two stamps for a custom look.
- Add a focal detail (optional). Stamp a larger icon every 12–18 inches (balloons, hearts, pumpkins, snowflakes) for extra “party theme” energy.
- Let it dry flat. Give it a few minutes before rolling or placing on the table.
Pro tips
- Cleaner edges: Tape down the paper corners with painter’s tape so it doesn’t creep while you stamp.
- Modern look: Stick to one ink color (black + metallic gold is a classic).
- Kid-friendly option: Use sponge stampers or potato stamps with washable paint.
Idea #2: Layered Fringe Table Runner (Big Texture, Low Cost)
Skill level: Intermediate
Time: 60–90 minutes
Best for: fiesta themes, boho parties, teen birthdays, New Year’s
Measurements
- Base: 14 inches wide x 90 inches long
- Fringe strips: 6 inches wide x 14 inches long (you’ll overlap them like shingles)
Step-by-step
- Cut the base runner. Use kraft paper, butcher paper, or a sturdy colored roll.
- Cut fringe strips. From tissue paper or lightweight cardstock, cut rectangles 6 x 14 inches. You’ll need about 18–24 strips for a 90-inch runner depending on overlap.
- Make the fringe. Fold each strip in half lengthwise (optional for symmetry). Cut fringe lines every 1/4 inch, stopping 1 inch from the top edge so the strip stays intact.
- Attach from the bottom end first. Place the first strip at the end of the runner and tape/glue along the uncut top band.
- Overlap upward. Add the next strip above the first, overlapping by about 1.5–2 inches to hide tape lines and create fullness.
- Mix colors as you go. Alternate 2–4 colors in a repeating pattern for a coordinated party palette.
Variations
- Fancy edge: Use scalloped scissors for the fringe ends.
- Extra sparkle: Add a thin strip of metallic wrapping paper as every third “row.”
- Beginner shortcut: Make fringe only along both long edges, leaving the center plain for serving platters.
Idea #3: Geometric Color-Block Runner (Crisp + Modern)
Skill level: Intermediate
Time: 60–120 minutes
Best for: modern birthdays, engagement parties, graduation, corporate events
Measurements
- Base runner: 15 inches x 90 inches
- Triangles: 4-inch sides (equilateral) or 4-inch right triangles (easy to cut)
Step-by-step
- Cut your base paper. Choose white or kraft for strong contrast.
- Make a triangle template. Use cardstock to create a durable pattern. A 4-inch triangle reads clearly from standing height.
- Cut 60–100 shapes. Mix 3–5 party colors (example: blush, gold, cream, sage).
- Plan your layout. Dry-lay a zig-zag band down the center or create an “ombre” from one end to the other.
- Attach with double-sided tape. Tape keeps paper flatter than wet glue and reduces warping.
- Finish with a border. Add a 1-inch strip of contrasting paper along both long edges for a clean frame (optional but makes it look professionally designed).
Advanced upgrade
- 3D geometry: Fold triangles slightly down the center to create a raised ridge and shadow.
- Foil accents: Add metallic washi tape “seams” between shapes.
Idea #4: Paper Flower Garland Runner (Showstopper Centerpiece Style)
Skill level: Advanced (or ambitious intermediate)
Time: 2–4 hours depending on flower count
Best for: bridal showers, baby showers, Mother’s Day, spring parties
Measurements
- Base strip: 6–8 inches wide x table length (this is your “garland spine”)
- Flower size: 3–5 inches wide (varied sizes look most natural)
Step-by-step
- Build the base spine. Cut a long strip of cardstock or kraft paper. If you need extra length, overlap sections by 2 inches and tape on the underside.
- Create simple flowers. Cut 5–7 rounded petals per flower from cardstock. Curl each petal slightly using a pencil.
- Assemble blooms. Hot glue petals in a circle, layering smaller petals on top. Add a center with a paper circle, button, or crumpled tissue dot.
- Add leaves. Cut leaf shapes and score a center vein for dimension.
- Attach to the spine. Hot glue flowers and leaves in clusters along the strip, leaving some gaps for a light, airy look.
- Place on the table. Set the floral runner down the center. If it shifts, use tiny loops of painter’s tape under the spine to anchor it.
Beginner-friendly adaptation
- Use pre-made paper flowers (craft aisle) and attach them to the spine for a faster build.
- Limit flowers to three clusters (one center, two ends) instead of a full-length garland.
How to Keep Paper Table Runners Flat and Party-Ready
Simple setup steps
- Unroll and relax the curl. Roll the runner the opposite way for 30 seconds, then lay flat.
- Anchor discreetly. Add small loops of painter’s tape under the runner every 18–24 inches (especially outdoors).
- Protect high-spill zones. If food is served family-style, place a clear plastic table cover over the runner—or use clear placemats on top.
Troubleshooting: Fixes for Common Issues
- Runner keeps curling: Lightly mist the underside (very minimal), weigh with books for 10 minutes, then let dry flat. Or switch to heavier butcher paper.
- Glue is wrinkling paper: Use double-sided tape, a tape runner, or glue stick instead of liquid glue.
- Fringe tearing too easily: Increase the uncut top band to 1.25 inches and avoid thin “gift tissue” for high-traffic tables.
- Paint smudging: Use fast-dry acrylic and keep a “dry zone” where hands don’t rest while working.
- Runner slides around: Add 4–6 pieces of painter’s tape under the runner, or put a thin non-slip shelf liner under it.
Common Crafting Mistakes to Avoid
- Making the runner too wide. Anything wider than 18 inches can crowd place settings and look bulky on standard tables.
- Skipping a dry layout. Always arrange shapes or clusters before gluing—especially with geometric patterns.
- Using the wrong adhesive. Liquid glue + thin paper = waves and wrinkles. Tape is your friend for crisp results.
- Overloading with 3D decor. Tall flowers or bulky elements can fight with plates and serving dishes. Keep 3D height low (under 1.5 inches) in the middle of the table.
- Forgetting transport. If you’re taking it to another location, build it in sections (two 45-inch pieces) and join them on-site with tape underneath.
FAQ: Paper Craft Table Runners
1) What’s the best paper for a table runner?
Butcher paper and kraft paper rolls are the most reliable for DIY party decorations. They’re sturdy, affordable, and less prone to wrinkling than thin wrapping paper.
2) How do I keep a paper runner from getting soggy or stained?
For messy foods, place a clear plastic table cover over the runner or use clear placemats on top. If the runner is purely decorative, keep food on trays and use coasters under drinks.
3) Can I make these ahead of time?
Yes. Make runners 1–7 days ahead. Store them rolled around a cardboard tube (or wrapping paper core) and secure with ribbon. Keep them away from humidity to prevent curling.
4) How much paper do I need for an 8 ft table?
An 8 ft table is 96 inches long. Add 10–20 inches for overhang, so aim for 106–116 inches (about 9–10 feet) of length.
5) Are paper table runners okay outdoors?
They can work outdoors if you anchor them well. Use painter’s tape underneath at multiple points and avoid super-light tissue fringe on windy days. Heavier kraft or butcher paper performs best.
6) What’s the easiest design for a beginner?
A stamped pattern runner or a simple doodle runner (stars, dots, hearts) is the most beginner-friendly handmade project. Minimal cutting, quick setup, and it still looks party-ready.
Wrap-Up: Your Table, Your Theme, Your Handmade Style
Paper craft table runners are one of those DIY party decorations that deliver big impact without big cost. Start simple with stamps or color blocks, or go all-out with fringe and paper flowers for a centerpiece-worthy look. The best part is how easy it is to match your runner to invitations, balloons, and the rest of your party setup.
Try one idea for your next gathering, then save your templates so each new celebration gets easier (and more impressive). For more party-ready DIY crafts, handmade decorations, and creative project ideas, explore more inspiration on smartpartyprep.com.
More Articles
 How to Hang Party Streamers Without Tape Marks, Sagging, or Last-Minute Panic: 7 Foolproof Methods (Tested on 37 Parties)
 How to Enable Third Party Cookies on MacBook: A Step-by-Step Safari & Chrome Fix (2024 Verified — No More 'Blocked' Errors or Broken Logins)
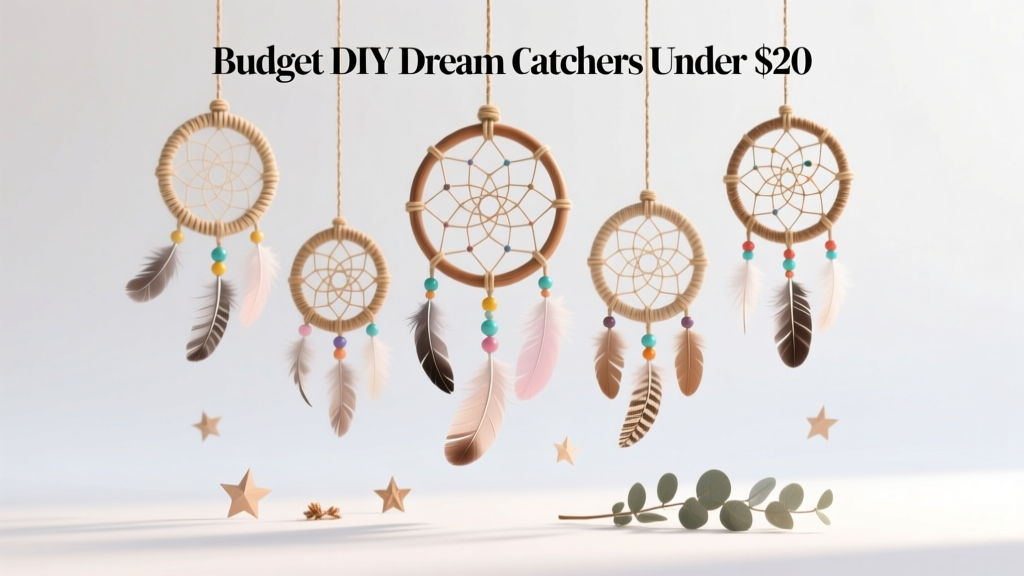 Budget DIY Dream Catchers Under $20
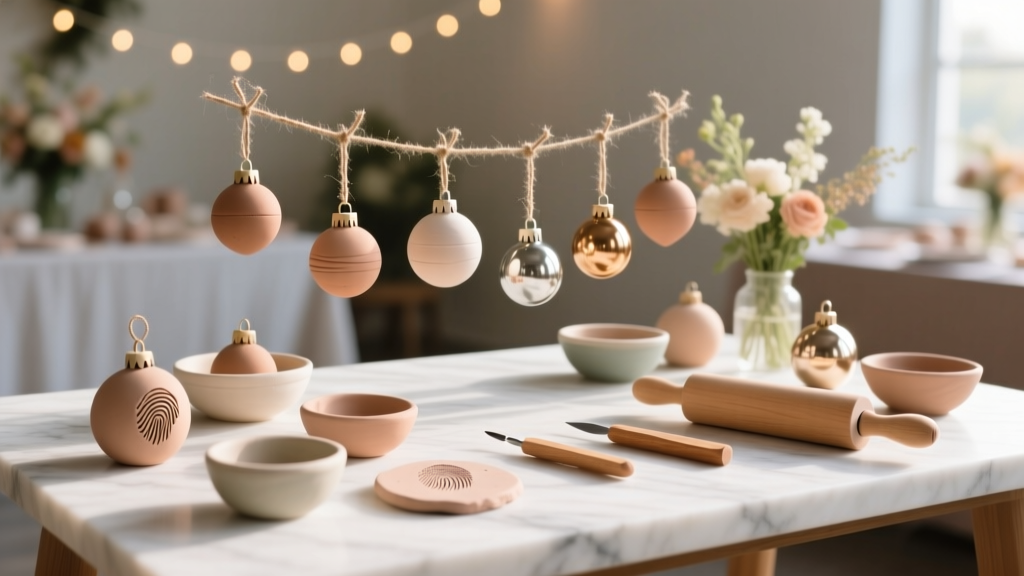 DIY Clay Ornaments Party Favors
 How Do I Disable Third Party Apps on Android? 7 Verified Methods (Including Hidden Settings & One-Click Revokes You’ve Never Tried)
 Personalized Custom Stickers Gifts
 Seasonal Invitations Ideas
 DIY Centerpieces Party Favors
 Kids' Craft: Confetti
 Kids' Craft: Beaded Bracelets