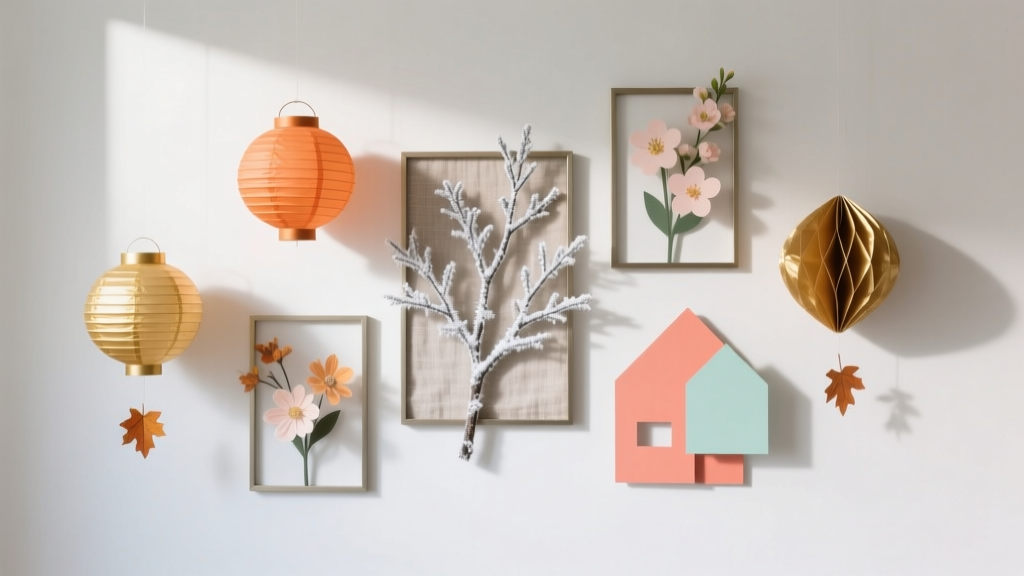
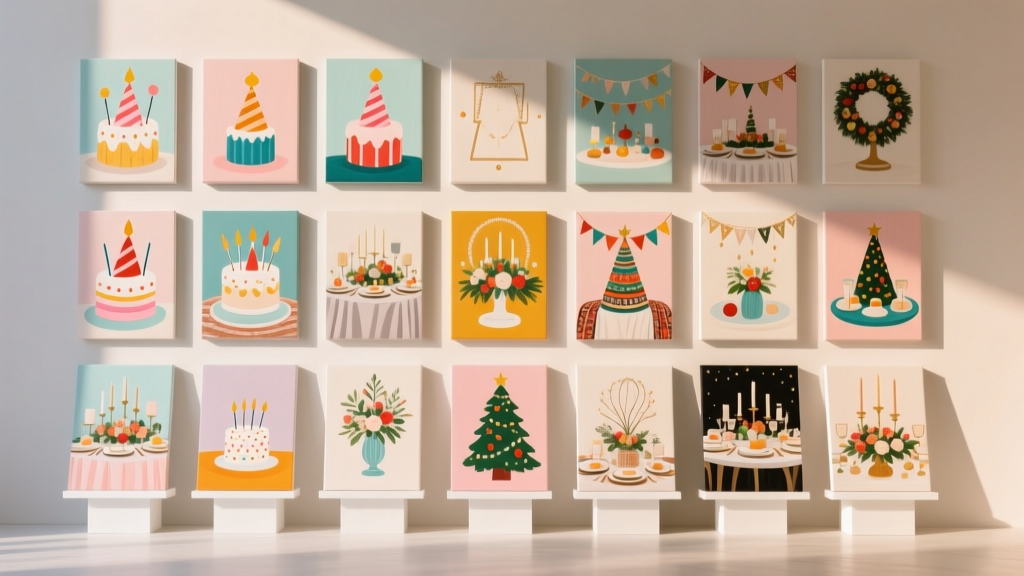
Seasonal Wall Art Ideas
Nothing sets the mood for a party like a decorated wall. Whether you’re hosting a baby shower, birthday brunch, graduation, Friendsgiving, or a cozy holiday get-together, seasonal wall art gives your space an instant “wow” moment—without needing a full room makeover. The best part? You can make it yourself, tailor it to your color palette, and reuse the base pieces all year long.
Seasonal DIY wall art is also one of the most practical handmade decorations you can create. Instead of buying new party décor each time, you can build a simple, reusable foundation (frames, boards, or hangers) and swap out seasonal inserts—paper florals, mini banners, wreath accents, themed prints, or textured elements. It’s budget-friendly, easy to store, and truly customizable.
Below you’ll find multiple seasonal wall art ideas with step-by-step instructions, pro tips, variations, and troubleshooting help—perfect for DIY enthusiasts who love crafting party decorations that feel personal and polished.
Quick Overview: Skill Levels & Time Estimates
- Beginner: 30–60 minutes (simple prints, paper garlands, minimal tools)
- Intermediate: 1–2 hours (layered paper flowers, stenciling, mixed materials)
- Advanced: 2–4 hours (wood backing, dimensional elements, LED integration)
Materials List (With Estimated Costs)
These supplies cover most of the projects below. Choose what matches your plan—no need to buy everything.
Base & Hanging Supplies
- 12" x 16" or 16" x 20" frames (basic black/white): $10–$25 each
- Foam board (20" x 30", 3/16" thick) for lightweight backers: $3–$8
- Plywood or MDF panel (12" x 18", 1/4" thick) for sturdier signs: $8–$15
- Command strips (picture-hanging or large): $6–$15
- Jute twine (50–100 ft) or satin ribbon (1" wide): $4–$10
- Binder clips (medium/large) to swap art fast: $3–$8
Decor & Craft Materials
- Cardstock (8.5" x 11", assorted colors): $6–$15 per pack
- Crepe paper (party-grade rolls): $6–$20
- Faux greenery (eucalyptus, pine picks, seasonal stems): $8–$25
- Acrylic paint (craft paint 2 oz bottles): $1–$3 each
- Paint pen (white/black/gold): $3–$8
- Vinyl lettering (optional) or printable templates: $5–$15
- Warm white micro LED fairy lights (battery pack): $8–$15
- Hot glue sticks (standard): $4–$10
Tool Recommendations
- Hot glue gun (low-temp for beginners): $10–$25
- Scissors (8" craft scissors) and detail scissors: $8–$18
- Craft knife (X-Acto style) + self-healing mat: $10–$25
- Metal ruler (12"): $5–$10
- Hole punch (single) or 1/8" punch: $5–$12
- Stapler (for foam board backing): $6–$15
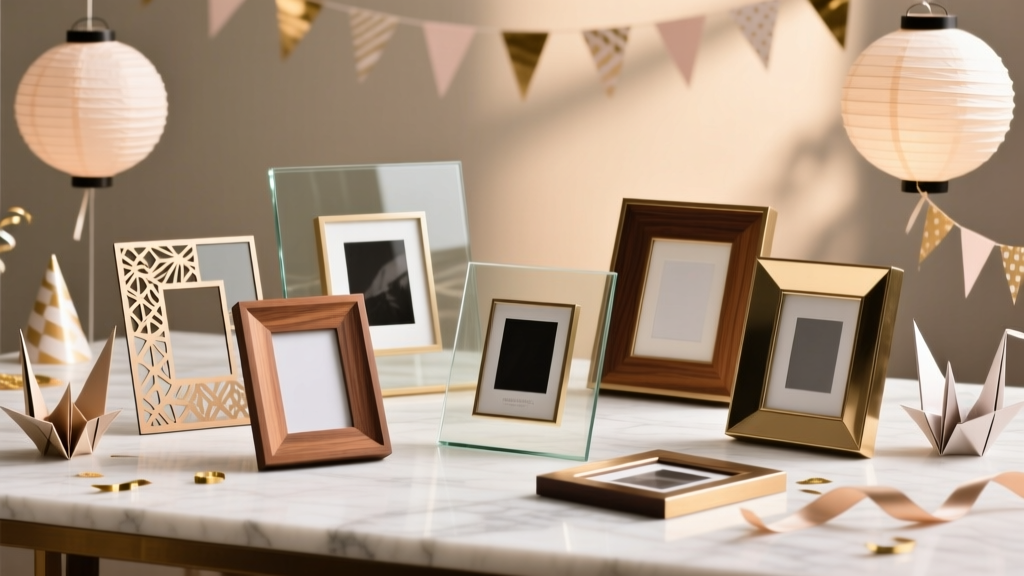
Project 1: Seasonal Swap-Out Frame Gallery (Party-Ready in Minutes)
Skill level: Beginner
Time: 45–60 minutes for the set (then 5 minutes to swap seasonally)
Great for: dessert tables, photo backdrops, entryways
Measurements
- Create a set of 3 frames: two at 12" x 16" and one at 16" x 20" (or all matching if you prefer).
- Print inserts sized to your frames (common: 11" x 14" inside a 12" x 16" frame with a mat).
Step-by-Step Instructions
- Pick your seasonal theme (examples below). Choose 2–3 colors so the set looks coordinated.
- Create or download printable art:
- Option A: Type words like “Hello Spring,” “Spooky Season,” “Cheers,” or “Let’s Party” in a bold font and print on cardstock.
- Option B: Use patterned scrapbook paper as background and layer cut shapes on top.
- Cut inserts precisely using a metal ruler and craft knife for clean edges.
- Assemble each frame with the insert. If the paper curls, tape it lightly at the corners.
- Hang with Command strips:
- For a simple grid: keep 2"–3" between frames.
- For a party backdrop: cluster closer, 1"–2" apart.
Seasonal Insert Ideas (Fast & Cute)
- Spring: watercolor florals, butterflies, “Baby in Bloom” for showers
- Summer: citrus slices, pool party stripes, “Let’s Fiesta” for taco nights
- Fall: plaid backgrounds, leaves, “Gather” for Friendsgiving
- Winter: snowflakes, stars, “Cheers” for New Year’s Eve
Project 2: Paper Flower Season Wreath (Flat-Back Wall Version)
Skill level: Intermediate
Time: 90–120 minutes
Great for: welcome wall, gift table, party photo corner
Measurements
- Wreath base: 14"–16" diameter (foam or wire)
- Flat backer (optional): 16" x 16" foam board for easy hanging
- Flower sizes: mix 3", 5", and 7" blooms
Step-by-Step Instructions
- Choose seasonal paper.
- Spring: pastel cardstock + crepe paper
- Summer: bright cardstock + tropical leaves
- Fall: rust, mustard, olive
- Winter: white, silver, deep green
- Cut petals. For one 5" flower, cut:
- 5 large petals: 2" wide x 3" tall
- 5 medium petals: 1.5" wide x 2.5" tall
- 5 small petals: 1" wide x 2" tall
- Shape petals. Curl edges around a pen, then pinch the base for dimension.
- Build the flower. Hot-glue petals in layers (large, medium, small). Add a tight paper coil or fringed strip for the center.
- Attach flowers to the wreath. Arrange first without glue, then glue largest blooms as anchors, filling gaps with smaller flowers and leaves.
- Make it wall-friendly. If you want a flat back for easy hanging, glue the wreath to foam board and add a ribbon loop at the top.
Party-Friendly Variations
- Baby shower: add a name banner across the center with 1" wide ribbon
- Birthday: tuck in mini paper stars or number cutouts (4" tall)
- Holiday: add tiny ornaments or pinecones (lightweight) for winter
Project 3: Seasonal Banner Wall Art on a Wooden Dowel
Skill level: Beginner to Intermediate
Time: 45–75 minutes
Great for: party backdrops, mantle décor, doorway statement piece
Measurements
- Dowel: 18"–24" long, 3/8" diameter
- Banner body: 16" wide x 20" tall felt (or sturdy fabric)
- Pennant tails: cut a centered V that is 6" deep
Step-by-Step Instructions
- Cut your banner. Use felt for clean edges (no hemming). For fabric, iron edges and use fabric glue or a quick hem.
- Create your seasonal design.
- Cut shapes from felt/cardstock (leaves, snowflakes, suns, hearts).
- Lettering: use vinyl, iron-on, or stencil with paint.
- Attach the design. Hot glue for felt-to-felt, or fabric glue for fabric.
- Add a top sleeve. Fold the top edge down 1.5" and glue to create a channel for the dowel.
- Insert dowel and hang. Tie twine ends around the dowel, leaving a 10"–14" hanger loop.
Seasonal Theme Suggestions
- Spring party décor: “Bloom Bar” + flower icons
- Summer party decorations: “Taco ‘Bout Summer” + citrus + cactus
- Fall gatherings: “Gather Here” + layered leaves
- Winter celebrations: “Let It Snow” + white felt snowdrifts
Pro Tips, Creative Variations & Troubleshooting
Pro Tips for a Clean, Professional Look
- Use a limited palette: pick 2 main colors + 1 metallic or neutral accent for cohesive party décor.
- Measure spacing: when hanging a set, mark painter’s tape guidelines so the wall art reads intentional.
- Upgrade with texture: mix matte cardstock, crepe paper, and satin ribbon for dimension.
- Photograph-friendly finish: avoid super glossy paper under bright party lights; choose matte cardstock.
Beginner-Friendly Adaptations
- Replace paper flowers with pre-made faux florals and glue them onto a wreath base.
- Skip cutting machines—use stencils or paint pens for lettering.
- Make a “season swap kit” by storing inserts in a 12" x 12" scrapbook album.
Advanced Variations (Extra Wow)
- Layered shadowbox effect: add foam adhesive squares behind elements for a 3D look.
- LED glow: wrap micro lights around a wreath or hide them behind a frame mat for a subtle halo.
- Wood sign upgrade: paint a 12" x 18" board, stencil the phrase, and seal with a matte clear coat.
- Interchangeable icons: attach seasonal pieces with mini Velcro dots so you can swap hearts, stars, leaves, or snowflakes.
Troubleshooting
- My paper is warping: use less glue, switch to double-sided tape, and press flat under books for 10 minutes.
- My wreath looks uneven: start with 3 anchor flowers spaced like a triangle, then fill in around them.
- My banner won’t hang straight: make sure the hanger twine is tied at equal lengths; add a small weight (like a bead) at the bottom point.
- Command strips keep falling: clean the wall with rubbing alcohol first and let it dry; use the correct weight rating.
Common Crafting Mistakes to Avoid
- Overcrowding the design: leave some negative space so your handmade wall art reads clearly in photos.
- Ignoring scale: small pieces disappear on a big blank wall—use at least one element that’s 16"–24" wide/tall for impact.
- Using high-temp glue on delicate materials: low-temp glue helps prevent melted foam and wrinkled paper.
- Hanging too high: for party backdrops, center the main piece at about 60"–64" from the floor (eye level).
- Not testing color under lighting: check your palette under the same lights you’ll use at the party.
- Forgetting storage: build designs that can be flattened or stacked; keep labels like “Spring Inserts” for easy swapping.
FAQ: Seasonal DIY Wall Art
What’s the easiest seasonal wall art for a last-minute party?
A swap-out frame gallery is the fastest. Print 2–3 themed signs on cardstock, pop them in frames, and hang with Command strips. You can finish in under an hour and it looks polished.
How do I make wall art that won’t damage paint or wallpaper?
Use removable picture-hanging strips rated for your frame weight. Clean the wall with rubbing alcohol first, press firmly, and wait at least 1 hour before hanging. For wallpaper, try a lightweight foam board display on a freestanding easel instead of adhesive.
Can I make these projects without a cutting machine?
Yes. Use printable templates, stencils, and simple shapes (circles, leaves, hearts). A good craft knife + metal ruler gives crisp results for signs and inserts.
What size wall art works best behind a dessert table?
A strong combo is one main piece around 20" x 30" (or a cluster of 3 frames) centered above the table, with smaller accents like garlands or mini signs around it. If your table is 4 ft wide, aim for wall décor that spans 24"–40" for balanced proportion.
How can I reuse seasonal décor without it looking repetitive?
Keep a consistent base (same frames or banner shape) but switch the texture and color accents. For example, use matte neutrals year-round, then add seasonal pops: spring florals, summer citrus, fall plaid, winter metallics.
What’s the most budget-friendly option?
Foam board wall art with cardstock layering is usually the cheapest. You can create a large statement piece (20" x 30") for under $15 if you already have basic tools.
Wrap-Up: Make Your Walls Part of the Party
Seasonal wall art is one of those DIY crafts that keeps rewarding you: it’s fun to make, it transforms a space fast, and it elevates party decorations in a way guests instantly notice. Start with one simple project—like swap-out frames or a banner—and you’ll have a reusable setup you can refresh for every celebration.
Ready to keep crafting? Explore more party-ready handmade projects and DIY craft ideas at smartpartyprep.com.
More Articles
 Easy Soap Bars for Beginners
 How to Make Mini Party Hats in Under 12 Minutes (No Glue Gun, No Scissors Required) — 7 Foolproof Methods That Actually Hold Their Shape
 Seasonal Invitations Ideas
 Advanced Photo Frames for Crafters
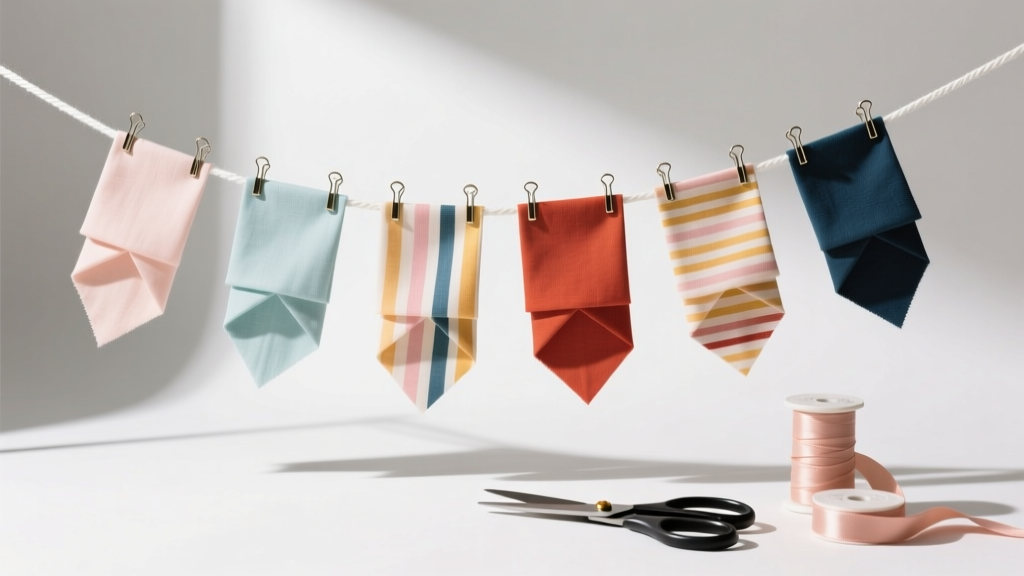 Step-by-Step Fabric Bunting Tutorial
 Personalized Balloon Arches Gifts
 Why Don’t Third Parties Usually Succeed on Quizlet? The 5 Hidden Structural Barriers That Kill Outside Study Tools (And How to Beat Them)
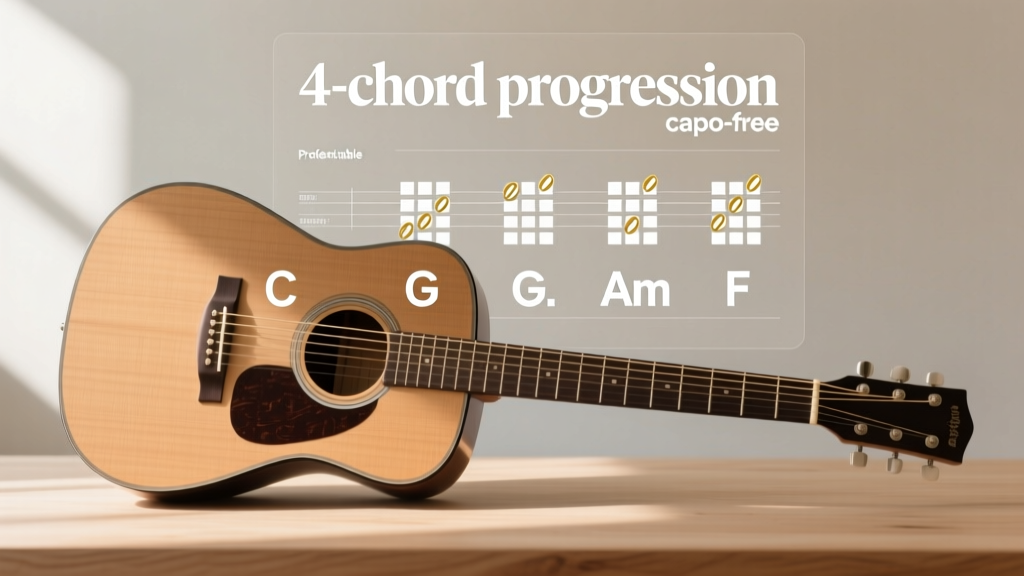 Stop Struggling with 'When the Party's Over' Guitar Chords: The Exact 4-Chord Progression (with Capo-Free & Beginner-Friendly Versions) That 92% of Learners Miss — Free Printable Chart Inside
 25 Creative Painted Canvas Ideas
 Kids' Craft: Vision Boards