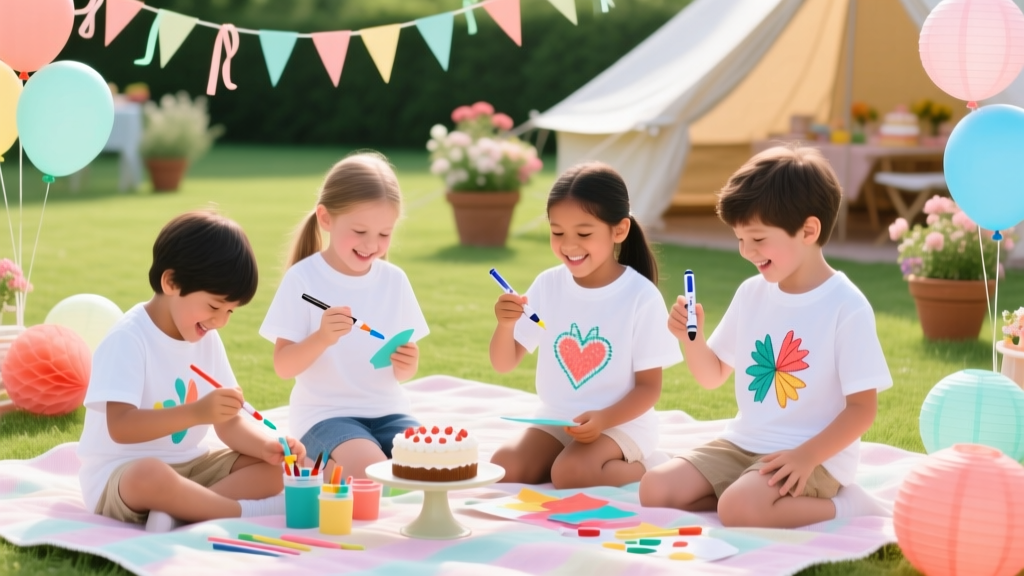
Kids' Craft: T-Shirts (Party-Perfect DIY Shirts Kids Can Make)
Handmade T-shirts are one of those kid-friendly DIY crafts that feel instantly special—because the “craft” becomes something they can actually wear to the party. Whether you’re hosting a birthday, team celebration, family reunion, summer camp day, or holiday gathering, custom shirts double as a fun activity and a take-home favor.
This project is a win for party prep: it’s flexible for different ages, it scales easily for groups, and it creates built-in party photos you’ll actually want to print. You can keep it simple with a single stencil and fabric paint, or level up with tie-dye, iron-on vinyl, and personalized names for a polished “store-bought” look.
Below you’ll find practical, step-by-step instructions, budget-friendly material options, skill-level guidance, and party-ready design ideas. Set up one craft table, add a few themed templates, and you’ve got an activity that keeps kids engaged—and parents impressed.
Project Overview: Skill Level, Time, and Best Ages
- Skill level: Beginner (stencils/paint) to Intermediate (heat transfer vinyl) to Advanced (multi-layer designs)
- Best ages:
- Ages 4–6: sponge painting with large stencils (adult supervision)
- Ages 7–10: stencils + fabric markers, simple tie-dye
- Ages 11+ / teens: vinyl transfers, layering, detailed designs
- Active crafting time: 25–45 minutes per shirt
- Dry/cure time: 2–24 hours (depends on materials; details below)
- Group-friendly: Yes—plan 1 adult helper per 5–7 kids for smooth flow
Materials and Estimated Costs (Per Shirt + Party Setups)
Base T-Shirt Options
- Plain cotton T-shirts (white or light colors): best for fabric paint and tie-dye
- Recommended: 100% cotton or cotton blend (at least 80% cotton)
- Estimated cost: $3–$8 each (bulk packs lower cost)
- Polyester or performance tees: best for heat transfer vinyl (HTV) or sublimation (advanced)
- Estimated cost: $5–$12 each
Decorating Supplies (Choose Your Method)
- Fabric paint (non-toxic, washable): $2–$6 per bottle
- Fabric markers: $8–$15 per set (great for names and doodles)
- Stencil material:
- Reusable stencil sheets (plastic/Mylar): $5–$12
- Cardstock (one-time stencils): $3–$6
- Foam brushes and spouncers: $4–$10 per pack
- Painter’s tape: $4–$8
- Freezer paper (for iron-on stencils): $4–$8
- Heat transfer vinyl (HTV) for names/logos: $8–$15 per roll (makes multiple shirts)
- Tie-dye kit: $10–$25 (typically covers 5–20 projects depending on kit)
Tools and Table Protection
- Sharp scissors or craft knife + cutting mat: $8–$25 (adult use)
- Iron or heat press:
- Household iron: $0 if you already own one
- Basic craft heat press: $80–$250 (optional upgrade)
- Parchment paper or Teflon sheet: $4–$10
- Cardboard inserts (one per shirt): free (recycled boxes) to $10 (bulk sheets)
- Plastic tablecloths: $1–$5 each
- Aprons or old T-shirts for smocks: varies
- Nitrile gloves (especially for tie-dye): $6–$12 per box
Design Planning: Party Themes That Look Great on Shirts
For party-related projects, aim for designs that read well from a few feet away (photos!) and are easy for kids to execute. Try one of these crowd-pleasers:
- Name + icon: “Maya” with a star, soccer ball, dinosaur, or flower
- Birthday crew shirts: “Ava’s Party Squad” or “Level 8 Unlocked”
- Color-coded teams: same stencil, different paint colors for game groups
- Handprint party shirts: each guest adds a handprint (best as a keepsake for the host)
- Glow party: neon fabric paint on black tees (test paint opacity first)
Step-by-Step: Stencil + Fabric Paint T-Shirts (Best for Kids’ Parties)
This is the most beginner-friendly method for DIY T-shirts that still look polished.
What You’ll Need (For This Method)
- Plain cotton T-shirt (pre-washed and dried)
- Cardboard insert (cut slightly smaller than the shirt)
- Stencil (plastic reusable or cardstock)
- Painter’s tape
- Fabric paint (2–3 colors max for kid groups)
- Foam spouncer/sponge brush
- Paper plate or paint palette
- Optional: fabric markers for names/details
Prep (5–10 Minutes)
- Pre-wash and dry the shirt (no fabric softener). This removes sizing so paint adheres better.
- Protect your workspace: cover the table with a plastic tablecloth. Keep baby wipes or damp paper towels nearby for quick cleanup.
- Insert cardboard into the shirt so paint doesn’t bleed through to the back. Smooth out wrinkles.
- Pick placement:
- Centered chest design: measure about 3–4 inches down from the collar for kids’ tees.
- Left chest “badge”: place design about 2–3 inches from the side seam and 3 inches down from the collar.
Stencil Painting (15–25 Minutes)
- Secure the stencil with painter’s tape on all edges. If the stencil shifts, you’ll get blurry lines.
- Use less paint than you think. Dip the spouncer lightly and dab off extra paint onto a paper plate. You want a “dry sponge” feel.
- Dab—don’t brush. Use up-and-down tapping to reduce paint bleeding under the stencil.
- Build color in thin layers. Two to three light coats look cleaner than one heavy coat.
- Carefully lift the stencil while the paint is still wet. Pull up slowly from one side.
- Optional add-ons: use fabric markers to write names, add dots, outlines, or “confetti” sprinkles around the main design.
Drying and Setting the Design (Important!)
- Air dry flat for at least 2–4 hours (overnight is best for busy parties).
- Heat set (recommended for washability): once fully dry, place parchment paper over the design and press with an iron on cotton setting for 30–45 seconds per area. Avoid steam.
- Wait to wash: hold off washing for 24 hours if possible. Turn shirts inside out and wash cold for longer life.
Party-Ready Add-On: Personalized Names (Easy Upgrade)
- Centered chest design: measure about 3–4 inches down from the collar for kids’ tees.
- Left chest “badge”: place design about 2–3 inches from the side seam and 3 inches down from the collar.
Personalization makes DIY party decorations feel cohesive—like the shirts are part of the event design. Two simple options:
Option A: Fabric Markers (Fastest)
- Write names across the back shoulders or on the front under the icon.
- Tip: Use a simple block font; outline first in light pencil if desired (test on scrap fabric).
- Time: 2–5 minutes per shirt.
Option B: Heat Transfer Vinyl Names (Clean, Pro Look)
- Best for: Intermediate crafters or adults prepping shirts before guests arrive.
- Recommended size:
- Front name: 2.5–4 inches wide
- Back name: 8–10 inches wide (for older kids)
- Cut HTV with a craft cutter (or buy pre-cut letters), weed, press per vinyl instructions, and peel warm/cool as directed.
Pro Tips for Crisp Designs and Less Mess
- Use a cardboard insert every time. It prevents bleed-through and gives kids a firm surface to paint on.
- Keep designs bold. Thick shapes (stars, hearts, lightning bolts, dinos) survive kid painting better than thin lines.
- Limit the palette. For group parties, 2–3 paint colors per table keeps shirts coordinated and reduces chaos.
- Make a “drying zone.” A spare table, folding rack, or clothesline with clothespins prevents accidental smears.
- Prep stencils ahead. If you’re hosting, pre-cut 2–3 theme stencils and rotate them between kids.
- Label shirts early. Use masking tape inside the collar with the child’s name while the paint dries.
Fun Variations (Beginner to Advanced)
Beginner: Handprint Party Shirts
- Have each guest add one handprint (different color) to the host’s shirt.
- Add the party date with a fabric marker: “Sofia’s 7th Birthday – 6/13”.
- Tip: Wipe hands immediately and keep a “hand washing station” nearby.
Beginner/Intermediate: Sponge-Stamp Shapes
- Cut simple stamps from clean kitchen sponges (adult-only cutting): stars, circles, hearts.
- Stamp a “confetti” border around the collar or sleeves.
Intermediate: Tie-Dye Spiral + Name Badge
- Create a classic spiral tie-dye background, then add a small stencil badge once dry.
- Time note: tie-dye requires extra waiting (often 6–24 hours set time depending on kit).
Advanced: Multi-Layer Stencils for Depth
- Use a base layer (solid shape) and a top layer (outline or details) once the first layer is dry to the touch.
- Works great for superhero emblems, mermaid scales, or sports logos.
Troubleshooting: Fixes for Common T-Shirt Craft Problems
- Paint bled under the stencil:
- Cause: too much paint or brushing sideways.
- Fix: use a fabric marker to turn the “bleed” into an outline or add dots/sparkles to disguise edges.
- Prevention: dab with a nearly dry sponge; tape edges firmly.
- Design looks patchy:
- Cause: not enough paint or uneven dabbing.
- Fix: add another thin coat while the stencil is still aligned (or freehand fill with marker after drying).
- Stencil lifted or shifted:
- Cause: kids bumping the stencil, not enough tape.
- Fix: reposition and turn it into a “shadow” effect with a second color offset slightly.
- Paint cracked after washing:
- Cause: paint applied too thick or not heat-set.
- Fix: prevent next time by using thin layers and heat-setting fully; wash inside out on cold.
Common Crafting Mistakes to Avoid
- Skipping the pre-wash: factory sizing can make paint peel or fade faster.
- Using regular acrylic paint without fabric medium: it can feel stiff and crack. Choose fabric paint or mix acrylic with fabric medium.
- Overloading the sponge: this is the #1 reason stencils look messy.
- Forgetting a barrier inside the shirt: paint transfer to the back is heartbreaking and totally preventable.
- Rushing the dry time: stacking shirts too soon leads to smears and “ghost prints.”
- Complicated designs for large groups: save intricate cutouts for smaller, calmer crafting sessions.
FAQ: Kids’ DIY T-Shirt Crafts
1) What type of T-shirt fabric works best for fabric paint?
Go with 100% cotton or a high-cotton blend. Cotton absorbs fabric paint well and stays comfortable. Performance polyester shirts are better for vinyl or sublimation-style projects.
2) Do I have to heat set fabric paint?
Many fabric paints become more durable with heat setting. If you want the shirt to survive repeated washes, heat setting is worth it. Use an iron (no steam) with parchment paper for 30–45 seconds per area after the paint is fully dry.
3) How do I keep party crafting from getting too messy?
Set up stations: one table for painting, one for drying. Use plastic tablecloths, have each shirt labeled with masking tape, and offer only a few paint colors. Foam spouncers are cleaner than bristle brushes for kids.
4) Can kids use iron-on vinyl themselves?
Kids can help choose colors and weed larger vinyl shapes, but pressing should be done by an adult due to heat. For kid-led personalization, fabric markers are the simplest alternative.
5) How far in advance can I make DIY party shirts?
You can make them 1–2 weeks ahead. After heat setting, store shirts flat or folded with parchment paper between designs if you’re stacking them tightly.
6) What’s a good number of stencils for a party group?
For 8–12 kids, plan 2–3 main stencils (theme icons) plus 1 letter/number set for names or ages. Rotating stencils keeps the line moving and the choices manageable.
Wrap-Up: A Wearable Party Craft Kids Actually Love
DIY T-shirts combine crafting, party entertainment, and handmade keepsakes all in one. Start with a simple stencil and fabric paint setup, keep the designs bold, and let the kids make choices with colors and details. The result is a fun activity that feels personal—and looks fantastic in party photos.
When you’re ready for your next party-ready handmade project, explore more DIY crafts, party decorations, and creative ideas on smartpartyprep.com.
More Articles
 DIY Painted Canvas for Weddings
 DIY Resin Jewelry Using Cricut
 How to Enable Third Party Cookies on iPhone in 2024: The Real Truth (Spoiler: You Can’t — But Here’s What Actually Works Instead)
 DIY Tote Bags Party Favors
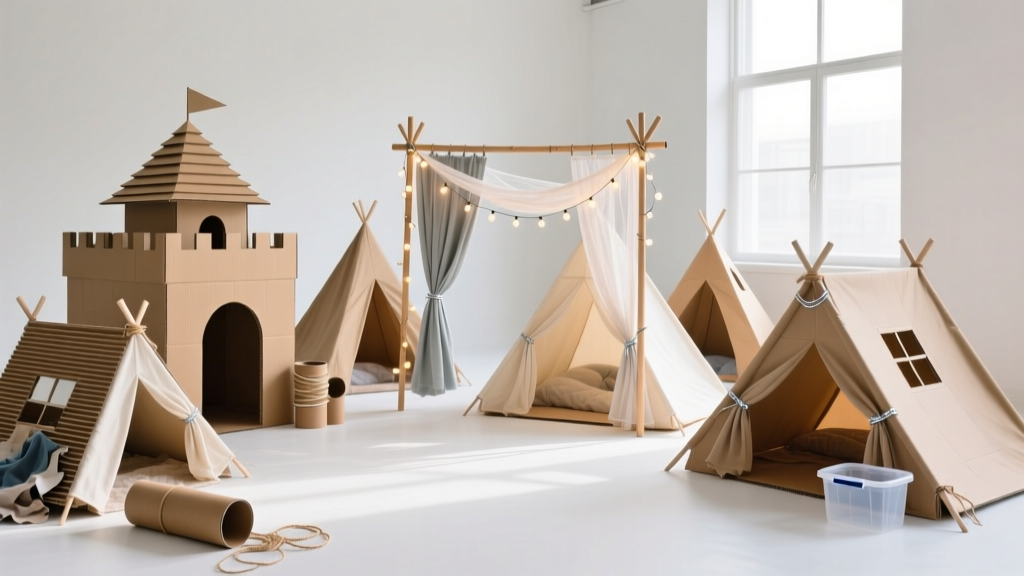 How to Make Slumber Party Tents That Actually Stay Up (No Glue Guns, No Tears): 7 Foolproof Methods Using Stuff You Already Own — From Cardboard Castles to Fairy-Light Canopies
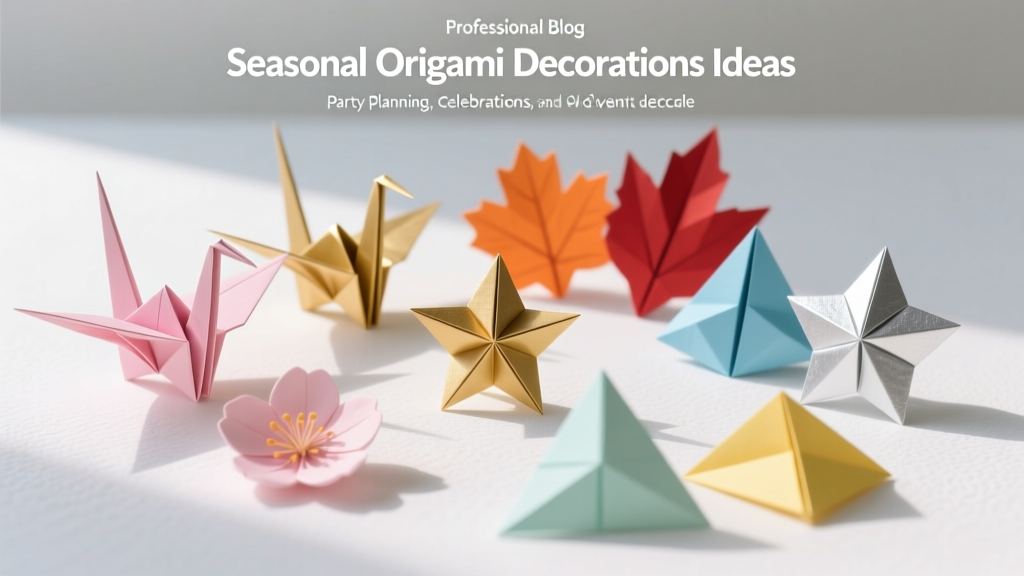 Seasonal Origami Decorations Ideas
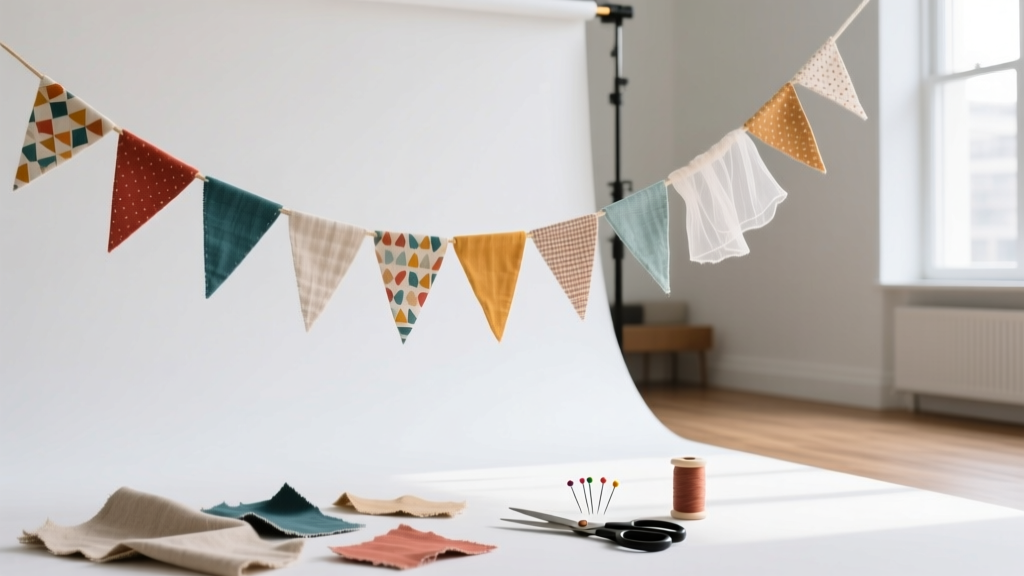 DIY Fabric Bunting for Birthdays
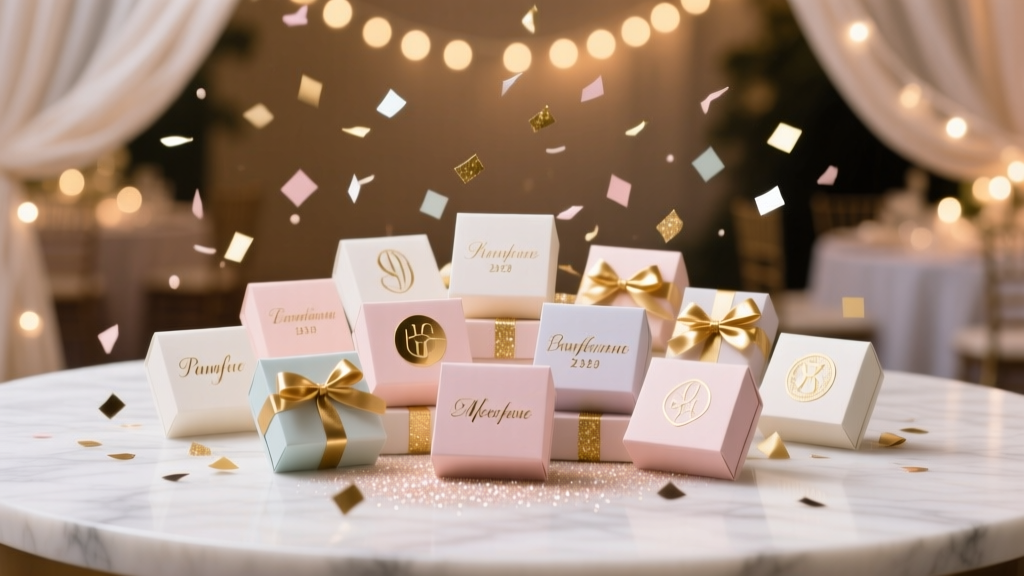 Personalized Confetti Gifts
 Personalized Photo Frames Gifts
 Upcycled Thank You Cards from Recycled Materials