
Upcycled Thank You Cards from Recycled Materials
Thank you cards are one of those small details that make a party feel complete. Whether you’re sending notes after a birthday bash, wedding shower, baby sprinkle, graduation party, or holiday gathering, a handmade card instantly feels more personal than anything store-bought—and it’s a chance to keep your party vibe going a little longer.
This project is especially fun because it turns everyday “trash” into something beautiful. Scraps of wrapping paper, cereal boxes, magazine pages, paper bags, and ribbon ends can become a coordinated set of DIY thank you cards that match your party decorations. You’ll save money, reduce waste, and end up with cards that look boutique-level once you learn a few simple tricks.
Best of all: this is a flexible craft. Make it beginner-friendly with simple cut-and-glue designs, or level up with layered textures, embossed looks, and pop-up elements. If you love party crafts and handmade decorations, this one belongs in your rotation.
Project Snapshot: Skill Level, Time, and Finished Size
- Skill level: Beginner to Intermediate (advanced options included)
- Time estimate: 10–15 minutes per card (simple), 20–30 minutes per card (layered/advanced)
- Batch-making time: 8 cards in about 1.5–2.5 hours (assembly-line style)
- Finished card size: A2 size (4.25 in x 5.5 in) is recommended
- Best for: Party thank you notes, gift tags, favor table cards, hostess gifts, and party-themed stationery
Materials List (Recycled + Basic Craft Supplies)
Recycled Materials (choose 2–4 types for a cohesive look)
- Cereal boxes or cracker boxes (chipboard weight; great for sturdy card bases)
- Paper grocery bags (brown kraft look; perfect for rustic party themes)
- Wrapping paper scraps (coordinate with your party decorations)
- Magazine pages or catalogs (for bold color blocks, typography, or collage)
- Old greeting cards (reuse artwork as focal images)
- Junk mail envelopes (patterns, security tints, windows, and stamps can become design elements)
- Ribbon, twine, and gift bow leftovers (short pieces are perfect accents)
- Fabric scraps (cotton or felt; use sparingly for texture)
Basic Supplies (with estimated costs)
- Adhesive runner or glue stick ($3–$8) for clean, flat bonding
- Liquid craft glue ($2–$6) for small pieces and heavier layers
- Double-sided tape ($3–$7) for ribbon and crisp edges
- Scissors ($5–$15) or precision scissors ($6–$12)
- Craft knife + self-healing cutting mat ($6–$12 knife; $10–$25 mat) for sharp, professional cuts
- Metal ruler (12 in) ($5–$12) for straight cuts and scoring guides
- Bone folder ($6–$12) or a spoon handle (free) for crisp folds
- Black waterproof fineliner ($2–$6) for hand-lettering
- Optional: stamp set (“Thank You”) + ink pad ($8–$25 total) for quick batch production
- Optional: corner rounder punch ($6–$15) for a polished look
Paper Recommendations (for best results)
- Card base: cereal box chipboard covered with decorative paper, or thick kraft paper bag doubled up
- Top layers: wrapping paper, magazine pages, old card fronts, kraft paper
- Inside writing panel: plain white recycled printer paper (cut slightly smaller to frame neatly)
Measurements and Cutting Guide (A2 Card)
Using the standard A2 card size keeps things simple and envelope-friendly.
- Card base (flat size): 8.5 in x 5.5 in
- Folded size: 4.25 in x 5.5 in
- Front panel layer (optional): 4 in x 5.25 in (leaves a clean border)
- Focal label (optional): 2.5 in x 3.5 in or a 2.5 in circle
- Inside writing panel: 4 in x 5.25 in (or 3.75 in x 5 in for extra border)
Step-by-Step: Upcycled Thank You Card (Classic Layered Style)
Step 1: Choose a party theme and color palette
Before cutting anything, decide your “mini theme.” This makes your DIY crafts look intentional and party-ready.
- Kids’ birthday: bright blocks, confetti shapes, bold letters
- Bridal shower: soft florals, lace-like paper textures, blush + gold accents
- Graduation: black + metallic details, numbers, tassel-inspired twine
- Holiday party: kraft + red/green scraps, ornaments, stars
Step 2: Make the sturdy card base (from a cereal box)
- Cut a clean rectangle from a cereal box: 8.5 in x 5.5 in.
- Score along the 8.5-inch side at 4.25 in using a metal ruler and bone folder (or the back of a butter knife).
- Fold firmly and burnish the crease for a crisp edge.
Beginner-friendly option: If the cereal box is hard to fold neatly, lightly score a second time and fold slowly.
Step 3: Cover the base for a clean “cardstock” look
- Choose a paper grocery bag, wrapping paper, or magazine page large enough to cover the outside.
- Cut a piece about 9.25 in x 6.25 in (slightly oversized).
- Apply adhesive evenly across the cereal box base (adhesive runner works best to avoid wrinkles).
- Smooth the cover paper from the center outward.
- Trim excess, leaving a 1/2 in margin around edges. Fold margins to the inside like wrapping a present. Tape or glue down.
Pro look: Miter corners by trimming a small diagonal at each corner before folding edges in.
Step 4: Add a front panel layer (optional but recommended)
- Cut a decorative front panel to 4 in x 5.25 in.
- Center it on the card front and adhere.
Step 5: Create a focal element (3 easy ideas)
Option A: “Banner” thank you
- Cut 2–3 paper strips: 1 in x 4 in.
- Snip a small V-notch at one end to create a banner tail.
- Layer banners at a slight angle and glue down.
- Write “THANK YOU” with a fineliner or stamp it.
Option B: Confetti collage
- Punch or cut small shapes from magazine pages/wrapping paper: circles (about 1/2 in) or tiny squares (about 3/8 in).
- Arrange in a loose cluster or a corner “sprinkle” effect.
- Glue down and add a small label reading “thank you.”
Option C: Upcycled card-front cutout
- Cut a flower, icon, or graphic from an old greeting card.
- Mount it on a slightly larger backing shape (a “mat”) for contrast.
- Glue to the card front.
Step 6: Add texture with ribbon/twine (optional)
- Wrap a short piece of twine around the card front (horizontally) and secure ends on the inside with tape.
- Or create a tiny bow (about 1.5 in wide) and attach with a glue dot or strong double-sided tape.
Tip: Keep bows flat so the card fits in an envelope.
Step 7: Finish the inside writing panel
- Cut plain paper to 4 in x 5.25 in.
- Glue it inside the card so your message is easy to read (and to hide any ribbon tape ends).
- If you want, stamp a small icon in the corner (stars, hearts, balloons) to match the party theme.
Pro Tips for Clean, Professional Results
- Use a cutting mat + craft knife for straighter edges than scissors—especially on magazine pages.
- Prevent wrinkles: Use an adhesive runner for thin paper like wrapping paper. Glue stick can work, but apply lightly and smooth immediately.
- Burnish every layer: After sticking a panel down, rub it with a bone folder or spoon handle to remove bubbles.
- Keep a “design border”: Leaving 1/8 in to 1/4 in around panels makes even simple cards look intentional.
- Batch your process: Cut all bases first, then all front panels, then all labels. Assembly-line crafting is a time-saver for party prep.
Creative Variations (Beginner to Advanced)
Beginner-Friendly Adaptations
- One-layer design: Skip the panel layers and glue one large rectangle of pretty paper directly to the front.
- Sticker-style letters: Cut chunky letters from magazines to spell “THANK YOU.” No lettering skills needed.
- Simple stamped set: Use a “Thank You” stamp on a small rectangle and add a single ribbon strip.
Intermediate Party-Themed Styles
- Mini garland card: Cut tiny triangles (3/4 in wide) and string them across the front with twine (tape ends on the back of the front panel).
- Balloon design: Cut 2–3 balloon shapes (about 1.5 in x 2 in) and draw strings with a pen.
- Photo thank you: Add a small printed party photo (about 2 in x 3 in) mounted on recycled paper.
Advanced Variations for Extra Wow
- Pop-up element: Create a simple center pop-up tab inside the card for a small heart/star that lifts when opened.
- Faux embossing: Place a textured item (like a clean mesh produce bag) under thin paper and rub over it with a crayon for a raised pattern look.
- Layered shadow effect: Mount the focal element using small foam tape squares (use sparingly so mailing stays easy).
Troubleshooting: Fixes for Common Issues
- Paper is wrinkling: Use less liquid glue and switch to a tape runner. Smooth from center outward immediately.
- Card won’t lay flat: Too many thick layers. Remove bulky bows, replace with a flat ribbon strip, and press under a heavy book for 30 minutes.
- Edges look jagged: Trim panels with a craft knife and ruler; finish with a corner rounder if you have one.
- Ink smears on magazine paper: Let it dry longer or use a waterproof fineliner. Alternatively, write on a small matte paper label and glue it on.
- Glue shows through thin paper: Use a glue stick very lightly or adhere the thin paper to a thicker backing first, then attach.
Common Crafting Mistakes to Avoid
- Skipping the scoring step: Folding chipboard without scoring can crack the top layer and look messy.
- Overloading with random scraps: Too many patterns can look chaotic. Stick to 2–3 main colors to match your party decorations.
- Using too much wet glue: Liquid glue can warp paper quickly—especially on large panels.
- Making cards too bulky to mail: Thick knots, chunky buttons, or heavy layered cardboard may require extra postage or hand-delivery.
- Not leaving room to write: Keep the inside clean with a writing panel so your message is easy to read.
- Rushing cutting measurements: Crooked panels stand out. Measure twice, cut once—especially when making sets.
FAQ: Upcycled Thank You Cards
1) What’s the best recycled material for a sturdy card base?
Cereal boxes and snack boxes are ideal because they’re lightweight but firm. Cover them with kraft paper (from grocery bags) or wrapping paper to hide printing and create a clean background.
2) Can I make these without special tools like a cutting mat or bone folder?
Yes. Use scissors, a ruler, and the back of a spoon to press folds. If you plan to make a big batch for party thank you notes, a basic craft knife and mat will speed things up and improve accuracy.
3) How do I keep wrapping paper from bubbling or tearing?
Use an adhesive runner or double-sided tape instead of wet glue. Wrapping paper is thin and shows lumps easily. Smooth it gently from the center outward as you stick it down.
4) Are these cards okay for mailing?
Most flat designs mail well in standard A2 envelopes. Avoid bulky bows and thick cardboard layers. If you add foam tape or pop-ups, test one card in an envelope and check thickness before making a full set.
5) What should I write inside a party thank you card?
Keep it simple and specific: thank them for coming, mention the gift (or their help/energy), and add one warm detail from the party. Example: “Thank you for celebrating with us—your game-night gift was perfect, and I loved having you at the party!”
6) How can I make a coordinated set that matches my party theme?
Pick a consistent palette (like pink + gold, rainbow brights, or black + silver) and repeat one motif across every card—confetti, balloons, stars, florals, or a banner shape. Using leftover party decorations like ribbon and wrapping paper ties everything together.
Wrap-Up: Turn Party Leftovers into Meaningful Thank You Notes
Upcycled thank you cards are one of the easiest ways to blend DIY crafts with practical party prep. You’ll clear out your scrap stash, create something genuinely heartfelt, and send guests home (and later, a note) that reflects the care you put into your celebration. Start with a simple layered design, then try a few variations as you find your style.
When you make a batch, you’ll be amazed how quickly “recycled materials” turn into handmade projects that look polished enough for any party theme. Keep a small box labeled “card-making scraps,” and you’ll always be ready for the next round of party thank you notes.
Want more party-ready DIY crafts and handmade decoration ideas? Explore more creative projects, printables, and smart party prep tips on smartpartyprep.com.
More Articles
 Paper Craft Backdrops Ideas
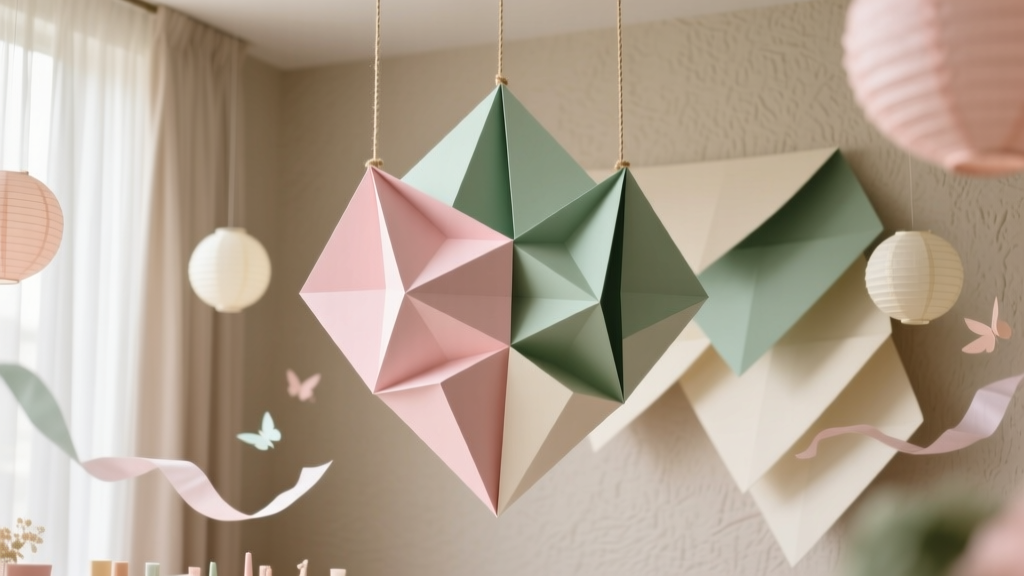
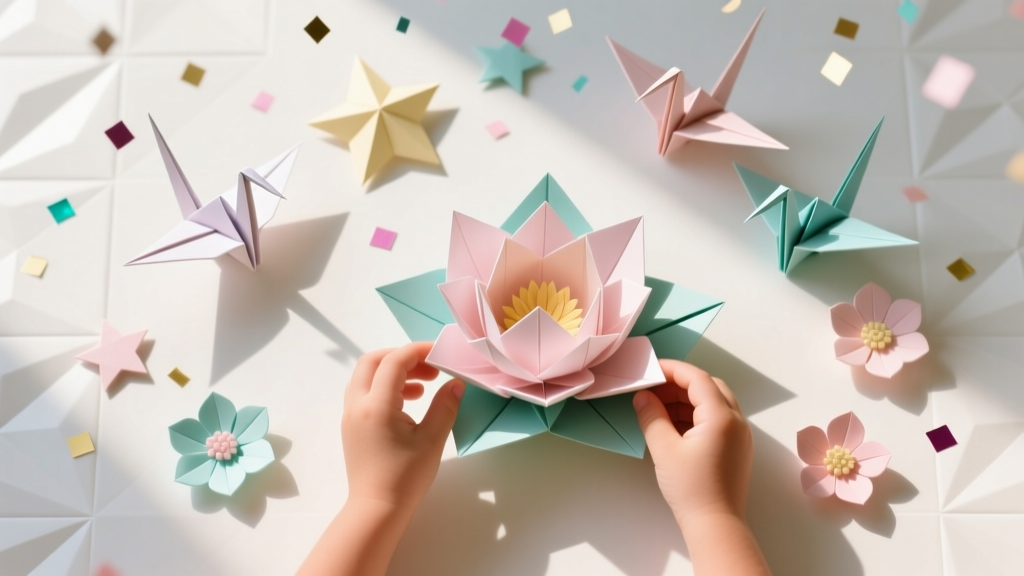 Kids' Craft: Origami Decorations
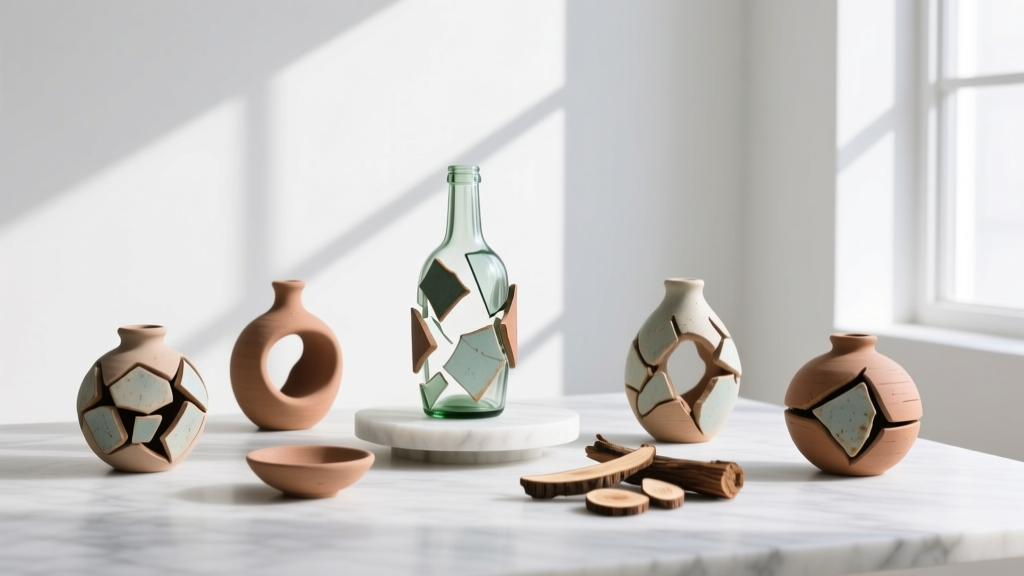 Upcycled Clay Ornaments from Recycled Materials
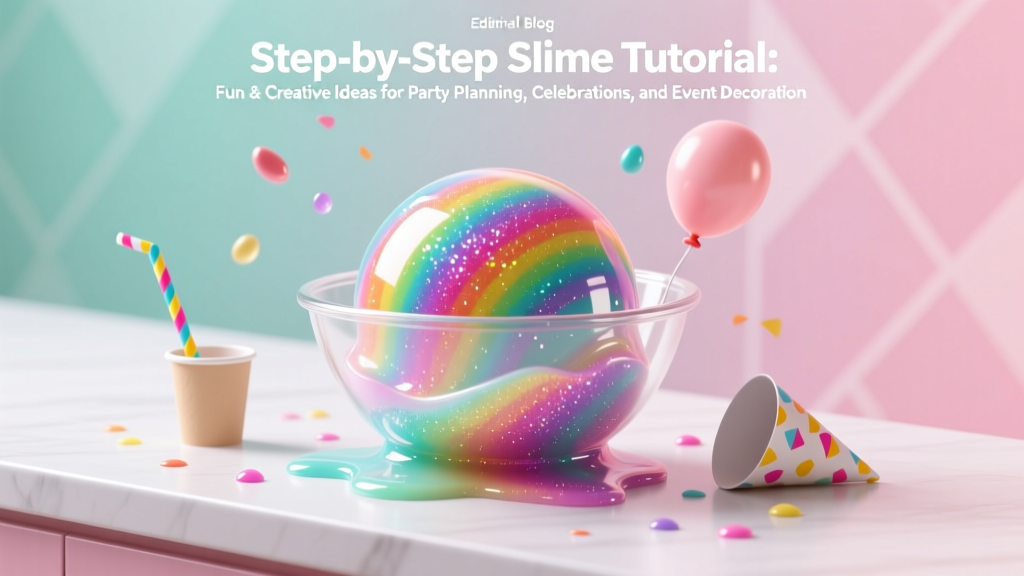 Step-by-Step Slime Tutorial
 Upcycled Backdrops from Recycled Materials
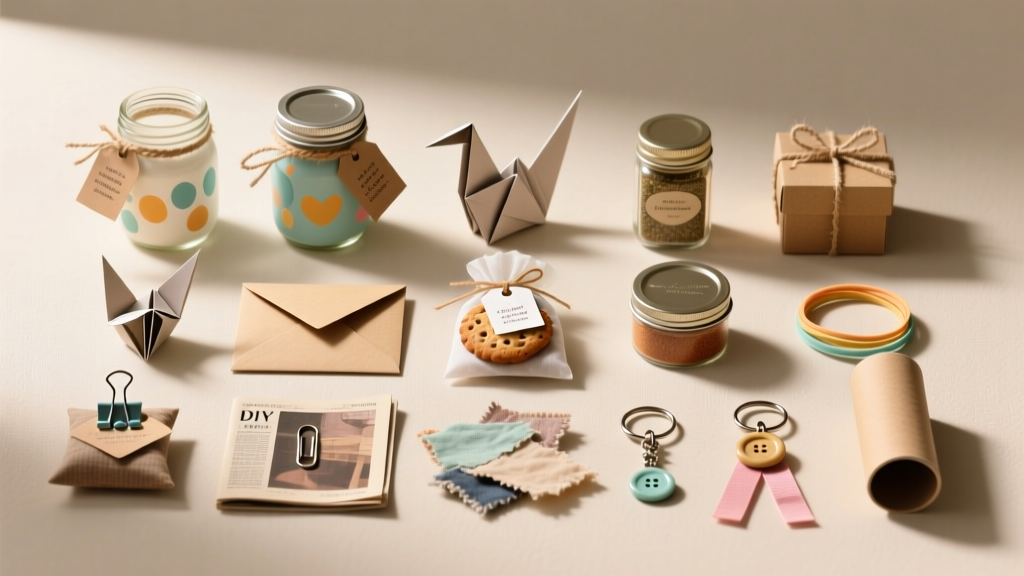 17 Do It Yourself Party Favors That Actually Impress Guests (No Craft Store Run Needed — Just $5, 20 Minutes & What’s Already in Your Drawer)
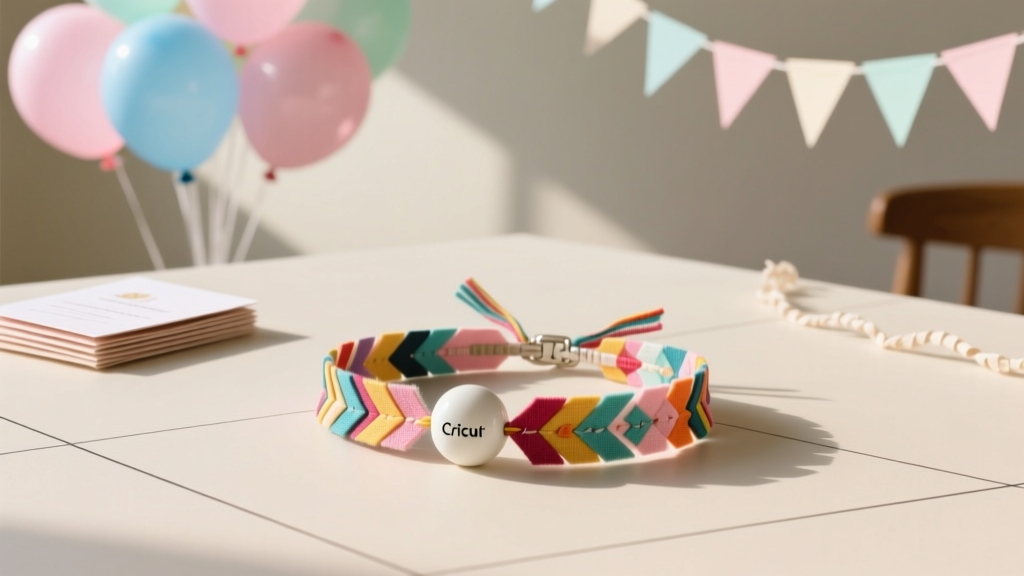 DIY Friendship Bracelets Using Cricut
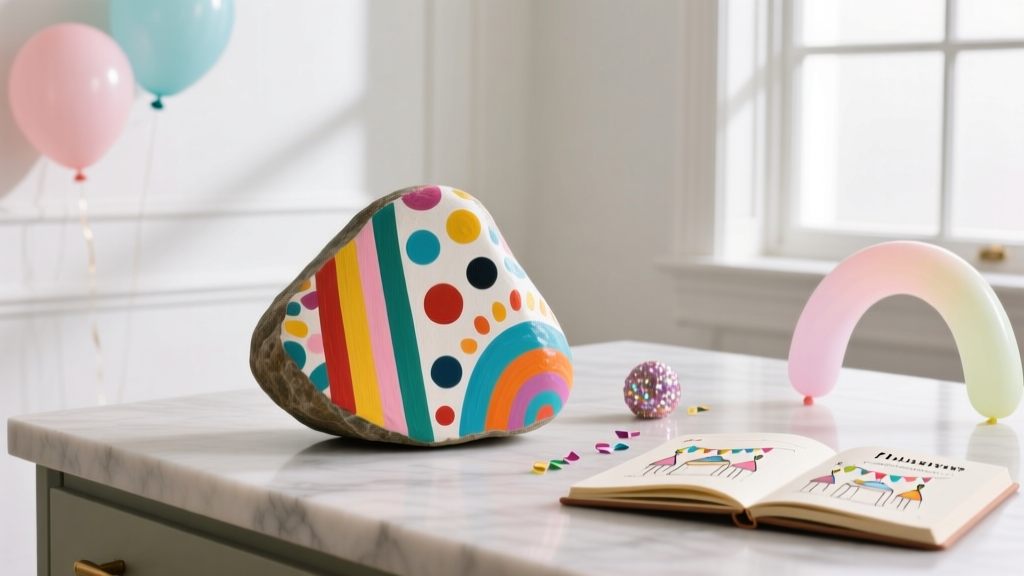 Budget DIY Painted Rocks Under $10
 What Is a Third Party Adapter? The Hidden Risks (and Real Savings) You’re Ignoring When Charging Your Laptop, Camera, or EV — Here’s How to Spot the Safe Ones in Under 60 Seconds
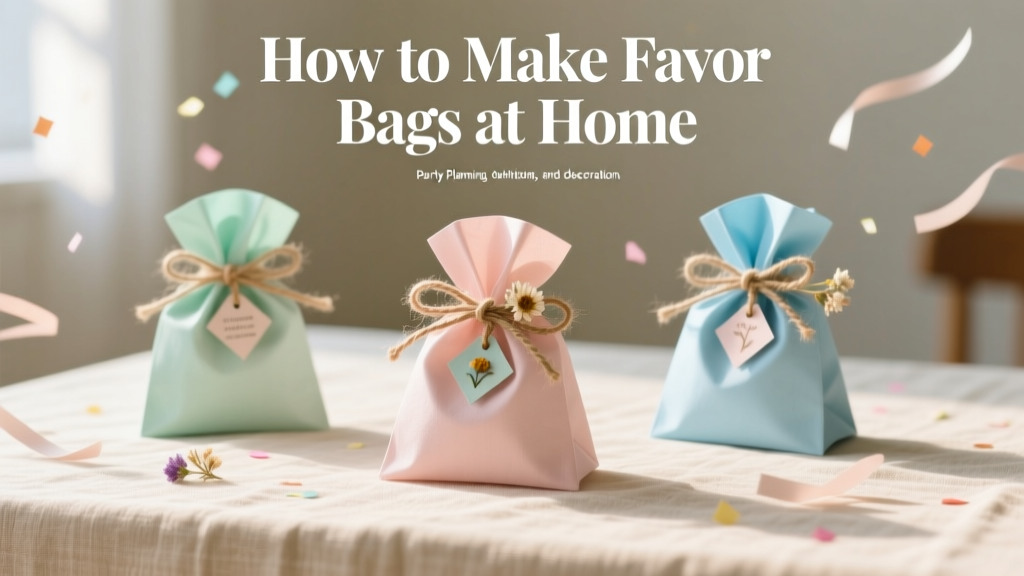 How to Make Favor Bags at Home