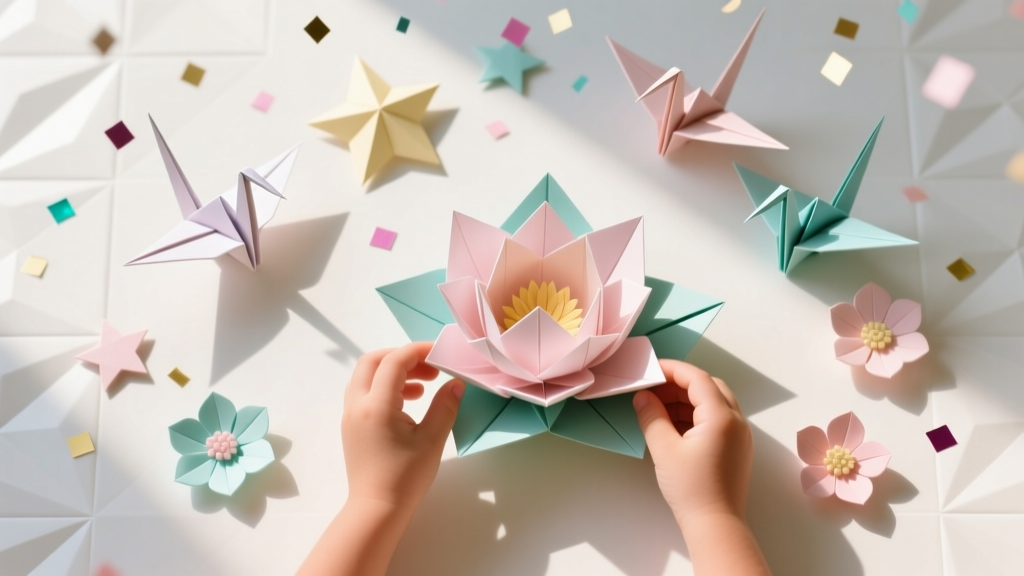
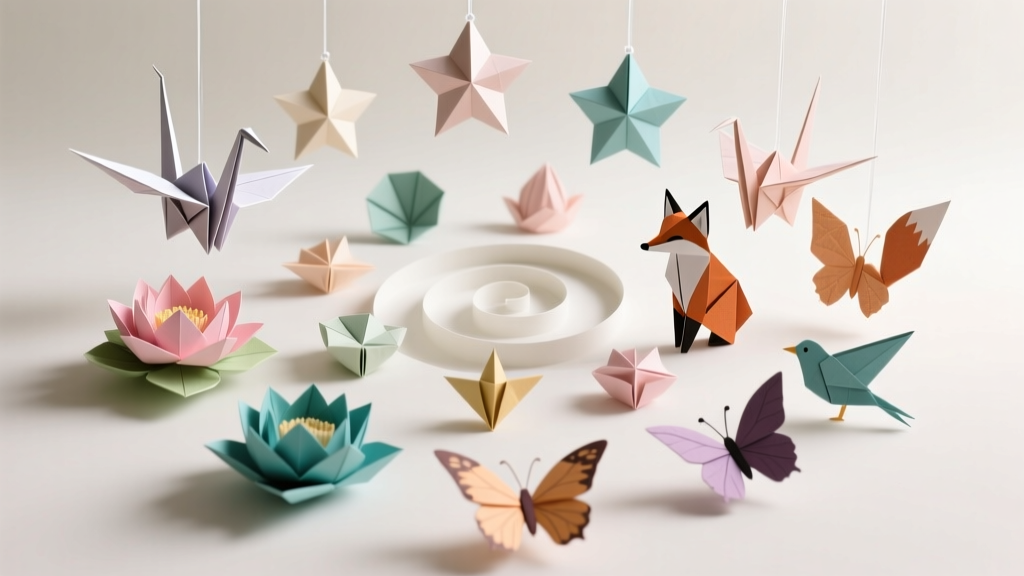
Kids' Craft: Origami Decorations
Origami decorations are one of those magical party projects that feel impressive but are totally doable—even with kids at the table. With just paper and a few simple folds, you can create handmade party decorations that look polished, colorful, and full of personality. They’re also wonderfully budget-friendly, making them a smart choice for birthdays, baby showers, classroom celebrations, and holiday gatherings.
What makes origami especially fun for kids (and satisfying for adults) is the quick payoff. You can fold a star in minutes, turn a few pieces into a garland, and suddenly your space looks party-ready. Plus, origami is a fantastic screen-free activity that builds patience, fine motor skills, and creativity—while producing décor you’ll actually use.
This guide walks you through beginner-friendly origami party decorations and a few advanced variations for confident folders. You’ll get materials with estimated costs, step-by-step instructions, pro tips, troubleshooting help, and easy ways to customize everything to match your party theme.
Project Overview: Skill Level, Time, and Best Party Uses
- Skill level: Beginner to Intermediate (advanced options included)
- Age guidance: Ages 6+ with supervision; ages 9+ can do most folds independently
- Time estimates:
- Single origami shape (heart/star/crane): 5–15 minutes
- Mini garland (10–12 pieces): 30–60 minutes
- Backdrop cluster (25–40 pieces): 1.5–3 hours
- Best uses: DIY party decorations, table décor, cupcake toppers, gift toppers, photo backdrops, party favors
Materials List (With Estimated Costs)
Paper (Choose One or Mix)
- Origami paper (6 in x 6 in / 15 cm x 15 cm, double-sided): great for stars, hearts, cranes. Estimated cost: $6–$12 for 100 sheets.
- Cardstock (8.5 in x 11 in / 216 mm x 279 mm, 65–80 lb): sturdy for banners and larger décor. Cut into squares. Estimated cost: $6–$10 for 50 sheets.
- Scrapbook paper (12 in x 12 in / 30.5 cm x 30.5 cm): perfect for big statement pieces. Estimated cost: $0.75–$1.25 per sheet or $10–$20 per pad.
- Metallic or foil origami paper: adds shine for birthdays and New Year’s. Estimated cost: $6–$15 per pack.
Tools & Supplies
- Kid-safe scissors (or precision craft scissors for adults): $3–$10
- Paper trimmer (optional but helpful for cutting perfect squares): $12–$25
- Ruler (12 in / 30 cm) and pencil: $2–$8
- Glue options:
- Glue stick (low mess): $1–$3
- Quick-dry tacky glue (strong hold): $3–$6
- Double-sided tape (fast and clean): $3–$8
- String or twine for garlands: $3–$7
- Mini clothespins (optional for hanging pieces): $4–$8
- Hole punch (optional for banners): $5–$12
- Bone folder (optional for crisp creases; a spoon also works): $6–$12
Optional Party-Friendly Extras
- Self-adhesive gems or stickers: $3–$8
- Fine-tip markers for faces/messages: $2–$6
- Battery fairy lights to wrap around garlands: $6–$15
- Command strips or removable wall hooks for hanging: $5–$10
Prep Step: How to Cut Perfect Squares (Fast)
Most origami models start with a square. If you’re using letter-size paper (8.5 in x 11 in), here’s a quick method.
- Place the paper vertically (portrait).
- Fold the top left corner down to align the top edge with the right edge, forming a triangle.
- Crease firmly, then cut off the rectangle strip at the bottom.
- Unfold—now you have a perfect square.
Recommended sizes for party décor:
- 3 in x 3 in (7.5 cm x 7.5 cm): tiny stars for confetti or cupcake toppers
- 6 in x 6 in (15 cm x 15 cm): best all-around size for kids and garlands
- 8 in x 8 in (20 cm x 20 cm) or 10 in x 10 in (25 cm x 25 cm): statement hearts, cranes, wall clusters
Origami Decoration #1: Classic Paper Heart (Beginner)
Great for: Valentine’s parties, baby showers, “Love” themes, gift toppers, table scatter.
Time: 5–10 minutes each
Paper size: 6 in x 6 in (15 cm x 15 cm) recommended
Step-by-Step Instructions
- Start with your paper color-side down (if using two-sided paper).
- Fold in half diagonally to form a triangle. Crease, then unfold.
- Fold in half diagonally the other direction. Crease, then unfold. You should see an “X” crease.
- Fold the bottom corner up to meet the center point where the creases cross.
- Fold the left and right corners inward toward the center, creating a kite-like shape.
- Round the top: fold the two top points down slightly to soften the heart shape.
- Clean the edges: fold tiny triangles on sharp corners to make the heart look smoother.
- Flip over and adjust the curves with gentle finger pressure.
Quick Party Display Ideas
- String hearts on twine (hole punch the top corners or tape to the back).
- Use as name cards: write guests’ names with a metallic marker.
- Make a heart “confetti bowl” centerpiece with 30–50 mini hearts.
Origami Decoration #2: Lucky Star Garlands (Kid Favorite)
Great for: birthdays, sleepovers, rainbow parties, space themes, New Year’s.
Time: 2–5 minutes per star (after a couple practice tries)
Paper: origami star strips or cut your own
Paper Strip Measurements
- Standard strip: 1 cm x 24 cm (about 3/8 in x 9.5 in)
- Chunky star strip: 1.5 cm x 30 cm (about 5/8 in x 12 in)
Step-by-Step Instructions
- Tie a knot near one end of the strip (make a flat pentagon shape). Pull gently so it’s snug, not crumpled.
- Flatten the knot by pressing it between your fingers.
- Wrap the long tail around the pentagon, following the edges (like you’re tracing the shape). Keep wraps neat and aligned.
- Tuck the remaining tail into a pocket on the pentagon to secure it.
- Puff the star: pinch each side of the pentagon inward (one side at a time). The star points will pop out.
Turn Stars into Party Decorations
- Garland: thread stars onto clear fishing line using a needle (adult task) or glue stars onto ribbon at intervals.
- Table scatter: mix metallic stars with solid colors for instant sparkle.
- Party favors: fill mini jars with 20–40 stars and add a tag.
Origami Decoration #3: Paper Cranes for a Floating Backdrop (Intermediate)
Great for: photo backdrops, milestone birthdays, graduation parties, wedding showers.
Time: 10–15 minutes per crane
Paper size: 6 in x 6 in (15 cm x 15 cm) for lightweight hanging; 8 in x 8 in (20 cm x 20 cm) for statement pieces
Step-by-Step Instructions (Clear and Party-Ready)
- Start color-side down. Fold diagonally both ways, crease, and unfold.
- Fold in half horizontally and vertically (you’ll have multiple creases). Unfold again.
- Collapse into a square base: bring two opposite corners together so the paper collapses into a smaller square (open flaps at the bottom). Press flat.
- Create a kite shape: fold the left and right lower edges of the top layer into the center line. Crease.
- Fold the top triangle down over those folds. Crease well, then unfold the last three folds.
- Lift the top flap and “petal fold” upward, using the existing creases to flatten into a long diamond shape.
- Flip and repeat on the other side.
- Form the neck and tail: fold the two lower “legs” upward (inside reverse fold if you know it; otherwise fold and press firmly).
- Make the head: fold down a small tip on one side (another inside reverse fold creates the classic crane head).
- Open the wings: pull wings gently down and adjust the body so it stands nicely.
How to Hang a Crane Backdrop
- Cut clear fishing line into 24–60 in (60–150 cm) strands.
- Attach cranes with a tiny dot of tacky glue or thread through the body (adult help recommended).
- Hang lines from a curtain rod, wooden dowel, or removable hooks.
- Space cranes 3–6 in (7.5–15 cm) apart for a “floating” look.
Pro Tips for Crisp Folds and Kid-Friendly Success
- Use a creasing tool: a bone folder is great, but the back of a spoon works surprisingly well.
- Match paper to the model: thin origami paper is easier for detailed folds; cardstock is better for simple shapes that need structure.
- Teach “corner to corner, edge to edge” alignment: most messy origami comes from misaligned starting folds.
- Batch your folding: cut all squares/strips first, then fold as a group—perfect for party prep.
- Make a sample piece: keep one “reference model” on the table so kids can compare steps.
Fun Variations (Beginner to Advanced)
Beginner-Friendly Adaptations
- Bigger paper, fewer tears: use 8 in x 8 in (20 cm x 20 cm) squares for small hands.
- Sticker décor: add stars, smiley faces, or themed stickers after folding.
- No-string garland: tape hearts/stars directly onto ribbon and hang.
Advanced Variations for Extra “Wow”
- Modular origami balls (kusudama): assemble 12–30 folded units into a hanging sphere centerpiece.
- Ombre garlands: sort paper from light-to-dark shades for a designer look.
- Layered backdrop: mix cranes + stars + paper fans for a textured party photo wall.
Troubleshooting: Fixes for Common Origami Problems
- Problem: Folds keep popping open.
Fix: Use slightly thinner paper or add a tiny dot of glue on the final tuck (especially for stars). - Problem: Model looks lopsided.
Fix: Check the first 2 folds—if they’re off-center, everything after will skew. Re-fold with careful alignment. - Problem: Paper is tearing at corners.
Fix: Crease gently (don’t “saw” the fold). Avoid very thick cardstock for cranes and detailed folds. - Problem: Creases aren’t sharp.
Fix: Press on a hard surface and run a bone folder/spoon along the crease. - Problem: Kids are frustrated mid-project.
Fix: Switch to hearts or stars for quick wins, then return to cranes later.
Common Crafting Mistakes to Avoid
- Using the wrong paper thickness: thick paper makes precise folds hard; save cardstock for simple banner shapes.
- Skipping the “flatten” step: after every major fold, press the model flat before moving on.
- Over-gluing: origami should be mostly fold-based; too much glue warps paper and looks messy.
- Not planning your color palette: pick 2–4 main colors that match your party theme for cohesive DIY party decorations.
- Hanging décor without testing: assemble one strand first to check spacing, length, and balance before making ten more.
FAQ: Kids’ Origami Party Decorations
1) What’s the best origami paper size for kids?
For beginners, 6 in x 6 in (15 cm x 15 cm) is the sweet spot. If kids are struggling with small folds, bump up to 8 in x 8 in (20 cm x 20 cm) for easier handling.
2) Can I use regular printer paper for origami decorations?
Yes. Printer paper works well for practice and simple models like hearts. For cranes or anything with multiple layers, lighter paper (origami paper) folds more cleanly and reduces tearing.
3) How do I make an origami garland that holds up at a party?
Use ribbon or twine, and attach pieces with double-sided tape or a small dot of tacky glue. For hanging strands (like cranes), fishing line looks “invisible” and creates a floating effect.
4) How far in advance can I make handmade paper decorations?
You can fold most origami decorations 1–3 weeks ahead. Store them in a shallow box with tissue paper layers to prevent crushing, and keep them away from humidity.
5) What are the easiest origami models for a kids’ party craft table?
Lucky stars and simple hearts are the easiest crowd-pleasers. They’re quick, forgiving, and look great as DIY party décor even when each one is a little different.
6) How can I make origami decorations look more “professional”?
Stick to a coordinated color scheme, use crisp creases, and repeat shapes in batches (for example: 12 matching hearts on one banner). Adding metallic accents or mixing matte + foil paper also elevates the look.
Wrap-Up: Make Your Party Décor Personal (and Proudly Handmade)
Origami decorations turn simple paper into party magic—garlands, centerpieces, backdrops, and sweet little details that guests notice right away. Start with hearts or stars for instant wins, then level up to cranes when you’re ready for a bigger statement. A few folds today can mean a room full of color and handmade charm tomorrow.
Try one model, make a small set, then build from there—your DIY party decorations don’t need to be perfect to be beautiful. When you’re ready for more creative party prep, explore more DIY craft ideas on smartpartyprep.com.
More Articles
 How to Make a Party Hat from Paper in Under 8 Minutes (No Glue Gun, No Scissors Required — Just 3 Sheets & a Stapler)
 Budget DIY Coasters Under $50
 Advanced Photo Frames for Crafters
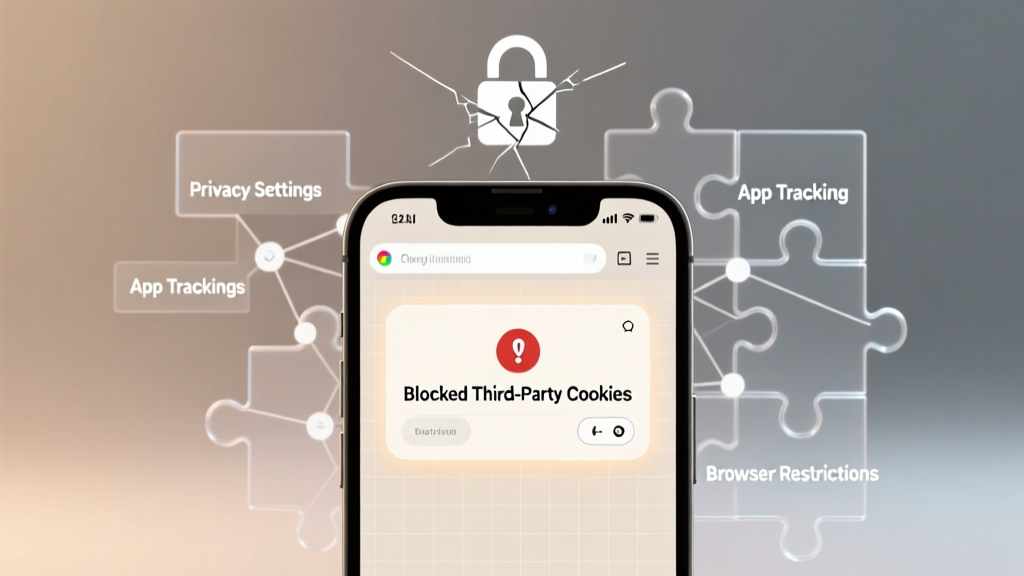 How to Unblock Third Party Cookies on iPhone (2024): The Real Reason It’s So Hard — And Exactly What You Can & Cannot Do Without Jailbreaking or Switching Browsers
 Seasonal Wooden Signs Ideas
 Easy Wall Art for Beginners
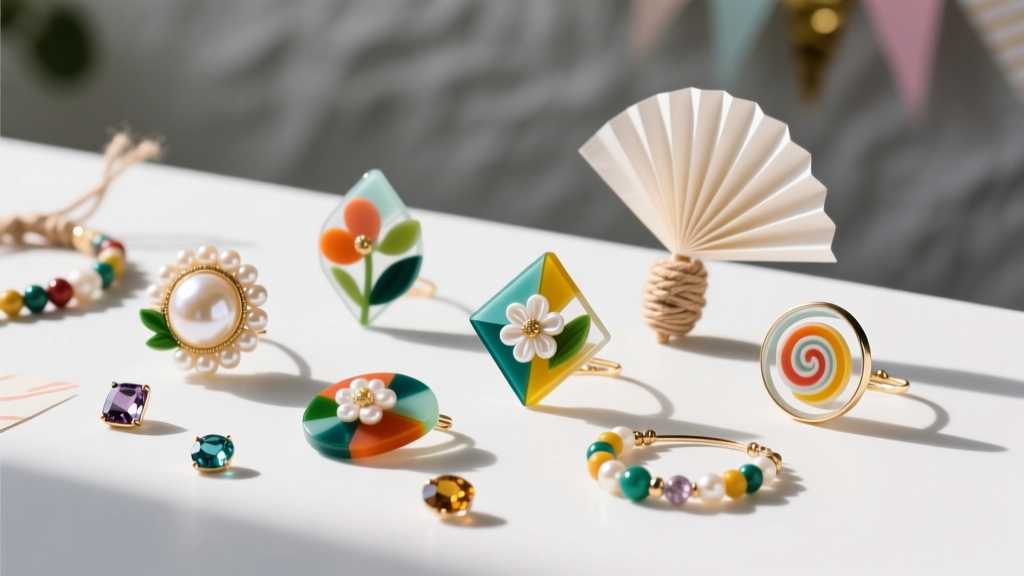 Budget DIY Resin Jewelry Under $15
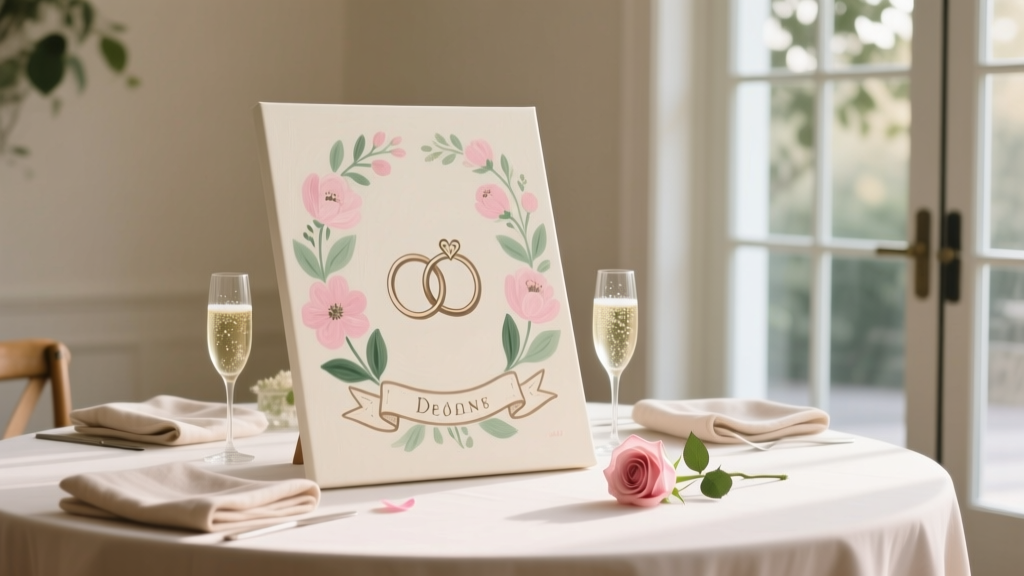 DIY Painted Canvas for Weddings
 20 Creative Origami Decorations Ideas
 Step-by-Step Paper Flowers Tutorial