
DIY Balloon Arches with Dollar Store Supplies
A balloon arch instantly turns any space into a party space. Whether you’re decorating for a birthday, baby shower, graduation, or backyard celebration, a colorful arch creates that “wow” moment in photos—without needing professional event prices.
The best part: you can build a gorgeous DIY balloon arch with mostly dollar store supplies and a few smart tool upgrades. This is one of those DIY crafts that looks fancy, but the steps are totally doable for beginners. You’ll learn a repeatable method you can use again and again for handmade party decorations—custom colors, custom sizes, and custom shapes.
If you’ve ever searched for affordable party decorations that still feel premium, this is your project. Grab a balloon pump, clear an hour or two, and let’s make something fun.
Project Overview: Skill Level, Time, and Finished Size
- Skill level: Beginner-friendly (with optional advanced upgrades)
- Total time: 60–120 minutes (plus optional prep the day before)
- Best build window: Same day as your party, or 12–24 hours before
- Typical size: 6–8 ft arch for a door, dessert table, or photo wall
- Great for: birthdays, showers, weddings, graduations, holidays, storefronts
Dollar Store Materials List (With Estimated Costs)
Prices vary by location, but these estimates keep you close to a true budget balloon arch. If your dollar store carries party brands, check balloon quality—slightly thicker balloons pop less while you’re building.
Core Supplies (Budget-Friendly Must-Haves)
- Latex balloons (assorted sizes) – 2–3 packs (look for 10–12 inch balloons; add one pack of 5-inch if available) ($3–$6)
- Balloon decorating strip (balloon arch tape with holes) – 1 roll ($1.25–$3)
- Glue dots (or double-sided balloon glue) – 1 pack ($1.25–$3)
- Fishing line or clear string – 1 roll ($1.25–$3)
- Command hooks (or removable wall hooks) – 2–4 hooks depending on placement ($4–$8)
- Scissors – 1 pair ($1.25)
- Tape measure (or a measuring tape) – 1 ($1.25)
Strongly Recommended Tools (Small Upgrade, Big Difference)
- Hand balloon pump (dollar store if available) or electric balloon pump (from a craft store/online) ($1.25–$15+)
- Balloon sizer (optional) or use a DIY sizing guide (see below) ($0–$5)
Optional Add-Ons for a “Pro” Look
- Greenery garland (faux eucalyptus/ivy) ($3–$10)
- Crepe paper streamers for texture ($1.25–$3)
- Foil balloons (stars, hearts, numbers) for focal points ($1.25–$6)
- Backdrop tablecloth or plastic door curtain behind the arch ($1.25–$5)
Picking Balloon Colors Like a Designer (Easy Formula)
For DIY party decorations, color choice does half the work. Use a simple palette so your arch looks intentional instead of “random balloons.”
- Classic trio: 2 main colors + 1 accent (example: blush + white + gold)
- Modern neutral: sand/tan + white + black accents
- Bold party mix: 3 bright colors + 1 neutral (example: teal + lime + pink + white)
How many balloons do you need? For a 7 ft arch, plan on:
- 10–12 inch balloons: 60–90 balloons
- 5 inch balloons: 10–25 balloons for gaps and “designer clusters”
Step-by-Step: DIY Balloon Arch with Balloon Strip
Step 1: Measure Your Space and Plan the Arch
- Choose the location: doorway, behind a dessert table, photo wall, fireplace mantel, or fence.
- Measure the width and height:
- Doorway arch: plan 6–7 ft of balloon strip
- Table backdrop (6 ft table): plan 7–9 ft of balloon strip
- Decide the shape:
- Classic arch: symmetrical “rainbow” curve
- Organic garland style: asymmetrical with varied balloon sizes
Beginner-friendly tip: Mark your wall hook spots with painter’s tape first so you can adjust before sticking anything permanently.
Step 2: Create a Balloon Size Guide (So Your Arch Looks Polished)
Uniform sizing makes your balloon arch look professional. If you don’t have a balloon sizer, make one in 2 minutes:
- Cut a piece of cardboard from a shipping box.
- Draw a circle and cut it out:
- 10 inch circle for standard balloons
- 5 inch circle for mini balloons
- As you inflate, gently press the balloon against the hole to check size.
Step 3: Inflate Balloons (Work in Batches)
- Inflate your balloons to mostly the same size (around 10–11 inches for standard).
- Tie each balloon with a tight knot.
- Sort into piles by color so you can build a balanced pattern.
Time saver: Inflate 20–30 balloons at a time, then assemble, then inflate more. This keeps your workspace from turning into a balloon avalanche.
Step 4: Build the Base Using the Balloon Decorating Strip
- Cut your balloon strip to length:
- 6 ft for a small arch
- 8 ft for a fuller statement arch
- Insert balloon knots into the holes in the strip. Alternate colors as you go.
- For a fuller look, place balloons close together—ideally every 1–2 holes depending on strip style.
Pattern tip: Repeat a simple rhythm: Color A, Color B, Color A, Accent. Then switch placement as you go for an “organic” feel.
Step 5: Shape the Arch (Hang First, Perfect Second)
- Attach 2 Command hooks where the arch will start and end.
- Tie fishing line to one end of the strip, loop it onto the first hook.
- Gently lift and attach the other end to the second hook.
- Adjust the curve by:
- Adding a middle hook to pull the arch up
- Shortening or lengthening the fishing line on one side
For a table garland: You can also attach the balloon strip directly to the table edge using tape (best on plastic table covers) and let it cascade upward to a wall hook.
Step 6: Fill Gaps with Mini Balloons (The “Designer” Step)
- Inflate 5-inch balloons.
- Use glue dots to stick mini balloons into any visible holes or flat spots.
- Add mini balloons in clusters of 2–3 for a lush, organic balloon garland look.
Step 7: Add Optional Greenery, Streamers, or Focal Foils
- Tuck faux greenery into the arch by weaving stems through the strip holes or tying with fishing line.
- Add crepe paper tassels or ribbon tails at one end for movement.
- Anchor a foil balloon (like a number balloon) slightly off-center for a photo-ready focal point.
Pro Tips for a Fuller, Stronger Balloon Arch
- Use varied sizes: Mix 10–11 inch balloons with a few slightly larger (12 inch) balloons. The size variation makes the arch look high-end.
- Double your strip: For extra thickness, run a second balloon strip parallel and connect them with fishing line.
- De-puff for durability: Overinflated balloons pop more easily. Inflate, then let out a tiny bit of air before tying.
- Balance color placement: Step back every 10 balloons. If one color clumps, fix it early.
- Protect from heat: Direct sun can expand balloons and cause popping. Keep balloon arches shaded outdoors.
Easy Variations (Beginner to Advanced)
Beginner-Friendly Adaptations
- Half arch: Build a 4–5 ft garland and place it on one side of a backdrop for a simple, modern look.
- Doorframe garland: Use 5–6 ft of strip and attach to the top and one side of a doorway.
- Single-color arch: All white (or all pastel) looks elegant and hides pattern mistakes.
Advanced Variations for DIY Enthusiasts
- Freestanding balloon arch: Create a base using two weighted balloon columns (buckets or pots filled with rocks/sand) and curve a PVC pipe between them. Attach garland to the frame with zip ties or fishing line.
- Spiral color placement: Plan a repeating sequence and keep it consistent end-to-end for a clean “candy stripe” look.
- Textured arch: Mix matte and metallic balloons, add greenery, and tuck in paper flowers or pom-poms.
Troubleshooting: Fixes for Common Balloon Arch Problems
- Problem: The arch looks skinny.
- Fix: Add more balloons to the strip, especially near the center. Fill gaps with 5-inch balloons using glue dots.
- Problem: Balloons keep popping while assembling.
- Fix: Underinflate slightly, keep balloons away from textured walls, and avoid sharp nails or rough hooks. Don’t build right next to a heat vent or sunny window.
- Problem: The arch droops in the middle.
- Fix: Add a third hook at the highest point and tie fishing line from the strip to the hook to “lift” the center.
- Problem: The colors look uneven or clumpy.
- Fix: Peel off a few balloons and reinsert in different holes. This is easier than starting over.
- Problem: Balloons slide or twist weirdly.
- Fix: Add a few short ties of fishing line around the strip to lock sections in place, or add mini balloons as “wedges.”
Common Crafting Mistakes to Avoid
- Overinflating balloons: This makes popping more likely and creates a “too tight” look. Slightly underinflated balloons look richer and last longer.
- Skipping measurements: Eyeballing length often leads to an arch that’s too short or too long for your space. Measure first, then cut your strip.
- Not buying enough balloons: A balloon arch always takes more than expected—especially if you want that full organic garland style. Grab one extra pack if you can.
- Using weak hanging points: Tape alone often fails on textured walls. Use removable hooks and fishing line for a secure hold.
- Building too early: Most latex balloons look best within 24 hours. If you need to prep ahead, inflate and store in large trash bags (loosely) in a cool room.
- Forgetting the “finishing step”: Mini balloons and a few accent pieces (greenery, streamers, foil) are what make handmade party decorations look professionally styled.
FAQ: DIY Balloon Arches
How long does a DIY balloon arch last?
Indoors, most balloon arches look great for 12–24 hours and can last 2–3 days with some softening. Outdoors, heat and sun shorten the lifespan—expect a few hours to one day depending on weather.
Do I need helium for a balloon arch?
No—this is an air-filled balloon arch. Air-filled balloons last longer, cost less, and are easier to control when building balloon garlands and arches.
How many balloons do I need for a 7-foot balloon arch?
Plan for 60–90 standard balloons, plus 10–25 mini balloons for filling gaps. If you want a very full organic look, aim closer to the higher numbers.
Can I make a balloon arch with no balloon strip?
Yes. You can tie balloons into quads (groups of four) and twist them around a long string or fishing line. The balloon strip method is usually faster and easier for beginners, especially with dollar store supplies.
What’s the best way to transport a balloon arch?
If it’s already assembled, transport it in a large vehicle and keep it from rubbing against rough surfaces. For easier transport, build it in two sections (for example, two 4-foot pieces) and connect them on-site with fishing line and a few glue dots.
How do I keep balloons from oxidizing (turning matte/chalky)?
Oxidation happens mostly outdoors. Keep the arch out of direct sun and wind when possible. If you’re doing an outdoor event, consider placing it under a covered patio or using balloons labeled as higher quality if available.
Wrap-Up: Your Dollar Store Balloon Arch Is Party-Ready
This is one of the most satisfying DIY crafts for party decorations because it’s customizable, forgiving, and high-impact. Start simple with a classic arch, then level up with mini balloons, greenery, and fun focal pieces once you’ve got the hang of it. The more you make, the faster (and better) you’ll get—your future celebrations will thank you.
Want more handmade projects, budget party styling tips, and creative DIY décor? Keep exploring new ideas on smartpartyprep.com.
More Articles
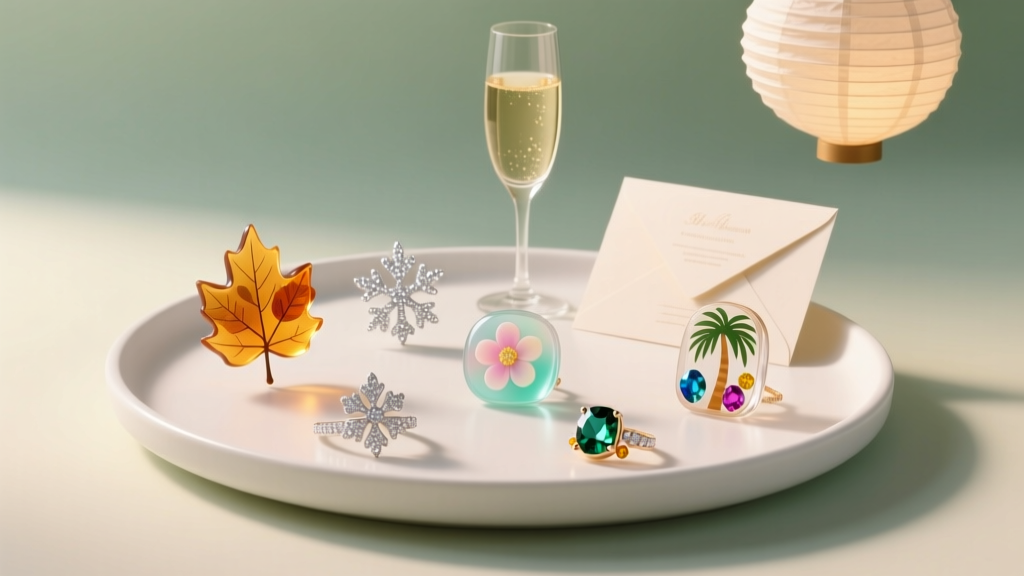 Seasonal Resin Jewelry Ideas
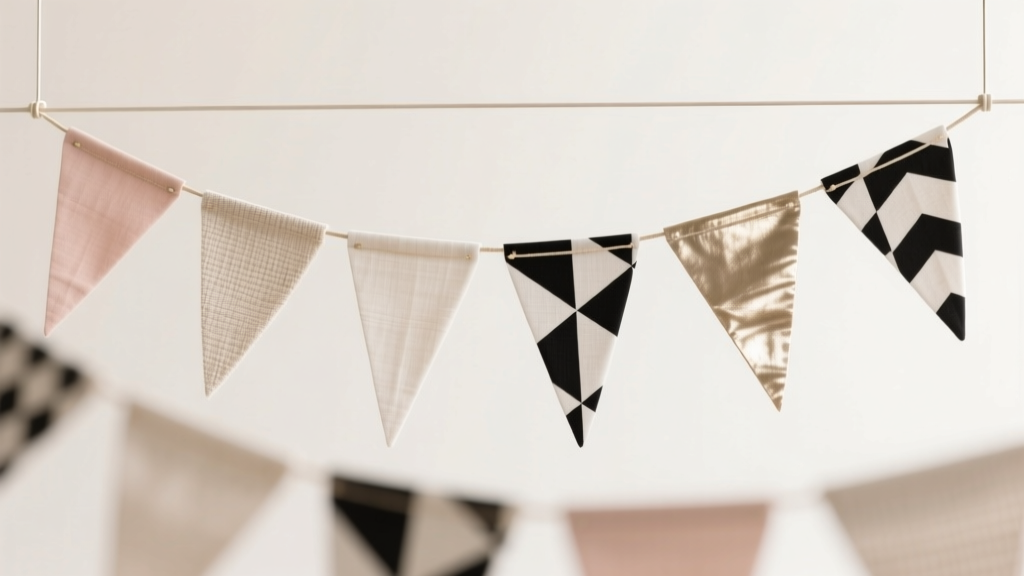
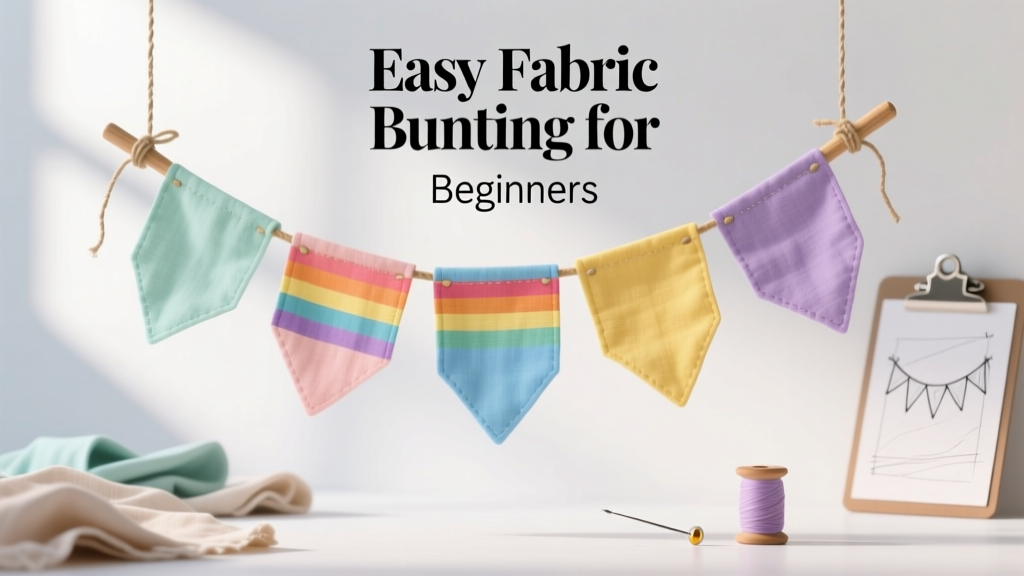 Easy Fabric Bunting for Beginners
 How to Unblock 3rd Party Session Cookies in 2024: The Only 5-Step Guide You’ll Need (No Extensions, No Coding, Works on Chrome, Safari & Edge)
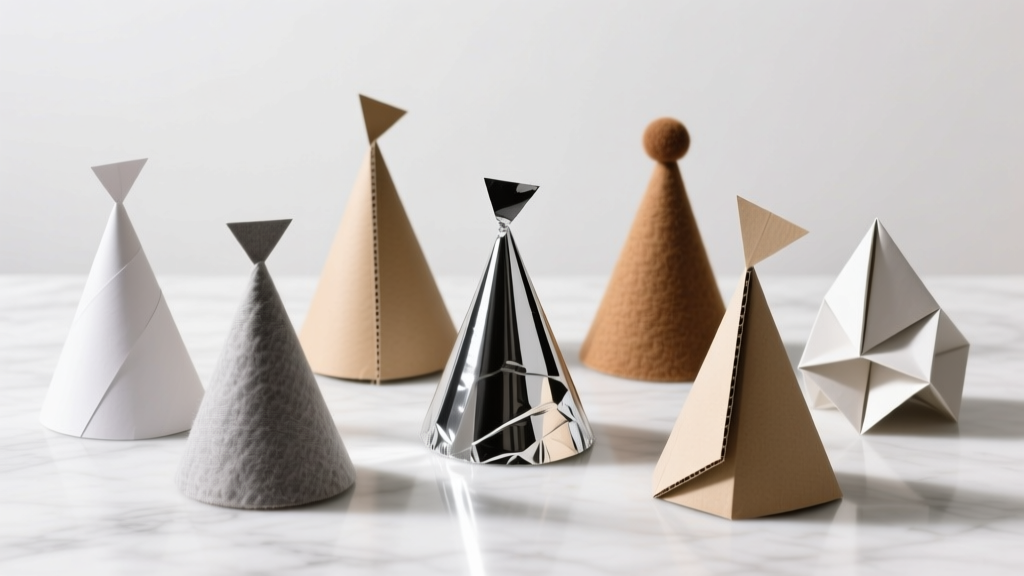 How to Make a Party Hat in Under 12 Minutes (No Glue Gun, No Sewing, No Stress) — 7 Foolproof Methods That Actually Hold Their Shape
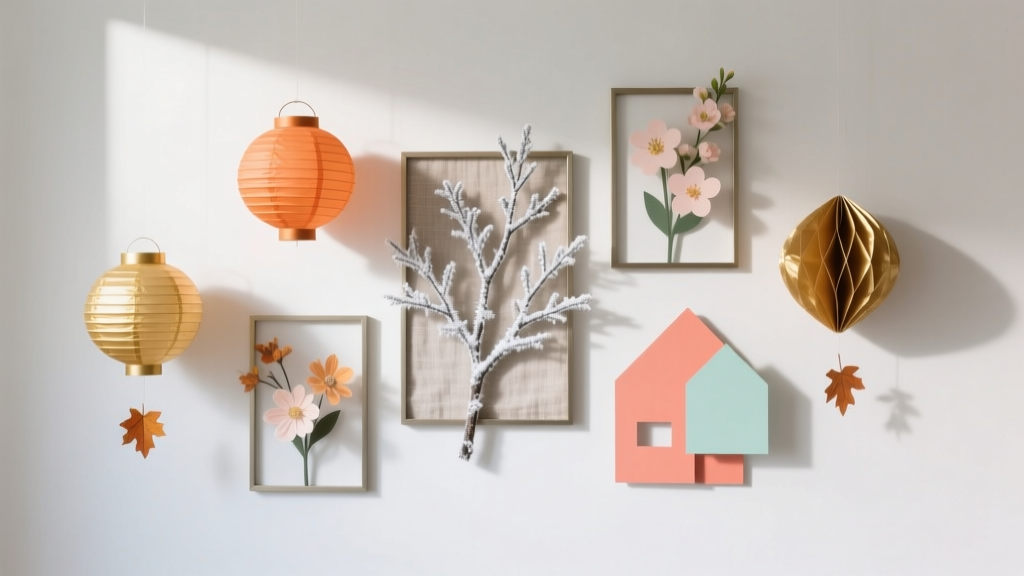 Seasonal Wall Art Ideas
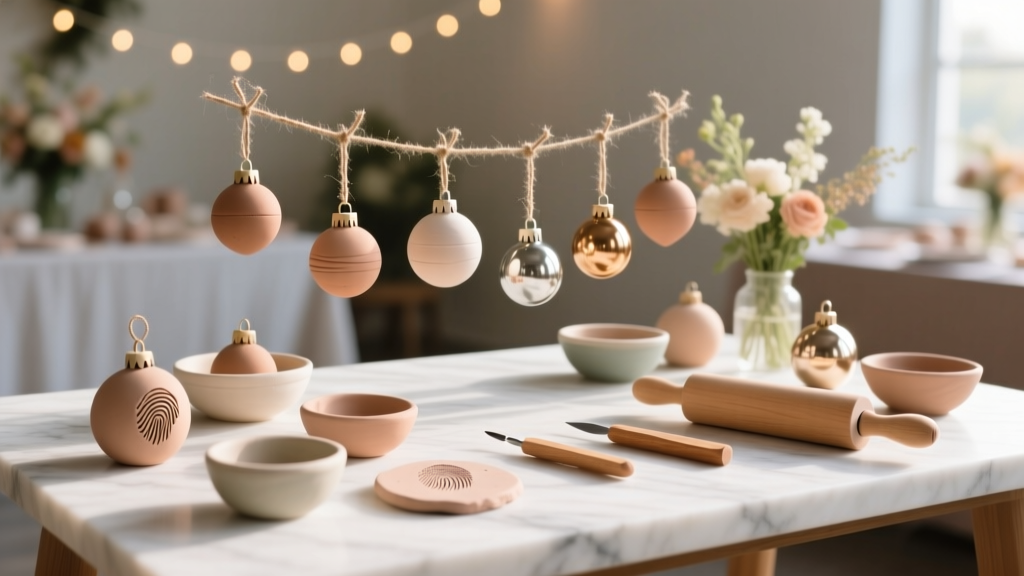 DIY Clay Ornaments Party Favors
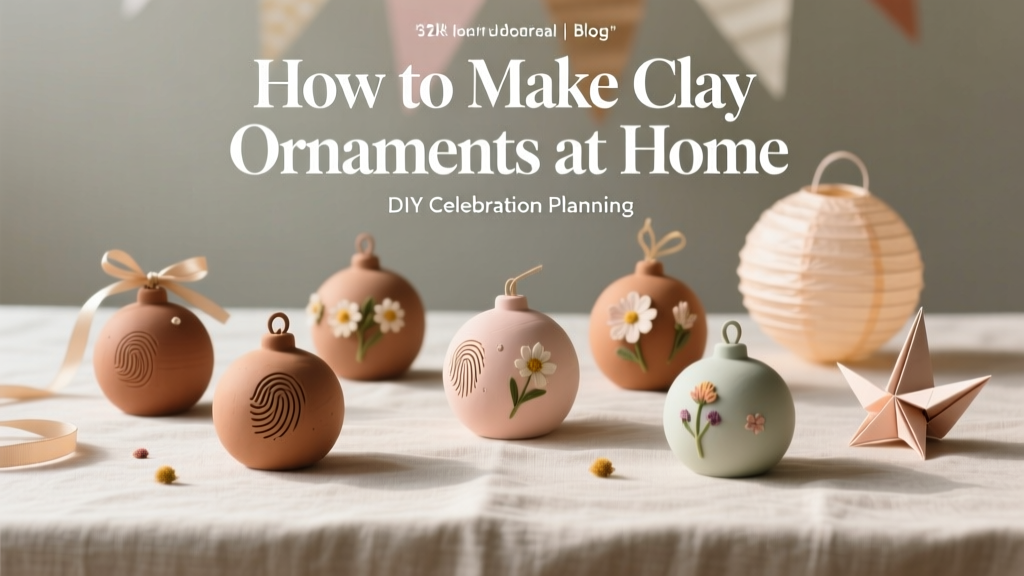 How to Make Clay Ornaments at Home
 Modern Fabric Bunting Designs
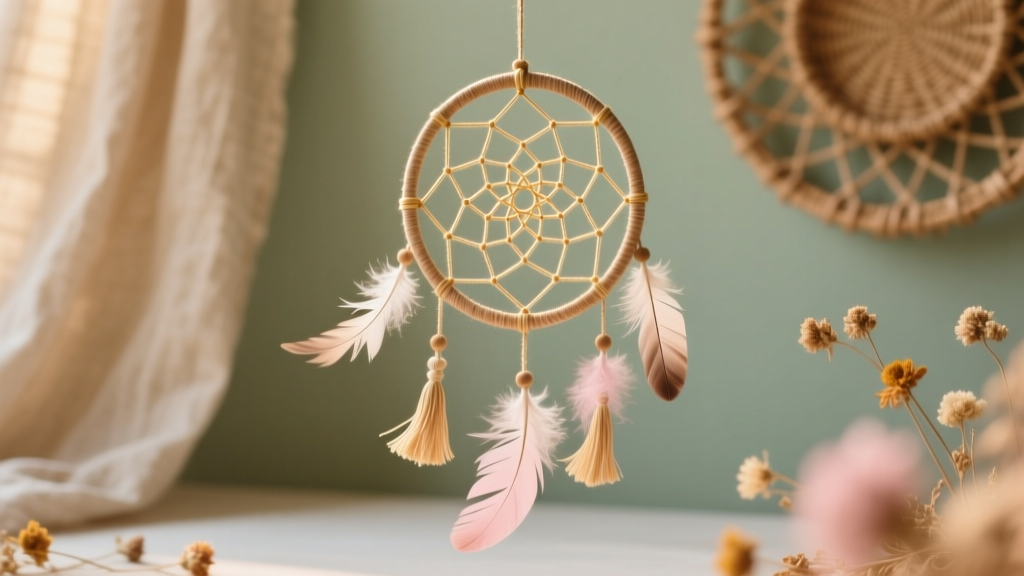 How to Make Dream Catchers at Home
 DIY Memory Books with Dollar Store Supplies