
Budget DIY Invitations Under $25
Handmade invitations are one of those party details that instantly set the mood. They tell guests what to expect—fun, cozy, playful, elegant—before they even mark the date. The best part? You don’t need fancy equipment or a huge craft budget to make invitations that look polished and personal.
This project is perfect for birthdays, baby showers, bridal showers, graduation parties, holiday get-togethers, and even casual backyard celebrations. With a few basic tools and smart material choices, you can create a full set of DIY party invitations for under $25—often with leftovers for matching party decorations like cupcake toppers or thank-you tags.
Below you’ll find three budget-friendly invitation styles (choose one or mix them), with step-by-step instructions, pro tips, and easy upgrades. Whether you’re a beginner DIY enthusiast or a seasoned crafter, you’ll be able to customize colors, themes, and wording to fit your party vibe.
Project Overview: Time, Skill Level, and What You’ll Make
- Skill level: Beginner to Intermediate (advanced variations included)
- Total time: 60–120 minutes for 20 invitations (faster after the first 2–3)
- Batch size: 15–30 invitations depending on cardstock and design
- Finished invitation size: 5 in x 7 in (standard) or 4.25 in x 5.5 in (A2)
- Best for: Birthday parties, showers, kids’ parties, themed events, holiday parties
Materials List (Under $25) + Estimated Costs
Prices vary by store and region, but this list is designed to keep you under budget while still using sturdy supplies. Many items are multipurpose for other handmade party decorations.
Core Supplies (Choose these first)
- Cardstock (8.5 in x 11 in, 50–100 sheets, 65–110 lb): $6–$10
- Envelopes (A7 for 5x7 invites or A2 for 4.25x5.5): $4–$8
- Adhesive (glue runner or double-sided tape): $3–$6
- Black ink pen (0.5–0.8 mm) or fine marker: $1–$3
Tools (Budget-Friendly Recommendations)
- Paper trimmer (basic guillotine or sliding trimmer): $0 if you have one / $10–$15 if buying (optional; scissors can work)
- Scissors (sharp craft scissors): $0–$8
- Ruler (12 in): $0–$2
- Bone folder (optional, for crisp folds): $0–$6 (a butter knife or the back of a spoon also works)
Decor Add-Ons (Pick 1–2 to stay under $25)
- Washi tape (1–3 rolls): $3–$6
- Twine (baker’s twine or jute): $2–$5
- Stickers (theme or letter stickers): $2–$6
- Rubber stamp + ink pad (optional): $5–$10
- Confetti (optional, use sparingly): $2–$5
Budget example (typical): Cardstock ($8) + envelopes ($6) + glue runner ($4) + washi tape ($4) = $22 total.
Before You Start: Measurements and Cutting Guide
Option A: 5 in x 7 in Flat Invitation (Most Popular)
- Start with 8.5 in x 11 in cardstock.
- Cut into two 5.5 in x 8.5 in pieces.
- Trim each piece down to 5 in x 7 in (trim 0.5 in off the 5.5 side and 1.5 in off the 8.5 side).
Option B: A2 Folded Invitation (Beginner-Friendly and Classic)
- Cut cardstock to 8.5 in x 5.5 in.
- Score at 4.25 in and fold to create a 4.25 in x 5.5 in card.
Tool Tip
If you’re making more than 10 invitations, a basic paper trimmer saves time and keeps edges neat. If using scissors, draw light pencil guide lines and cut slowly to avoid wavy edges.
Design #1: Washi Tape Border Invitations (Fast + Modern)
Best for: birthdays, showers, brunch parties, casual celebrations
Time estimate: 3–5 minutes per invite after setup
Skill level: Beginner
Materials
- Cardstock invitations (5x7 flat or A2 folded)
- Washi tape (0.6 in to 0.75 in wide works great)
- Black pen or marker
- Glue runner (optional if tape is low-tack)
Step-by-Step Instructions
- Create a border: Apply washi tape along the top and bottom edges of the invitation. Leave a 0.25 in margin from the edge for a clean frame.
- Trim tape neatly: Flip the card over and trim excess tape with scissors. For extra crisp edges, use the paper trimmer to shave off 1/16 in from the taped side.
- Add your headline: Write or print a bold title centered near the top (examples: “Olivia’s Birthday Party,” “Baby Shower,” “You’re Invited!”).
- Fill in party details: Add the date, time, location, RSVP, and any theme notes. Keep lines evenly spaced—aim for 0.3–0.4 in between lines for readability.
- Secure if needed: If your washi tape lifts, add a small strip of glue runner underneath the ends.
Easy Variations
- Diagonal corners: Place washi tape across two opposite corners instead of a full border.
- Layered tape look: Use two tapes—one thin (0.3 in) layered over a wider tape for a custom pattern.
- Theme match: Choose colors that coordinate with your party decorations (balloons, tableware, banners).
Design #2: Layered Cardstock + Twine (Rustic and Elevated)
Best for: bridal showers, fall parties, graduation parties, garden parties
Time estimate: 5–8 minutes per invite
Skill level: Beginner to Intermediate
Materials
- Base cardstock (5x7 or A2)
- Accent cardstock in a contrasting color
- Twine (baker’s twine or jute)
- Glue runner or double-sided tape
- Hole punch (single hole punch, optional)
Cutting Measurements
- Base: 5 in x 7 in
- Accent layer: 4.5 in x 6.5 in (creates a 0.25 in border all around)
- Text panel (optional): 4 in x 6 in
Step-by-Step Instructions
- Assemble layers: Glue the 4.5 in x 6.5 in accent layer onto the base card, centered.
- Add a text panel: Attach the 4 in x 6 in panel on top (centered) to create a clean writing area.
- Wrap with twine: Wrap twine around the invitation horizontally about 2.25 in from the bottom edge. Wrap 2 times for a tidy band.
- Tie a simple knot or bow: Keep it small so it fits the envelope. Trim tails to about 1.5 in.
- Add the details: Write neatly or print your party info and glue it to the top panel if you created a separate printed insert.
Beginner-Friendly Adaptation
Skip the third layer and write directly on the top accent layer. Choose a light color (cream, pale pink, light gray) so handwriting is easy to read.
Advanced Variation
- Tag detail: Punch a small 1.5 in x 2 in “tag” from leftover cardstock and tie it into the twine with a mini message (like “RSVP by May 10”).
- Edge shaping: Snip the corners of the accent layer at a 45-degree angle (about 1/8 in) for a designer look.
Design #3: Printable Template + DIY Embellishments (Polished on a Budget)
Best for: kids’ parties, themed celebrations, holiday parties
Time estimate: 60–90 minutes for 20 invitations (printing + assembly)
Skill level: Beginner
Materials
- White cardstock (for printing)
- Home printer (inkjet or laser)
- Stickers or small cut-outs (stars, hearts, balloons)
- Glue runner
Step-by-Step Instructions
- Set your invitation size: In your design program (Canva, Google Docs, Word), set a 5 in x 7 in page or place two invites on one letter-size page.
- Use readable fonts: Pair one bold title font with one simple body font. Keep body text at 11–14 pt for clarity.
- Print a test sheet: Print on regular paper first to check alignment, spelling, and spacing.
- Print on cardstock: Use “Best” or “High Quality” print settings. Let ink dry for 3–5 minutes before stacking.
- Cut and embellish: Trim to size and add 1–2 stickers or paper shapes in a consistent spot (top corner or bottom corner) for a cohesive set.
Theme Ideas That Pair Well with Embellishments
- Under the Sea: shell stickers + blue cardstock border
- Princess Party: crown sticker + glittery washi strip
- Sports Party: small ball sticker + team-color layers
- Holiday Party: tiny tree/star sticker + red twine
Pro Tips for Professional-Looking DIY Invitations
- Batch your steps: Cut everything first, then tape, then write/print, then assemble. It’s faster and more consistent.
- Keep a 0.25 in “quiet border”: Leave space around edges so your design doesn’t feel cramped.
- Use a writing guide: Lightly pencil a centerline or use lined paper underneath thin cardstock to keep handwriting straight.
- Choose 2–3 colors max: Matching your party decorations looks intentional; too many colors can look busy.
- Test adhesives: Some washi tapes lift on textured cardstock—use glue runner for long-term hold.
Troubleshooting: Quick Fixes for Common Issues
- Problem: Ink smears on printed invites.
Fix: Switch to heavier cardstock (at least 80 lb), reduce ink saturation in printer settings, and dry flat for 10 minutes. - Problem: Cards look uneven or “off-center.”
Fix: Measure margins from each edge (aim for 0.25 in border) and use a ruler to align layers before pressing adhesive down. - Problem: Twine makes the invite too bulky for the envelope.
Fix: Tie a flat knot instead of a bow, or wrap once instead of twice. Consider hand-delivering bulky invites. - Problem: Tape edges peel up.
Fix: Reinforce ends with a dot of glue, or “seal” the tape by burnishing (rub firmly) with a spoon handle.
Common Crafting Mistakes to Avoid
- Skipping a test print: One test page saves wasted cardstock and frustration.
- Using thin paper: Regular printer paper feels flimsy. For sturdy handmade invitations, use 65–110 lb cardstock.
- Over-embellishing: Puffy stickers, thick bows, and heavy glitter can raise postage costs and cause envelope tears.
- Forgetting essential info: Double-check you included date, start time, address, RSVP method, and RSVP deadline.
- Cutting everything freehand: Inconsistent sizes make even pretty designs look messy—use a ruler and cut guide or a trimmer.
FAQ: Budget DIY Invitations Under $25
How many invitations can I make for $25?
Typically 15–30 invitations, depending on cardstock price and how many add-ons you use. Flat 5x7 invites often yield fewer per pack than A2 folded cards, but both can stay under budget.
What’s the best cardstock weight for DIY invitations?
For a professional feel, use 80–110 lb cardstock. If you’re printing at home, check your printer’s max thickness—65–80 lb is a safe sweet spot for most home printers.
Can beginners make these without special tools?
Yes. Scissors, a ruler, and a pen are enough. A paper trimmer and bone folder simply make the process faster and cleaner, especially for batch crafting.
How do I make my invitations match my party decorations?
Pick colors from your party theme (balloons, tableware, banners) and repeat them in your cardstock layers, washi tape, or stickers. Keeping a consistent color palette is the easiest way to make handmade party decor feel coordinated.
Will bulky DIY invitations cost more to mail?
They can. Twine knots, thick layers, and raised embellishments may increase postage. If you plan to mail them, keep the design mostly flat and consider taking one finished invitation to the post office to confirm postage.
What if my handwriting isn’t neat?
Use a simple printable text panel: print the party details on white cardstock, cut to 4 in x 6 in, and mount it on a colored base. You still get the handmade look with a clean, readable finish.
Wrap-Up: Your Party Starts with a Handmade Invite
DIY invitations don’t have to be complicated or expensive to look amazing. With a little measuring, a few budget supplies, and a simple assembly rhythm, you can create custom invitations that feel thoughtful, stylish, and totally on-theme—without breaking $25.
Pick one design from above, make 1 “prototype,” then batch-produce the rest. You’ll be surprised how quickly a full stack comes together—and how fun it is to see your party style take shape on paper.
Want more budget-friendly DIY crafts, handmade party decorations, and creative celebration ideas? Browse more projects and inspiration on smartpartyprep.com.
More Articles
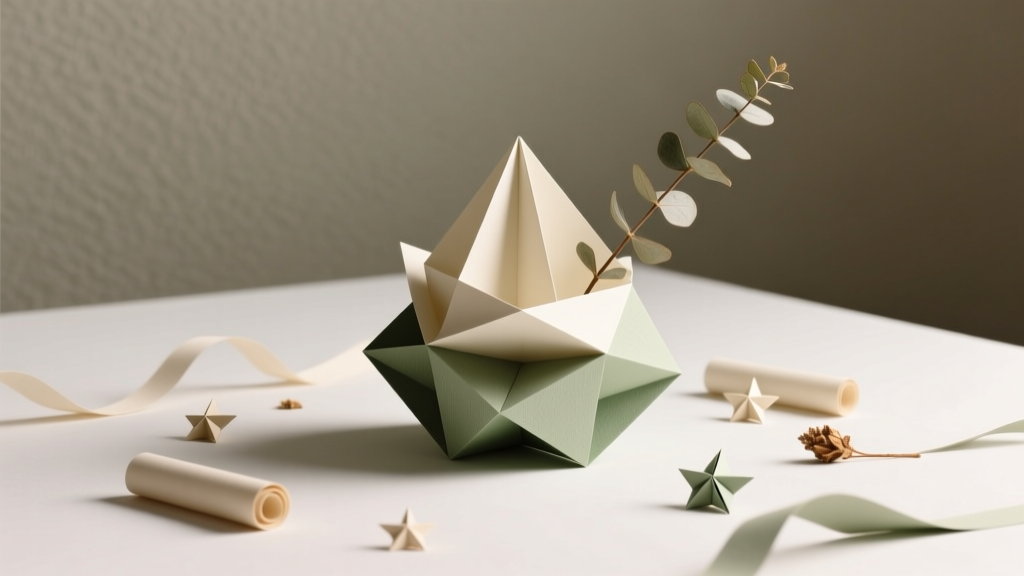 Paper Craft Centerpieces Ideas
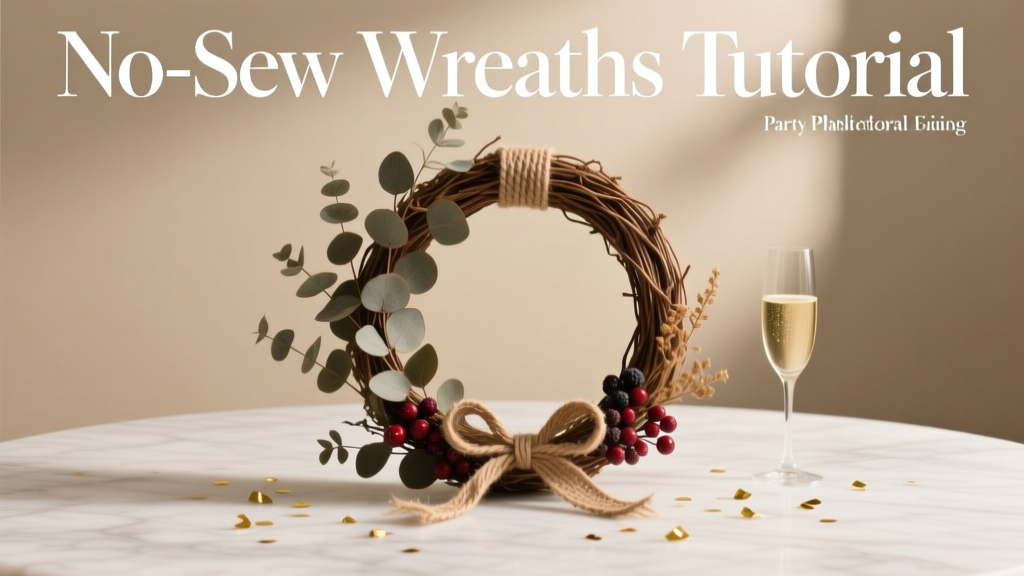 No-Sew Wreaths Tutorial
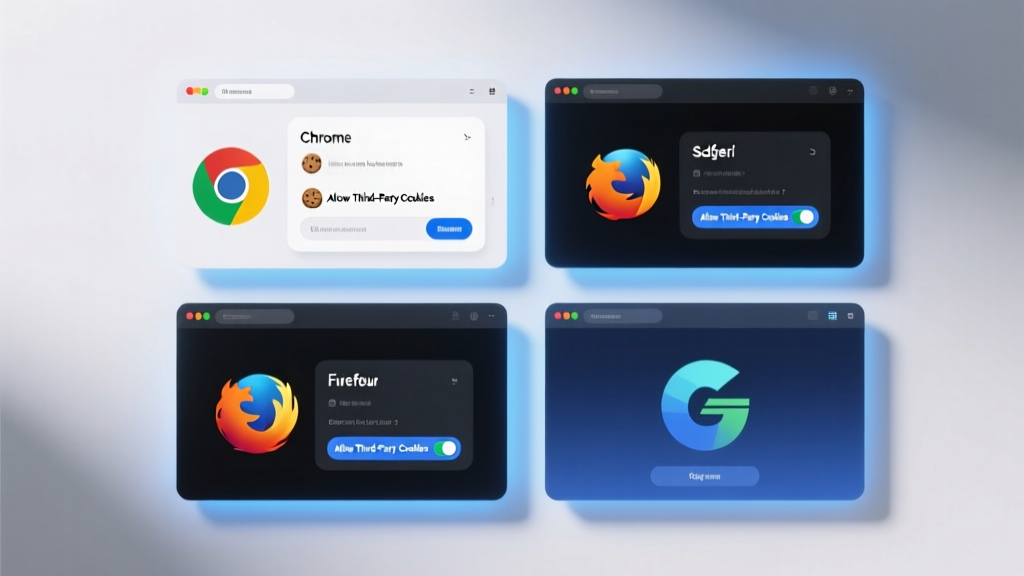 How to Enable Third Party Cookies in 2024: A Step-by-Step Browser Guide (Chrome, Safari, Firefox, Edge) — Because Yes, Some Sites Still Need Them (and Here’s Exactly How to Do It Safely)
 Easy Photo Booth Props for Beginners
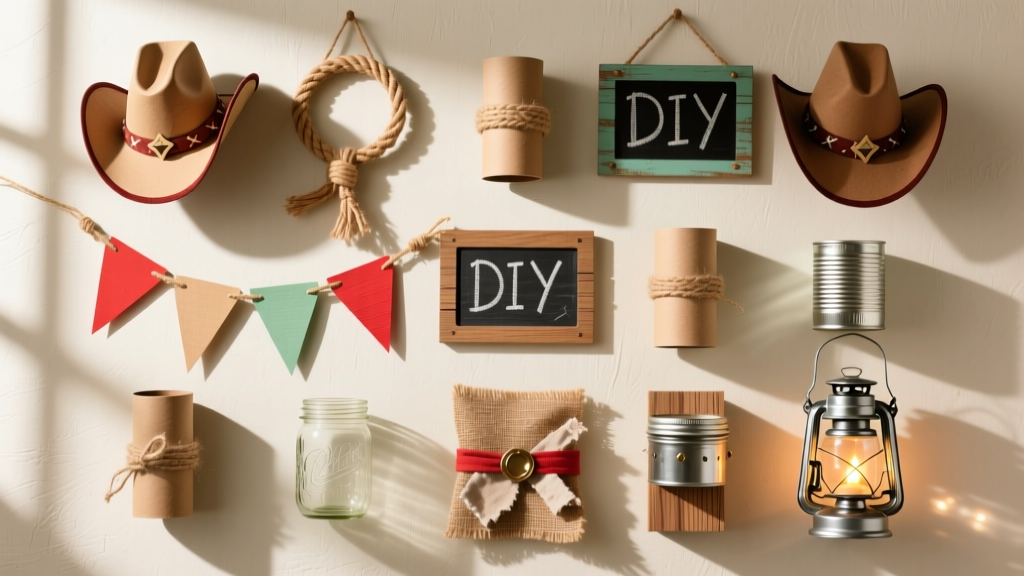 12 Stunning Do It Yourself Western Party Decorations You Can Make in Under 2 Hours (No Craft Store Run Needed — Just Dollar Store & Recycled Supplies!)
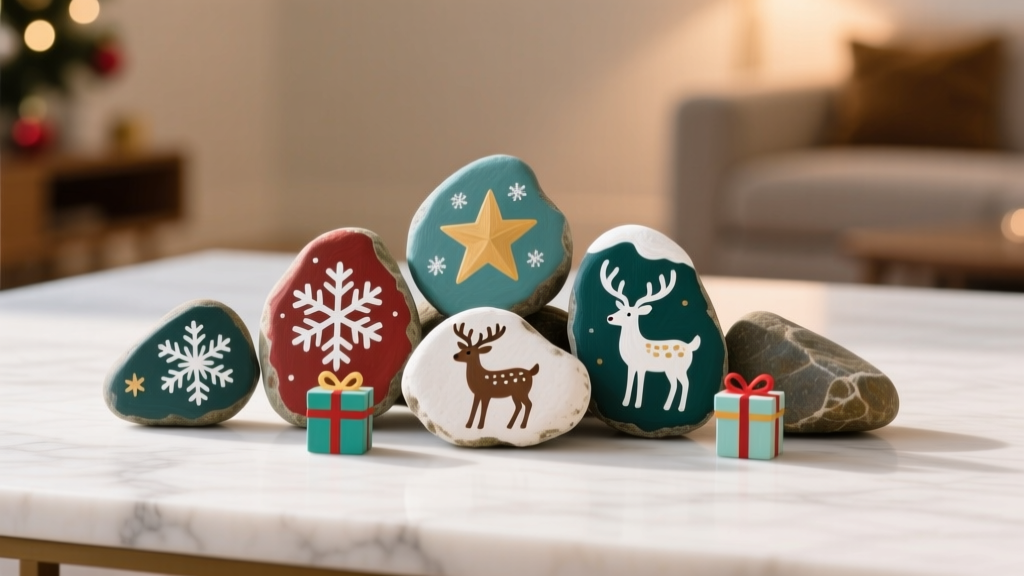 DIY Painted Rocks for Holidays
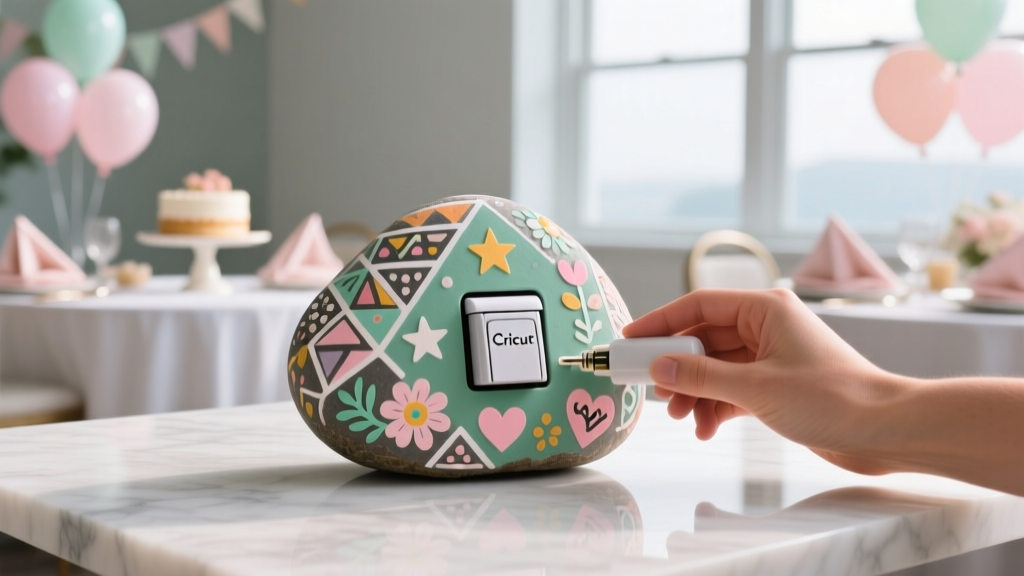 DIY Painted Rocks Using Cricut
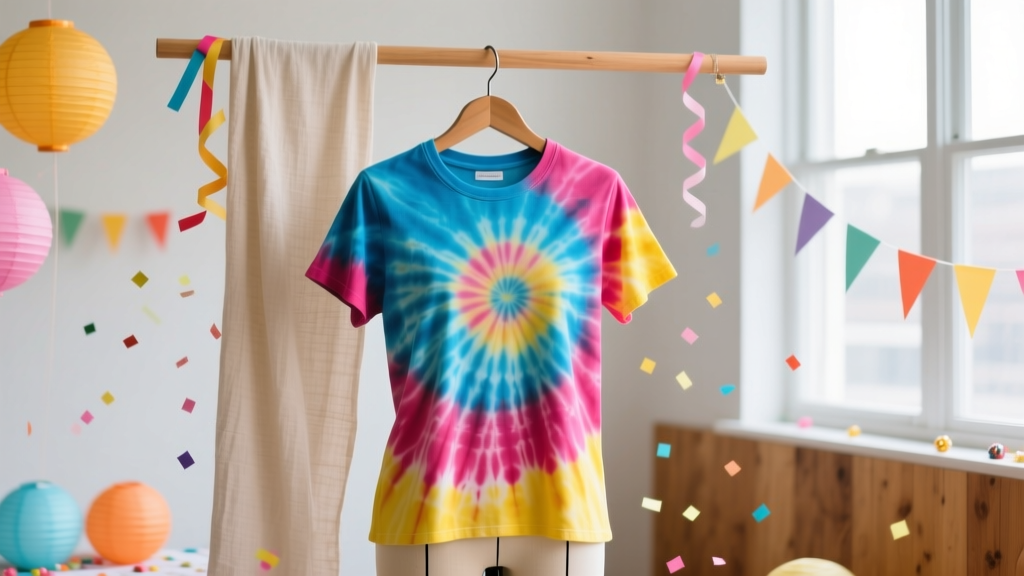 DIY Tie-Dye Shirts with Dollar Store Supplies
 Personalized Custom Stickers Gifts
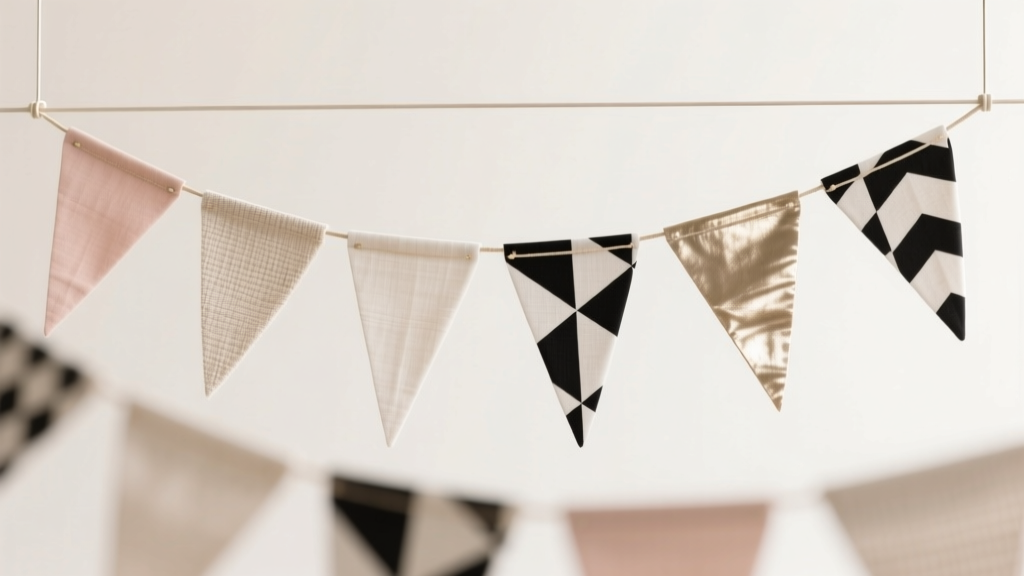 Modern Fabric Bunting Designs