
Easy Photo Booth Props for Beginners
Photo booth props are one of those DIY party decorations that look impressive, cost very little, and instantly get people laughing. Whether you’re hosting a birthday, baby shower, graduation, or backyard BBQ, a handful of handmade props can turn a simple corner into a “photo booth” your guests actually want to use.
Even better: this is a beginner-friendly craft that doesn’t require fancy tools, drawing skills, or a craft room. You can make a full set in one afternoon, customize it to match your party theme, and store it flat for future events. If you love quick wins and crowd-pleasing handmade projects, these easy photo booth props are going to be your new favorite go-to.
This guide walks you through materials, measurements, step-by-step instructions, pro tips, variations, troubleshooting, and common mistakes—so your props look polished and hold up through a night of selfies.
Project Overview (Skill Level, Time, and What You’ll Make)
- Skill level: Beginner (with optional advanced upgrades)
- Time estimate: 60–120 minutes for 10–15 props (plus drying time)
- Estimated cost: $12–$35 depending on what you already have
- Great for: DIY party decorations, handmade party projects, themed photo booths, last-minute party prep
Props you’ll learn to make: speech bubbles, mustaches, lips, hearts, star glasses, crowns, bows, “party time” signs, and themed icons (tacos, balloons, graduation caps, baby bottles—whatever fits your event).
Materials List (Beginner-Friendly + Estimated Costs)
Core Supplies
- Cardstock or poster board (base):
- Heavy cardstock: 65–110 lb, 8.5" x 11" or 12" x 12" sheets ($6–$12 per pack)
- Poster board: 22" x 28" sheets (great for oversized props) ($1–$3 each)
- Wooden sticks (handles):
- Bamboo skewers (10"–12") for small props ($2–$4)
- Wood dowels (1/8"–1/4" diameter, 12"–18") for sturdier props ($3–$6)
- Jumbo craft sticks for mini props ($2–$5)
- Adhesive:
- Hot glue gun + glue sticks (recommended for speed) ($8–$20)
- Strong double-sided tape (foam tape is excellent) ($4–$8)
- Craft glue (adds drying time but works) ($2–$6)
- Cutting tools:
- Sharp scissors (8" recommended) ($6–$15)
- Craft knife + cutting mat (for crisp edges) ($8–$25)
- Color + decoration:
- Markers (black + color set) ($4–$15)
- Acrylic paint or paint pens (optional for bold color) ($6–$20)
- Glitter cardstock, metallic paper, or washi tape (optional) ($3–$10)
Nice-to-Have Tools (Make It Easier)
- Circle punch (1"–2") for quick dots and “buttons” ($8–$15)
- Corner rounder punch for smoother speech bubbles ($6–$12)
- Ruler (12") and pencil for clean lines ($2–$6)
- Laminator + pouches for reusable props (optional) ($20–$40)
Planning Your Photo Booth Prop Set
Choose a Theme (or Keep It Classic)
Beginner tip: pick 2–3 main colors and one style (cute, glam, rustic, retro). Your props will look coordinated even if your cutting isn’t perfect.
- Classic: mustaches, lips, bow ties, glasses, “LOL” speech bubbles
- Birthday: candles, “Make a Wish,” party hats, balloons
- Baby shower: “Mom-to-be,” bottles, pacifiers, teddy bears
- Graduation: caps, diplomas, “Class of 2026,” stars
- Holiday: pumpkins, Santa hats, hearts, shamrocks
Recommended Prop Sizes (So They Photograph Well)
- Mustaches/lips: 5"–7" wide
- Speech bubbles: 7"–10" wide (bigger reads better on camera)
- Glasses: 6"–8" wide
- Crowns/hats: 7"–9" wide
- Handle length: 8"–12" (so hands stay out of the frame)
Step-by-Step: How to Make Easy Photo Booth Props
Step 1: Create or Print Simple Templates (10–15 minutes)
- Decide on 10–15 shapes (a mix of face props + signs works best).
- Draw templates on scrap paper first:
- Use basic shapes: ovals, rectangles, triangles, cloud-like bubbles.
- Keep details bold and simple—tiny lines disappear in photos.
- Beginner shortcut: trace around household items (cups for circles, lids for curves).
Skill upgrade: If you have a printer, print clip-art style outlines, then trace them onto cardstock.
Step 2: Transfer to Cardstock/Poster Board (10 minutes)
- Place your template on cardstock.
- Trace with pencil lightly (so it’s easy to erase later).
- If you’re making layered props (like glasses with sparkly frames), trace a second slightly smaller inner shape to cut out.
Step 3: Cut Cleanly (15–30 minutes)
- Cut large shapes first (speech bubbles, signs).
- Then cut smaller details (bows, hearts, little stars).
- For inside cutouts (glasses lenses), use a craft knife:
- Cut a small starter slit in the center.
- Insert the blade and cut toward the lines slowly.
Beginner-friendly adaptation: Skip inner cutouts. Draw the lens circles with marker instead—it still looks great on camera.
Step 4: Decorate and Letter Your Props (15–25 minutes)
This is where your DIY party decorations get personality. Keep lettering thick and high-contrast so it shows up in photos.
- Best marker combo: black outline + a bright fill color
- Quick sayings that always work: “Cheers!”, “Best Day Ever”, “Squad”, “Celebrate”, “OMG”, “Selfie Time”, “Happy Birthday”
- Outline shapes with a bold marker (optional but makes props pop).
- Add patterns: polka dots, stripes, confetti lines.
- Let ink/paint dry before attaching handles (to avoid smears).
Step 5: Attach Handles Securely (10 minutes + optional drying)
Strong handles are the difference between “cute props” and “props that survive a party.”
- Flip the prop over.
- Place a stick so it reaches at least 2.5"–3" onto the back of the prop.
- Attach with hot glue in a zig-zag line (most secure for quick results).
- Reinforce by adding a strip of cardstock over the stick:
- Cut a strip 1" x 4" (adjust for prop size).
- Glue it over the stick like a bandage.
No hot glue? Use strong double-sided foam tape plus the cardstock reinforcement strip.
Step 6: (Optional) Make Them Reusable (10–20 minutes)
- Lamination method: laminate the finished prop first, then hot glue the handle (glue sticks well to laminated plastic if you use enough glue).
- Clear tape method: cover the front with wide clear packing tape in overlapping strips for a glossy, wipeable surface.
Easy Beginner Prop Ideas (With Mini Instructions)
1) Speech Bubbles (Fast and Camera-Friendly)
- Cut size: 8" wide x 6" tall
- Tip: Add a thick outline and big block letters (“CHEERS!”) for readability.
2) Mustaches + Lips (Classic Photo Booth Props)
- Cut size: 6"–7" wide
- Tip: Use black cardstock for mustaches to avoid marker streaks.
3) Oversized Glasses
- Cut size: 7"–8" wide
- Beginner version: draw the lenses instead of cutting holes
- Advanced version: cut lens holes and back with clear acetate for a “real glasses” look
4) Crowns and Party Hats
- Cut size: 8" wide
- Quick glam: use metallic paper accents or glitter cardstock points
Pro Tips for Better-Looking Handmade Photo Booth Props
- Go bigger than you think: props that are 7"–10" wide read best in photos.
- Use high contrast: black + bright colors show up under party lighting.
- Double-layer flimsy pieces: glue two identical shapes together for a sturdier prop.
- Round sharp corners: they bend less and look more polished.
- Make a “prop mix”:
- 4 face props (glasses, mustaches, lips)
- 4 signs (speech bubbles)
- 4 themed icons (balloons, stars, hearts)
- Set up a drying station: a table edge or cookie sheet keeps wet ink away from hands.
Variations: From Super Simple to Extra Fancy
Super Simple (No Printer, Minimal Tools)
- Use poster board + markers only
- Skip cutouts (no inner lens holes)
- Attach handles with strong tape + a reinforcement strip
Intermediate (More Texture and Dimension)
- Layer shapes (glasses frame + glitter accents)
- Add foam tape for a raised 3D effect
- Use washi tape borders on signs
Advanced (Reusable “Keepsake” Props)
- Laminate props and use dowels
- Add vinyl lettering (cut machine) for crisp words
- Add tassels to graduation caps or fringe to fiesta props
Troubleshooting (Quick Fixes for Common Issues)
- Prop is bending/flopping:
- Use heavier cardstock (110 lb) or double-layer the shape.
- Switch to a thicker handle (1/4" dowel).
- Handle keeps popping off:
- Use the 1" x 4" reinforcement strip method.
- Clean dust off the back before gluing.
- Use more glue and press for 10–15 seconds.
- Marker streaks on dark paper:
- Use paint pens or cut the shape from colored paper instead of coloring it in.
- Words don’t show up in photos:
- Thicken letters and outline in black.
- Choose short phrases (1–3 words).
Common Crafting Mistakes to Avoid
- Making props too small: Tiny props disappear in group shots. Aim for 7"–10" for signs and glasses.
- Using thin paper: Regular printer paper wrinkles and tears. Use cardstock or poster board for durable handmade party decorations.
- Skipping handle reinforcement: A stick glued directly to paper can rip off mid-party. Always add a backing strip.
- Overcomplicating details: Thin lines and small text don’t read on camera. Bold shapes win.
- Not letting ink/paint dry: Smears happen fast when guests grab props. Give them at least 10–15 minutes to dry.
- Only making one style of prop: A variety (face props + signs + themed icons) keeps the photo booth fun all night.
FAQ: Easy DIY Photo Booth Props
What’s the best paper for DIY photo booth props?
Heavy cardstock (65–110 lb) is ideal for most props. If you want extra durability—especially for oversized pieces—use poster board or glue two layers of cardstock together.
How do I make photo booth props without a hot glue gun?
Use strong double-sided foam tape and a cardstock reinforcement strip over the handle. You can also use craft glue, but plan extra drying time (often 30–60 minutes depending on the glue).
How many props do I need for a party?
A great starter set is 12 props for a small gathering (8–15 people). For bigger parties, aim for 15–25 props so guests have variety and can grab multiple at once.
How do I make props sturdy enough for kids?
Use poster board or double-layered cardstock, choose dowels instead of skewers, and reinforce handles with a 1" x 4" strip. Rounded corners also help props last longer.
Can I make these ahead of time?
Yes! Make them 1–2 weeks in advance and store flat in a large envelope or shallow box. If you laminated them (or taped the front), they’ll stay crisp even longer.
How do I display photo booth props at the party?
Stand them in a mason jar, a small bucket filled with rice or beans, or a tall vase with floral foam. Set them next to your backdrop so guests naturally spot them.
Wrap-Up: Your Photo Booth Just Got Way More Fun
Easy DIY photo booth props are one of the quickest ways to add personality to your party decorations—plus they’re a fun craft you can do solo or with friends. Start with simple shapes, keep the designs bold, and use the reinforcement strip trick so everything stays sturdy through the last photo.
If you make a set, try customizing a few props to match your theme (names, dates, inside jokes) and watch how quickly guests jump in for “just one more” picture.
Want more beginner-friendly DIY crafts, handmade party projects, and creative party decoration ideas? Browse more tutorials and inspiration on smartpartyprep.com.
More Articles
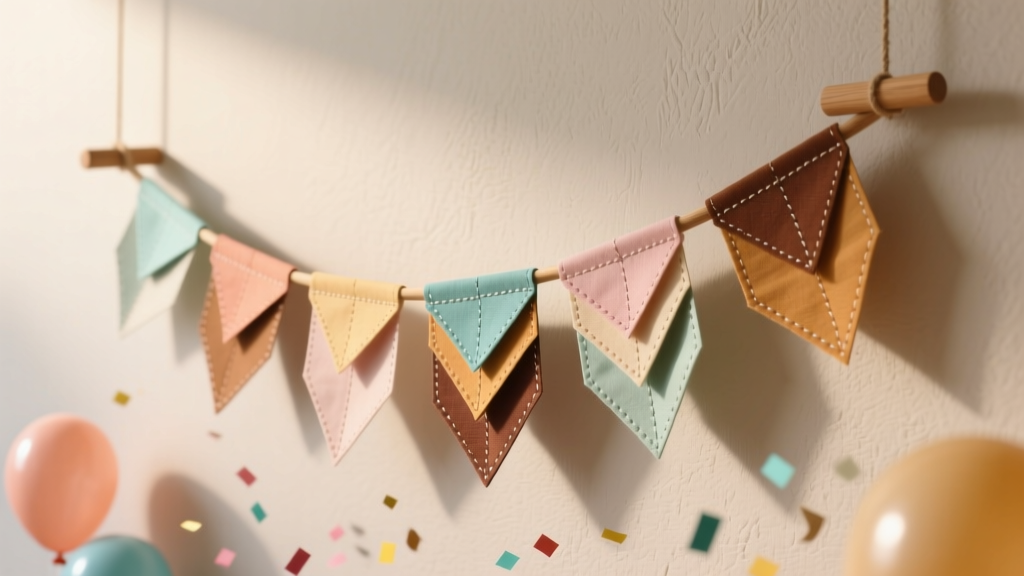 Paper Craft Fabric Bunting Ideas
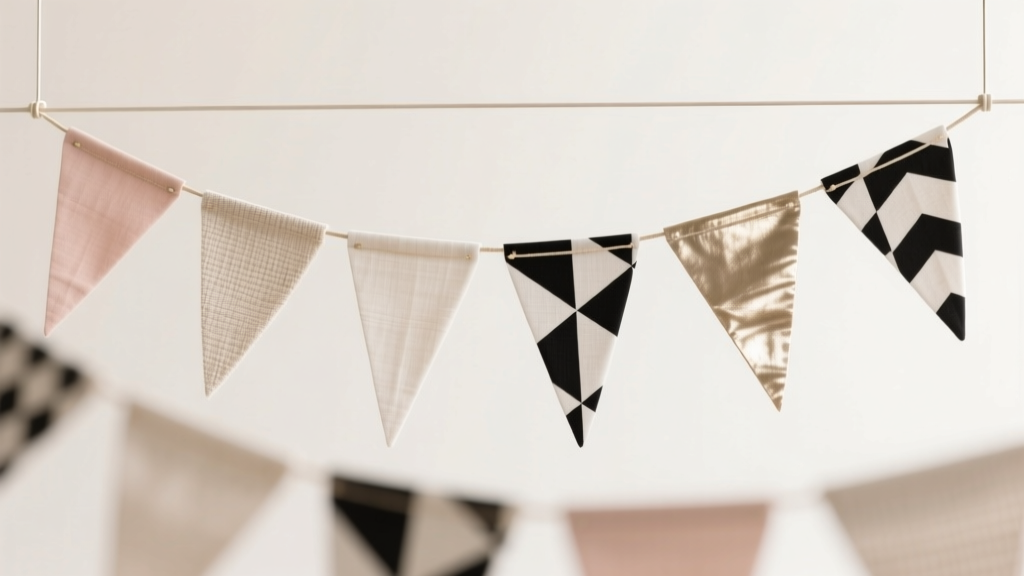 Modern Fabric Bunting Designs
 How to Unblock 3rd Party Cookies on Mac: A Step-by-Step Safari & Chrome Guide (No Tech Degree Required — Just 90 Seconds & Your Settings App)
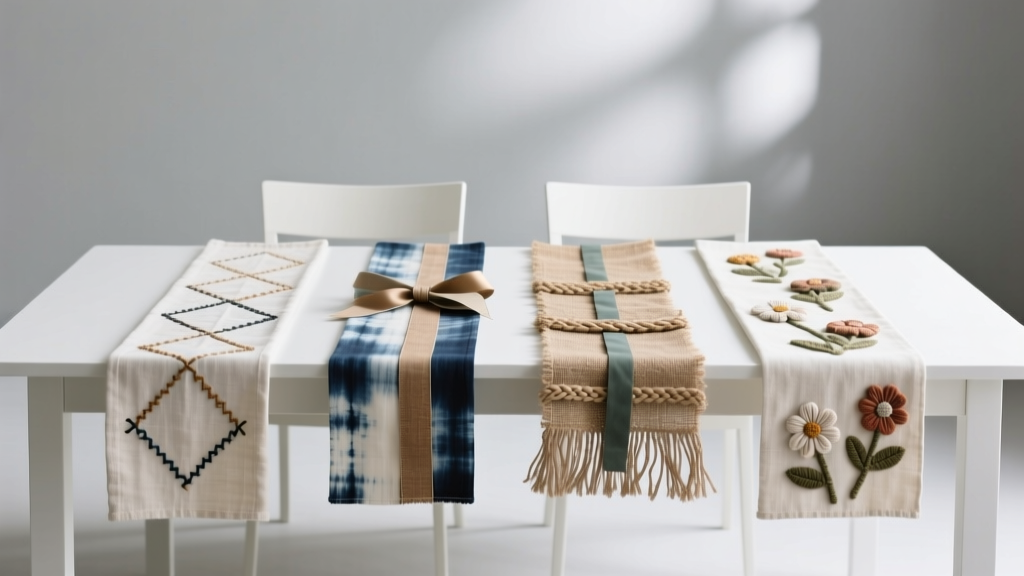 Budget DIY Table Runners Under $20
 How to Make Fabric Bunting at Home
 DIY Dream Catchers Party Favors
 Seasonal Wreaths Ideas
 How to Enable Third Party Cookies on iPad in 2024: A Step-by-Step Guide That Actually Works (No More 'Blocked' Errors or Broken Logins)
 How to Make a Party Backdrop That Looks Pro (Without Spending $200): 7 Foolproof DIY Methods Using Dollar Store Supplies, Reusable Frames & Zero Sewing
 25 Creative Invitation Ideas (That You Can Make at Home)