Rustic Mason Jar Crafts Ideas
Rustic mason jar crafts are the kind of DIY project that feels instantly rewarding: you start with something simple and inexpensive, then end up with party-ready decor that looks curated and handmade. Whether you’re styling a backyard wedding, a baby shower, a fall gathering, or a cozy birthday brunch, mason jars fit right in—especially when you add burlap, twine, wood accents, and warm candlelight.
These projects are also wonderfully flexible. You can keep things beginner-friendly with quick wraps and labels, or go more advanced with painted finishes, wired handles, and floral mechanics. Best of all, rustic mason jar party decorations are easy to batch-produce—perfect when you need 6–20 matching centerpieces for tables, a dessert bar, or an entryway welcome display.
Below you’ll find a practical, step-by-step guide with multiple rustic mason jar craft ideas, plus materials, costs, time estimates, troubleshooting, and pro tips to help your handmade projects look polished (even if you’re crafting the night before the party).
Quick Overview: Skill Levels & Time Estimates
- Beginner: Twine/burlap wraps, LED votive jars, simple labels (10–25 minutes per jar)
- Intermediate: Painted/distressed jars, wired handles, floral centerpieces (25–60 minutes per jar)
- Advanced: Chalkboard labels + sealing, frosted finishes, multi-jar table runners, custom wood tags (60–120 minutes for sets)
Materials List (With Product Types & Estimated Costs)
Costs vary by brand and location, but these estimates help you plan for DIY party decorations on a budget.
Core Supplies (Most Projects)
- Mason jars (pint 16 oz or quart 32 oz; clear glass): $1–$3 each (bulk packs often cheaper)
- Natural jute twine (2–3 mm thickness): $4–$10 per spool
- Burlap ribbon (2"–4" wide): $6–$12 per roll
- Hot glue gun (mini or full-size) + glue sticks: $8–$25 + $3–$8
- Scissors (sharp fabric scissors recommended): $8–$20
- Rubbing alcohol (for cleaning glass): $2–$5
Decor & Finishing Options
- Acrylic craft paint (white, ivory, sage, black): $1–$3 per bottle
- Chalk paint (for matte rustic look): $10–$18
- Clear matte sealer spray (optional): $6–$12
- Sandpaper (120–220 grit): $3–$6
- Wood slices (4"–6" diameter) for centerpieces: $0.75–$3 each (or DIY cut)
- LED tealights or fairy lights (warm white): $6–$15 per set
- Dried florals or faux greenery (eucalyptus, baby’s breath, wheat stems): $6–$25
- Floral foam (dry for faux, wet for fresh): $3–$8
- Wire (18–20 gauge for handles): $4–$8
- Wire cutters: $6–$15
- Paintbrushes (1" flat + small detail brush): $5–$12 set
Tool Recommendations (Worth Having)
- Mini hot glue gun for detail work; full-size glue gun for batch crafting
- Self-healing cutting mat + rotary cutter if you’re cutting lots of burlap ribbon
- Needle-nose pliers for bending wire handles cleanly
Prep Steps for Any Rustic Mason Jar Craft
These quick prep steps prevent the most common issues (paint peeling, glue not sticking, crooked wraps).
- Remove labels: Soak jars in warm water + dish soap for 10 minutes. Peel labels.
- Remove sticky residue: Rub with cooking oil or adhesive remover, then wash again.
- Degrease glass: Wipe with rubbing alcohol and let dry completely.
- Plan your “front”: If jars have embossed logos, decide whether it faces the back or becomes part of the rustic look.
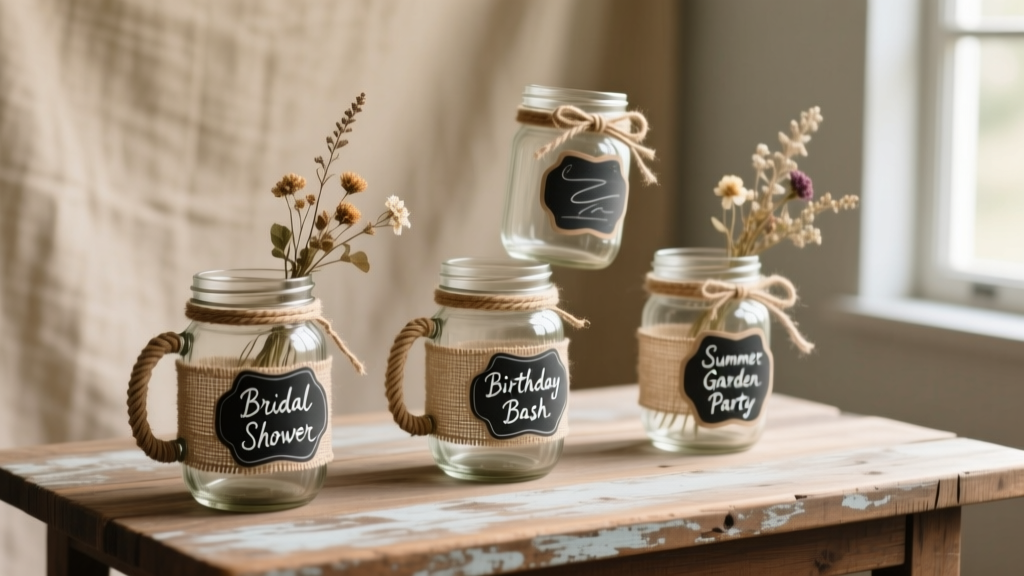
Idea #1: Rustic Twine & Burlap Wrapped Mason Jar Centerpieces
Perfect for: wedding tables, bridal showers, farmhouse birthday parties, buffet and dessert tables
Skill level: Beginner
Time: 15–25 minutes per jar (faster once you get a rhythm)
What You’ll Need
- 1 pint mason jar (16 oz)
- Burlap ribbon, 2" wide (cut a 10"–11" piece for a pint jar)
- Jute twine, 2–3 mm
- Hot glue gun
- Optional: lace ribbon (1"–2"), mini clothespins, kraft paper tags
Step-by-Step
- Measure the wrap: Wrap burlap around the jar and overlap by 1/2". Trim to fit.
- Glue the burlap seam: Add a thin line of hot glue vertically on the jar. Press the burlap end into glue, then wrap snugly and glue the overlap.
- Add twine detail: Wrap twine around the center of the burlap 3–6 times. Tie a tight knot and trim ends to 1".
- Optional label: Tie on a kraft tag with guest name, table number, or a short message like “Gather” or “Love.”
- Style it: Fill with faux flowers, dried stems, or paper flowers for party-safe durability.
Party Styling Tip
- Cluster three jars per table (one quart + two pints) on a 6" wood slice for a simple, photogenic centerpiece.
Idea #2: Painted & Lightly Distressed Mason Jars (Farmhouse Look)
Perfect for: rustic party centerpieces, photo booth props, cake/dessert table accents
Skill level: Intermediate (beginner-friendly if you skip distressing)
Time: 35–60 minutes including dry time
What You’ll Need
- Mason jar (pint or quart)
- Chalk paint or acrylic paint (matte finish looks most rustic)
- 1" flat brush or foam brush
- Sandpaper 220 grit (for gentle distressing)
- Optional: clear matte sealer spray
Step-by-Step
- Choose inside or outside paint:
- Outside paint: classic painted jar look; easier to distress.
- Inside paint: smooth exterior (great for glitter-free elegance), but harder to distress.
- Paint the first coat: Apply thin, even strokes. Avoid heavy paint near the rim where hands will touch.
- Let dry: Wait 20–30 minutes (or per label directions).
- Add a second coat: Most colors look best with 2 coats.
- Distress lightly: Once fully dry, sand edges, raised lettering, and random spots using 220 grit. Do 5–10 gentle passes, then step back and check the look.
- Seal (optional but helpful): Spray a light coat of matte sealer outdoors. Let cure for 1–2 hours before heavy handling.
Variation Ideas
- Ombre effect: Blend from white at the top to sage at the bottom with a damp sponge.
- Two-tone rim: Paint the jar ivory, then paint the lid ring a contrasting color (black, bronze, or warm gray).
Idea #3: Rustic Mason Jar Lanterns (Safe Party Lighting)
Perfect for: evening backyard parties, patio weddings, aisle markers, porch decor
Skill level: Beginner to Intermediate
Time: 20–40 minutes per jar
What You’ll Need
- Quart mason jar (32 oz works well for lantern scale)
- Warm white LED tealight or a 6–10 ft micro fairy light strand
- 18–20 gauge wire (for handle), about 18" per jar
- Wire cutters + needle-nose pliers
- Twine or burlap ribbon for the neck
Step-by-Step
- Make the handle loop: Wrap wire around the jar neck (just under the rim) to size it, then remove and shape into a circle with a slight overlap.
- Create side “ears”: Twist the overlap ends into small hooks (about 1/2" twists) so the handle can attach securely.
- Add the handle arch: Cut another wire piece about 10"–12", curve it into a handle shape, and hook each end onto the side ears. Crimp closed with pliers.
- Wrap the neck: Add twine or burlap around the top to cover wire mechanics and enhance the rustic look. Secure with hot glue (small dots).
- Add lights: Place LED tealight inside, or coil fairy lights with the battery pack tucked under the burlap (or hidden behind decor on a table).
Safety Note
- For party-friendly DIY decorations, stick to LED lights—especially around kids, pets, food tables, or outdoor breezes.
Idea #4: Mason Jar Floral Arrangements (Fresh or Faux)
Perfect for: table centerpieces, gift table decor, entryway arrangements
Skill level: Beginner to Intermediate
Time: 20–45 minutes per arrangement
What You’ll Need
- Pint or quart mason jar
- Florals:
- Fresh: 7–12 stems per jar (mix focal + filler + greenery)
- Faux/dried: 8–15 stems depending on thickness
- Optional: floral foam (wet for fresh, dry for faux), or clear tape for a “grid”
- Twine/burlap wrap (optional)
Step-by-Step (Fresh Flowers)
- Create a tape grid: Use clear tape across the jar opening in a crisscross pattern (about 6–8 strips). This holds stems in place.
- Add water: Fill jar to about 2/3 full.
- Trim stems: Cut stems at a 45-degree angle. Aim for an arrangement height about 1.5× the jar height (so a 6" jar becomes a 9" total arrangement).
- Build structure: Start with greenery, then add focal blooms, then filler flowers.
- Finish the neck: Add twine bow or burlap band to tie into your rustic party theme.
Beginner-Friendly Adaptation
- Use one flower type (like baby’s breath or daisies) for a clean, easy look that still reads “handmade.”
Idea #5: Chalkboard-Label Favor Jars (Cute + Functional)
Perfect for: party favors, candy buffets, hot cocoa bars, spice/sugar stations
Skill level: Beginner
Time: 10–20 minutes per jar (plus drying time if painting labels)
What You’ll Need
- Small mason jars (4 oz or 8 oz are great for favors)
- Chalkboard label stickers or chalkboard paint
- Chalk marker (clean lines) or regular chalk (softer look)
- Optional: fabric circles for lids (5" squares work for most small jars), twine
Step-by-Step
- Add the label: Apply a chalkboard sticker to a clean, dry jar. If painting: tape off a rectangle about 2" x 3" and paint 2 coats.
- Fill with favors: Ideas include chocolate kisses, trail mix, bath salts, tea bags, or mini cookies (wrap food items appropriately).
- Top it: Add a fabric square under the lid ring for a rustic “jam jar” look.
- Write names or flavor: Use a chalk marker for crisp writing: “Lavender Salt,” “Thank You,” “Sweet Treats,” or guest names.
Pro Tips, Variations & Troubleshooting
Pro Tips for a More “Professional” Finish
- Batch your steps: Clean all jars first, then wrap all burlap, then tie all twine. This speeds up party prep.
- Use consistent measurements: Cut burlap strips to the same length (ex: 10.5" for pint jars) so everything looks cohesive on tables.
- Hide seams in the back: Place burlap seams facing away from the guest’s viewpoint or toward the center of a centerpiece cluster.
- Match textures: Pair twine + kraft tags + wood slices for a true rustic vibe; add lace for rustic-chic.
Easy Theme Variations (Party-Ready)
- Fall party: Add mini pinecones, cinnamon sticks, and burnt orange ribbon.
- Winter party: Use frosted paint, white twine, and warm fairy lights for cozy glow.
- Spring garden party: Wrap with sage ribbon, add fresh greenery and pastel blooms.
- Baby shower: Paint jars soft blue, blush, or cream; add name tags for table settings.
Troubleshooting
- Problem: Hot glue won’t stick to glass.
Fix: Clean glass with rubbing alcohol and let it fully dry. Use high-temp glue for stronger hold, and press in place for 10–15 seconds. - Problem: Burlap frays too much.
Fix: Use burlap ribbon with finished edges, or apply a thin line of fabric glue along the cut edge and let dry before wrapping. - Problem: Paint looks streaky.
Fix: Use a foam brush, apply thinner coats, and do 2–3 coats. Chalk paint usually covers faster than standard acrylic. - Problem: Twine bow keeps slipping.
Fix: Add a tiny dot of hot glue under the knot (not on the loose loops) to lock it in place. - Problem: Lantern handle feels wobbly.
Fix: Use slightly thicker wire (18 gauge), and twist the attachment points tighter with needle-nose pliers.
Common Crafting Mistakes to Avoid
- Skipping the cleaning step: Oils and residue are the #1 reason paint and glue fail on mason jars.
- Using oversized decor on small jars: Keep bows, tags, and florals in proportion—especially for 4 oz and 8 oz favor jars.
- Over-distressing: Sand a little, then stop and assess. Too much distressing can look accidental rather than rustic.
- Mixing too many textures: Burlap + lace + heavy ribbon + glitter can compete. Pick 2–3 key materials and repeat them across your party decorations.
- Not testing one complete sample first: Make one finished jar (with flowers/lights) before you mass-produce. It saves time and supplies.
- Using real flames in crowded party spaces: LED candles and fairy lights give the same cozy effect with far less risk.
FAQ: Rustic Mason Jar Crafts
1) What size mason jar is best for party centerpieces?
Pint (16 oz) jars are the easiest all-around choice for centerpieces. Use quart (32 oz) jars when you want more height or stronger visual impact, especially for entry tables or buffet decor.
2) How many mason jar centerpieces do I need for a party?
A good starting point is one centerpiece per table, often a cluster of 3 jars for round tables (varied heights look great). For long banquet tables, plan a centerpiece cluster every 3–4 feet.
3) Can I paint mason jars without the paint peeling?
Yes. Clean thoroughly with rubbing alcohol, use thin coats, and let paint cure. For heavy handling (like favor jars), a matte sealer helps reduce chipping.
4) What can I put inside mason jars besides flowers?
Great party-friendly fillers include LED fairy lights, tea lights, wrapped candy, coffee beans (for scent), mini ornaments, faux moss, or seasonal picks.
5) How do I keep rustic jars looking cohesive across the whole party?
Repeat the same 2–3 materials (like burlap + twine + kraft tags) and stick to a tight color palette (ex: ivory, sage, and natural wood). Batch-cut ribbon and tags to the same sizes.
6) Are mason jar crafts kid-friendly?
Some are. Kids can help with tying twine, placing stickers, or adding faux florals. For safety, adults should handle hot glue, wire cutting, and any spray sealers.
Wrap-Up: Make Rustic Mason Jars Your Signature Party Decor
Rustic mason jar crafts are budget-friendly, beginner-friendly, and endlessly customizable—exactly what you want when you’re creating handmade party decorations that feel personal. Start with one idea (like a simple twine-wrapped jar), then level up with paint, lantern handles, or floral styling once you find your favorite look.
When you’re ready for more DIY crafts, party decor inspiration, and step-by-step handmade projects, explore more creative ideas on smartpartyprep.com.
More Articles
 Which Political Party Supported Slavery? Quizlet Won’t Tell You the Full Truth — Here’s What Textbooks Omit About Whig, Democratic, and Republican Roles in Slavery (1820–1865)
 DIY Scrapbook Pages Using Cricut
 Advanced Soap Bars for Crafters
 How to Make Beaded Bracelets at Home
 DIY Custom Stickers Party Favors
 Is Nature's Truth 3rd Party Tested? We Investigated Every Batch Report, Lab Certificate, and Transparency Gap So You Don’t Have to Waste Time—or Risk Your Craft Projects on Unverified 'Natural' Claims
 How to Draw Party Scenes in 7 Minutes (Even If You Can’t Draw a Stick Figure): A Step-by-Step Guide That Turns Doodles Into Delightful Decorations for Birthdays, Graduations & More
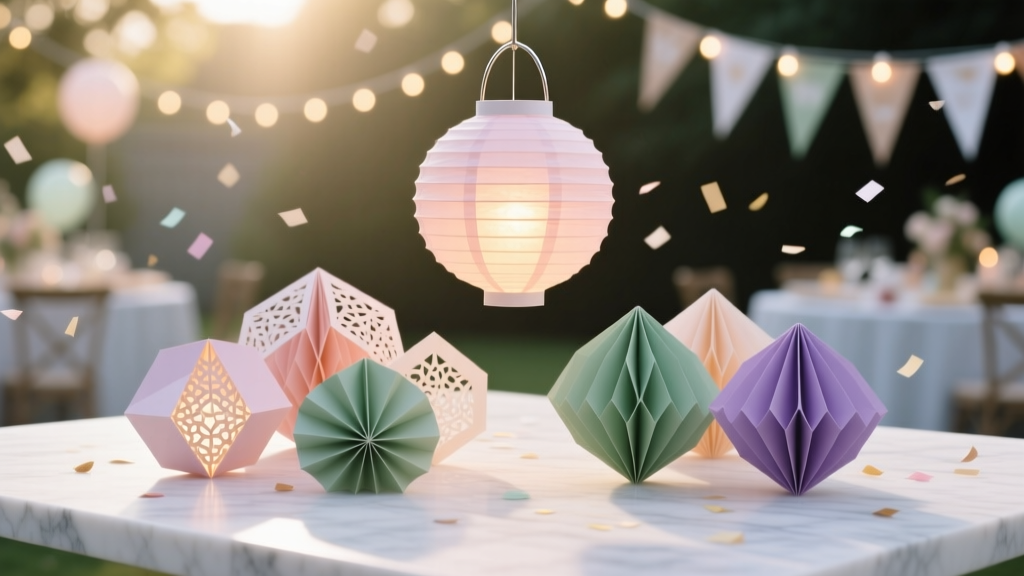 Advanced Paper Lanterns for Crafters
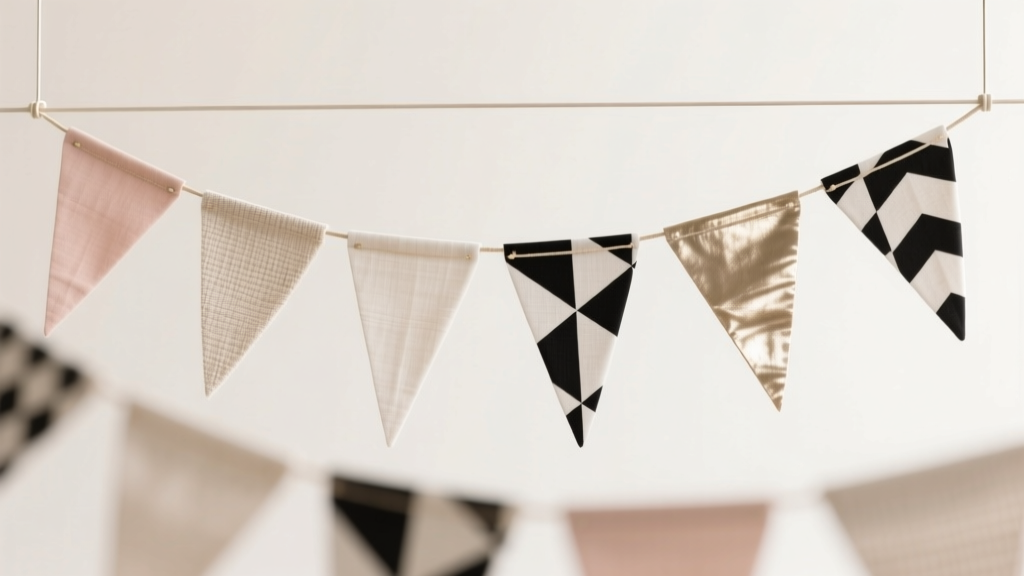 Modern Fabric Bunting Designs
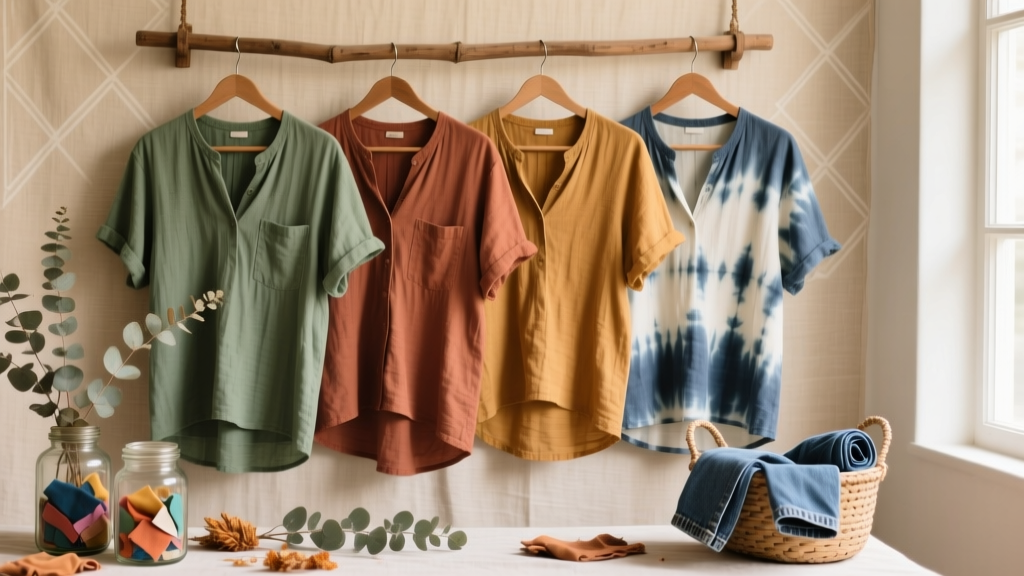 Rustic Tie-Dye Shirts Ideas