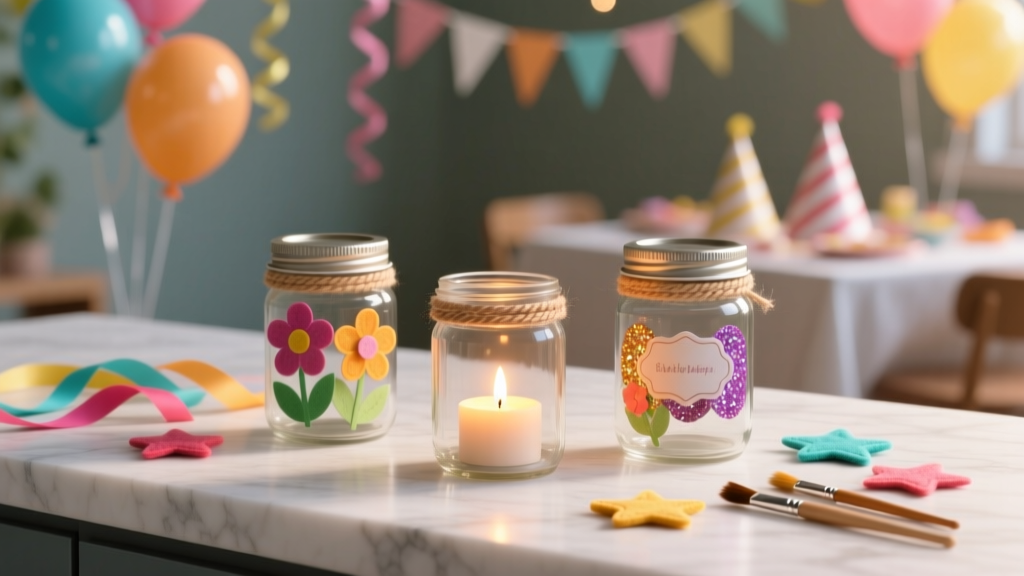
Kids' Craft: Mason Jar Crafts
Mason jar crafts are one of those magical kids’ projects that feel “fancy” but are actually super doable—even if you’re crafting at the kitchen table with minimal tools. They’re sturdy, inexpensive, endlessly customizable, and perfect for party decorations you can make ahead of time. Whether you’re planning a birthday party, baby shower, holiday gathering, or a classroom celebration, mason jars can become lanterns, centerpieces, treat cups, and favor containers with just a few supplies.
What makes mason jar DIY crafts especially fun for kids is the instant transformation: a plain jar becomes a glowing night-light, a glittery snow globe, or a colorful party vase in under an hour. Plus, many mason jar projects double as party activities—set up a “decorate your own jar” station and you’ve got both entertainment and take-home favors in one.
This guide walks you through several beginner-friendly mason jar craft ideas, plus advanced variations for older kids and adults who love details. You’ll get materials lists (with estimated costs), step-by-step instructions, pro tips, troubleshooting, and party-ready styling ideas.
Quick Project Overview
- Skill level: Beginner (with optional advanced upgrades)
- Age range: Ages 5+ with supervision (hot glue and glass handling)
- Time estimate: 20–60 minutes per jar (drying time varies)
- Best for: DIY party decorations, handmade centerpieces, party favors, kids’ craft stations
Materials & Tools (with Estimated Costs)
Mason Jars: Sizes and What They’re Best For
- 4 oz mini mason jars (party favors, tealight holders): $10–$16 per 12-pack
- 8 oz (half-pint) jars (treat cups, small lanterns): $12–$18 per 12-pack
- 16 oz (pint) jars (centerpieces, larger lanterns): $12–$20 per 12-pack
Core Craft Supplies
- Acrylic craft paint (multi-pack is budget-friendly): $10–$20
- Paint brushes (1" flat brush + small detail brush): $6–$12
- Painter’s tape (clean stripes/lines): $4–$7
- Mod Podge or decoupage glue (matte or gloss): $7–$12
- Fine glitter (optional for sparkle): $4–$10
- Permanent markers or paint pens (labels, faces, designs): $6–$15
- Twine, ribbon, or jute (bows and trims): $4–$10
- Craft paper or tissue paper (decoupage + party colors): $2–$8
Lighting & Party Add-Ons
- Battery tea lights (safer than real candles): $8–$15 per 12
- Mini LED fairy lights (warm white looks cozy): $10–$18 for 6–12 strands
- LED cork lights (fits inside standard jars): $12–$20 for multi-pack
Tools You’ll Actually Use
- Hot glue gun (low-temp recommended for kids’ crafting with adult help): $8–$15
- Glue sticks (mini or standard): $4–$8
- Scissors (sharp for clean ribbon cuts): $5–$12
- Craft knife (adults only; for precise cuts): $4–$10
- Ruler (for measuring wrap/labels): $2–$6
- Cleaning supplies (dish soap + rubbing alcohol): $2–$5
Prep Steps for Better-Looking Mason Jar Crafts
These quick steps make your DIY party decorations look polished and last longer:
- Remove labels by soaking jars in warm soapy water for 10–15 minutes.
- Clean the glass with rubbing alcohol to remove oils (especially if hands handled the jar a lot).
- Decide what part stays clear (for lantern glow) and what part gets painted/covered.
- Protect your table with parchment paper, a silicone mat, or cardboard.
Project 1: Party Lantern Mason Jar (Tissue Paper Stained-Glass Style)
Best for: DIY party table decor, nighttime backyard parties, kids’ party craft stations
Time: 30 minutes + 30–60 minutes drying
Skill level: Beginner
What You’ll Need
- 1 mason jar (8 oz or 16 oz)
- Tissue paper in party colors (cut into 1"–2" squares)
- Mod Podge/decoupage glue
- 1" foam brush or flat brush
- Battery tea light or LED fairy lights
- Ribbon or twine (12"–18" per jar)
Step-by-Step Instructions
- Brush on a base coat of Mod Podge in a 3" x 3" section of the jar.
- Add tissue squares, overlapping slightly like scales. Smooth gently with your fingers.
- Seal over the top with another layer of Mod Podge. Keep the layer thin to avoid drips.
- Continue around the jar until fully covered (or leave a clear “window” band).
- Let dry 30–60 minutes. Add a second sealing coat if kids handled it a lot.
- Decorate the rim with twine or ribbon. Hot glue the start and end (adult help).
- Light it up with a battery tea light or a short strand of fairy lights.
Party Styling Ideas
- Make one jar per guest and use them as place settings with name tags.
- Cluster 3 jars (mini, half-pint, pint) for a centerpiece trio.
- Match tissue colors to your theme: unicorn pastels, superhero primaries, or Halloween orange/black.
Project 2: Confetti Treat Jar Favor (No-Mess, Party-Ready)
Best for: birthday party favors, candy buffets, classroom treat gifts
Time: 20–35 minutes
Skill level: Beginner
What You’ll Need
- 4 oz or 8 oz mason jar with lid
- Confetti (paper or biodegradable)
- Double-sided tape or clear-drying craft glue
- Printable label or cardstock tag (about 2" x 3")
- Ribbon (10"–12")
- Fillings: wrapped candies, mini cookies, cocoa mix, sprinkles, or popcorn mix
Step-by-Step Instructions
- Apply adhesive to the outside of the jar in sections (2" wide strips work well).
- Press confetti onto the sticky areas. Rotate the jar and keep going until you like the coverage.
- Seal the confetti layer with a thin coat of Mod Podge (optional but recommended for durability).
- Fill the jar with treats (leave 1/2" headspace so the lid closes cleanly).
- Add a label to the lid or tie on a tag with ribbon.
Beginner-Friendly Adaptation
Skip sealing and use confetti tape (washi tape with party patterns) around the jar’s middle—fast, clean, and kid-friendly.
Project 3: Painted Character Jar (Animals, Monsters, or Holiday Faces)
Best for: kids’ craft parties, themed birthdays, seasonal party decorations
Time: 45–60 minutes + drying
Skill level: Beginner to Intermediate
What You’ll Need
- 8 oz mason jar
- Acrylic paint (2–3 colors)
- Paint pen or permanent marker for outlines
- Googly eyes (optional)
- Felt scraps or foam sheets for ears/horns (optional)
- Hot glue (adult help)
Step-by-Step Instructions
- Paint the base color using a 1" flat brush. Apply 2 thin coats instead of 1 thick coat. Let each coat dry 10–15 minutes.
- Plan the face lightly with pencil on the dry paint (or sketch on paper first).
- Add details with paint pens: eyes, mouth, cheeks, stripes, spots.
- Attach extras (googly eyes, felt ears) using a low-temp hot glue gun (adult help). Let glue set for 2–3 minutes.
- Finish as a lantern or holder: place LED lights inside, or use it as a utensil holder for a party buffet table.
Advanced Variation
- Chalkboard label band: Paint a 2" tall rectangle with chalkboard paint, then write guest names or “Treats.”
- Ombre blend: Use a sponge to dab two colors and blend where they meet (great for mermaid or galaxy themes).
Project 4: Glitter “Snow Globe” Mason Jar (Party Display Piece)
Best for: winter parties, holiday tables, frozen-themed birthdays
Time: 30–45 minutes
Skill level: Intermediate (messier, needs supervision)
What You’ll Need
- 1 mason jar with tight lid (pint works best)
- Distilled water
- Clear glue or glycerin (1/2 teaspoon helps glitter float slowly)
- Fine glitter (1/4 to 1 teaspoon per jar)
- Small waterproof figurine (plastic works best)
- Strong waterproof adhesive (E6000 or waterproof super glue; adults only)
Step-by-Step Instructions
- Glue the figurine to the inside of the lid. Let it cure as directed (often several hours). This is an adult step.
- Fill the jar with distilled water, leaving about 1" space at the top.
- Add glitter and 1/2 teaspoon clear glue or glycerin. Stir gently with a craft stick.
- Seal by screwing the lid on tightly. For extra leak protection, add a thin bead of waterproof glue around the lid edge (adult step).
- Flip and shake to test the swirl.
Pro Tips, Variations, and Troubleshooting
Pro Tips for Cleaner Results
- Thin layers win: Paint and Mod Podge look smoother when applied in multiple thin coats.
- Use painter’s tape for stripes: Measure a 1" band around the jar for crisp party-theme lines.
- Pick the right light: Warm white LEDs look cozy; cool white feels icy (great for winter themes).
- Make it party-safe: Choose battery tea lights instead of real flames for kids’ parties.
Easy Theme Variations (Great for DIY Party Decorations)
- Princess party: Pastel tissue paper + glitter ribbon + “Royal Treats” tag.
- Superhero party: Bold stripes + lightning bolt cutouts + personalized hero names.
- Under the sea: Ombre blues/greens + fish stickers + pearl beads inside.
- Halloween: Monster faces + LED lights + black/orange bows.
- Rainbow party: Layer colored tissue bands (each band ~1" tall) around the jar.
Troubleshooting Guide
- Problem: Tissue paper wrinkles or tears.
Fix: Use smaller squares (1") and brush glue gently from center outward. - Problem: Paint streaks or looks patchy.
Fix: Let the first coat dry fully, then apply a second thin coat. Use a sponge for smoother coverage. - Problem: Ribbon keeps slipping down the jar.
Fix: Add a tiny dot of hot glue under the knot or use a small piece of double-sided tape. - Problem: Glitter clumps in the snow globe.
Fix: Use fine glitter, add it slowly, and stir gently. Too much glue/glycerin can thicken the water. - Problem: Labels won’t stick.
Fix: Wipe the surface with rubbing alcohol first, then apply the label to a dry jar.
Common Crafting Mistakes to Avoid
- Skipping the cleaning step: Dust and oils make paint and glue peel.
- Using real candles for kids’ setups: Battery-operated lights are safer and still look amazing.
- Overloading with glue: Thick Mod Podge layers can drip and dry cloudy—go thin.
- Not planning dry time: If these are party centerpieces, make them 1–2 days ahead.
- Letting kids use high-temp hot glue: Choose low-temp and keep an adult on “glue duty.”
- Filling treat jars before crafts are sealed: Always let sealants dry fully before adding food items.
FAQ: Mason Jar Crafts for Kids & Parties
1) Are mason jar crafts safe for kids?
Yes, with smart choices. Use plastic jars for very young kids, choose battery tea lights instead of real candles, and keep hot glue and craft knives as adult-only tools.
2) How do I keep paint from scratching off the jar?
Start with a clean, oil-free surface. Use acrylic paint in thin coats, then seal with a clear acrylic sealer spray (adult step) or a durable decoupage topcoat once everything is dry.
3) Can I use these as outdoor party decorations?
Absolutely. LED lights work great outdoors. If it may rain or get humid, avoid paper-only finishes unless sealed well, and bring jars inside after the party to keep them looking fresh.
4) What’s the best mason jar size for party favors?
For favors, 4 oz jars are perfect for candy, sprinkles, or mini slime kits. For slightly bigger gifts (cookie mix, cocoa mix), choose 8 oz.
5) How many jars should I plan for a centerpiece table?
A simple rule: 3 jars per table looks intentional without being crowded. Mix heights (4 oz + 8 oz + 16 oz) for a styled, party-ready look.
6) Can I turn this into a kids’ party activity?
Yes—set up stations: one for tissue decoupage, one for ribbon/tag decorating, and one for LED lights. Pre-cut tissue squares and pre-tie ribbon lengths to keep things moving.
Wrap-Up: Create, Decorate, Celebrate
Mason jar crafts are a budget-friendly way to make handmade party decorations that look bright, personal, and totally photo-worthy. Start with one easy lantern jar, then try treat jars for party favors or painted character jars that match your theme. With a little prep and the right supplies, kids can create decorations they’re proud to display—and guests will love taking them home.
Want more DIY crafts, party decoration ideas, and kid-friendly handmade projects? Explore more creative inspiration on smartpartyprep.com and keep the celebration beautifully homemade.
More Articles
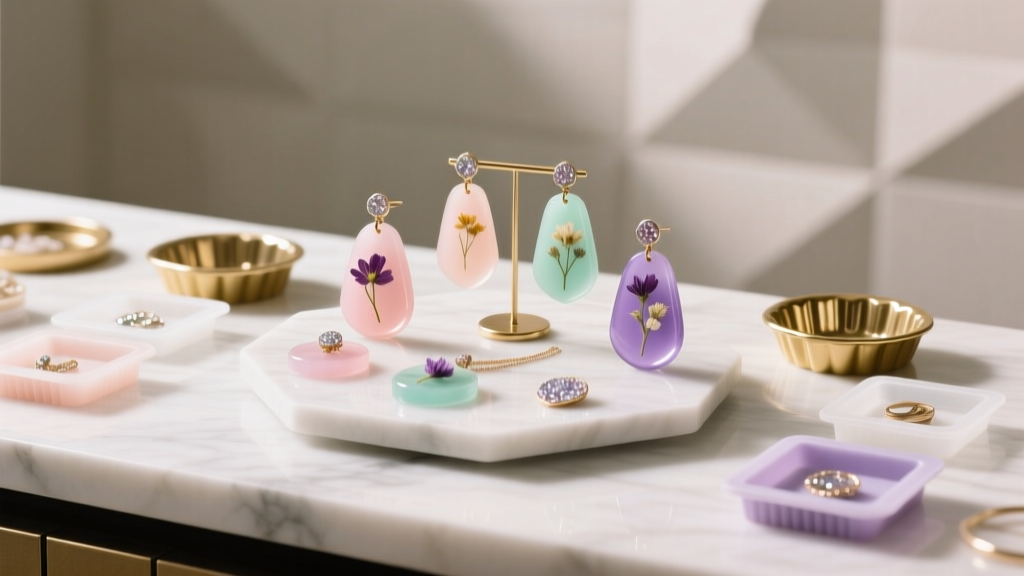 DIY Resin Jewelry Party Favors
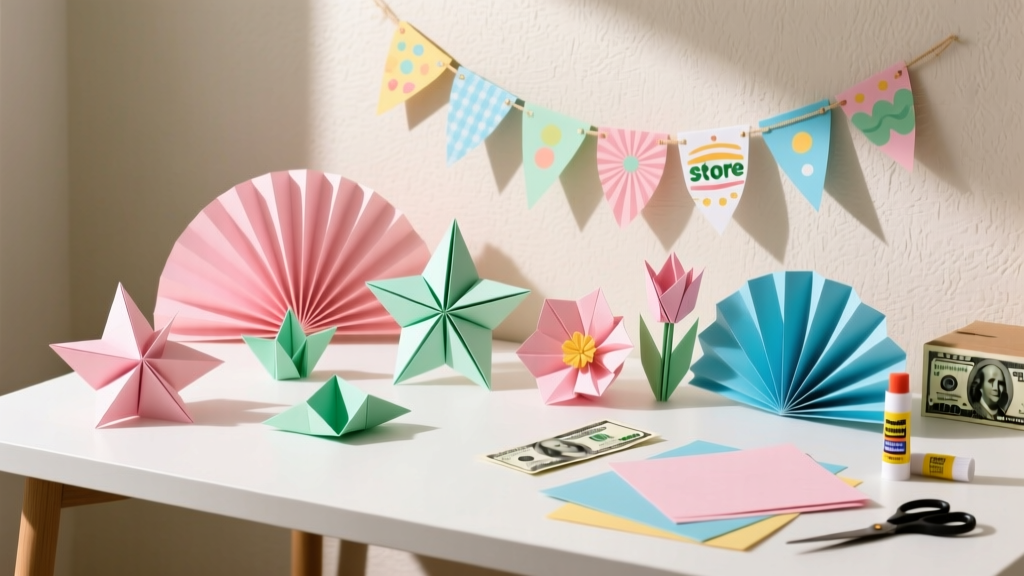 DIY Origami Decorations with Dollar Store Supplies
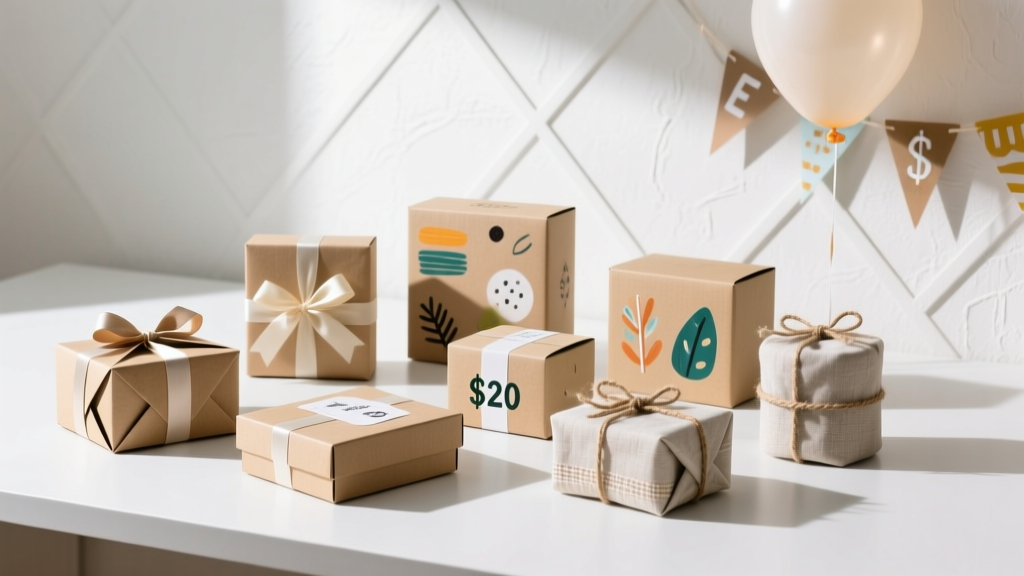 Budget DIY Gift Boxes Under $20
 Easy Photo Booth Props for Beginners
 No-Sew Coasters Tutorial
 How to Enable Third Party Cookies in 2024: A Step-by-Step Browser Guide (Chrome, Safari, Firefox, Edge) — Because Yes, Some Sites Still Need Them (and Here’s Exactly How to Do It Safely)
 20 Creative Scrapbook Pages Ideas
 How to Do a 3rd Party Removal Spell: A Step-by-Step, Ethically Grounded Ritual (No Ouija Boards, No Curses, Just Clarity & Consent)
 DIY Mugs for Home Decor
 DIY Wooden Signs in 1 Hour