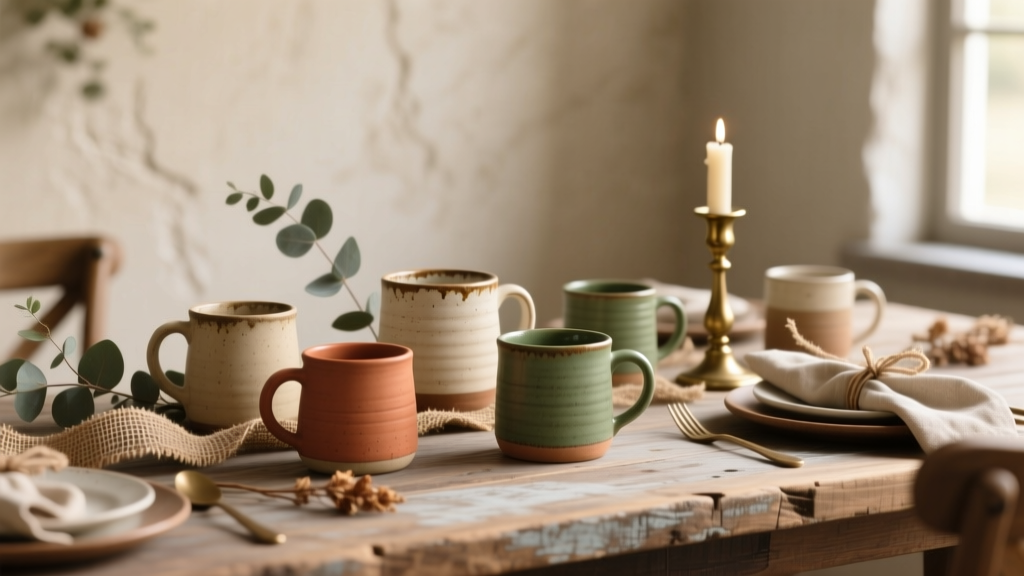
Rustic Mugs Ideas: DIY Projects for Cozy Parties, Weddings, and Giftable Decor
Rustic mugs have a special kind of charm—like a warm hug in drink form. They’re perfect for fall gatherings, winter cocoa bars, cabin-themed birthday parties, backyard weddings, and any celebration where you want the decor to feel relaxed and handmade. The best part? You can make them yourself with easy, affordable supplies and a little creativity.
These DIY rustic mug ideas aren’t just cute—they’re seriously useful. They can pull double duty as drinkware, party favors, place cards, hot cocoa bar props, or table centerpieces. Whether you’re a beginner crafter looking for a simple weekend win or an experienced DIYer ready to try advanced techniques, you’ll find options here that fit your style, time, and budget.
Grab a few thrifted mugs, clear a small workspace, and let’s turn plain ceramics into party-ready handmade decorations you’ll actually want to reuse year after year.
Quick Overview: Skill Levels & Time Estimates
- Beginner: Twine wrap, chalk paint labels, vinyl decals (about 20–45 minutes per mug)
- Intermediate: Etching cream designs, distress painting, sealed wood accents (about 45–75 minutes per mug plus drying)
- Advanced: Layered stencils, faux enamel speckle, two-step finishes (about 60–120 minutes per mug plus cure time)
Materials List (With Estimated Costs)
Costs vary by brand and location, but these estimates help you plan your DIY crafts shopping list for party projects.
Base Supplies
- Plain ceramic mugs (white or solid color, 11–15 oz): $1–$5 each (thrift store) or $2–$10 each (new multipacks)
- Rubbing alcohol (70%+ for cleaning): $2–$4
- Lint-free cloths or paper towels: $2–$5
- Painters tape (1 in / 25 mm): $4–$8
- Craft scissors and/or utility knife: $5–$12
Rustic Decorating Options
- Jute twine (2–3 mm thickness): $4–$8
- Hot glue gun (high-temp recommended) + glue sticks: $8–$20
- Acrylic craft paint (matte black, cream, brown, terracotta): $1–$3 per bottle
- Chalk-style paint (small jar): $8–$15
- Brush set (1/2 in flat + small round detail): $6–$12
- Fine-grit sandpaper (220–320 grit) or sanding sponge: $3–$6
- Clear sealer (matte spray acrylic): $6–$12
- Permanent vinyl + transfer tape (for decals): $10–$25
- Glass/ceramic etching cream (for etched designs): $10–$20
- Stencils (letters, wreaths, plaid): $3–$12
Nice-to-Have Tools
- Silicone craft mat or cardboard to protect your table: $8–$15
- Foam pouncer (for stenciling): $1–$3
- Heat gun (optional for speeding surface drying only): $15–$30
Prep Step for All Rustic Mug Projects
Before decorating, a quick prep makes your handmade projects look cleaner and last longer.
- Wash mugs with dish soap and warm water. Dry fully.
- Degrease the surface using rubbing alcohol on a lint-free cloth. Let air-dry 1 minute.
- Decide “safe zones”: For drinkware, keep paint/adhesives at least 1/2 in (12 mm) away from the rim and avoid the inside of the mug.
Rustic Mug Idea #1: Twine-Wrapped “Cozy Cabin” Mug
Skill level: Beginner
Time: 20–35 minutes per mug
Great for: Hot cocoa bars, rustic party table decor, winter baby showers
Materials
- Jute twine (2–3 mm)
- Hot glue gun + glue sticks
- Optional: small faux greenery sprig, mini pinecone, or wooden tag
Step-by-Step Instructions
- Mark your wrap area: Use painters tape to mark a band around the mug. A nice proportion is a 1.5–2 in (4–5 cm) tall band centered on the mug’s belly.
- Start clean: Add a small dot of hot glue at the back of the mug, press the twine end in place for 10 seconds.
- Wrap tightly: Wrap twine around the mug, keeping rows snug. Add a tiny dot of glue every 1–1.5 in (2.5–4 cm) so the twine stays put without looking lumpy.
- Finish neatly: Cut twine and glue the end at the back. Press firmly until set.
- Add a rustic accent (optional): Glue on a tiny faux greenery sprig or tie a small tag with a guest name for party place settings.
Party Styling Ideas
- Use each mug as a place card holder by tying a kraft paper name tag to the handle.
- Fill with wrapped candies or cocoa packets for party favors.
Rustic Mug Idea #2: Chalk-Paint Label Mug (Perfect for Drink Stations)
Skill level: Beginner
Time: 30–45 minutes + dry time
Great for: Coffee bars, brunch parties, buffet drink stations
Materials
- Chalk-style paint (black or deep brown)
- Flat brush (1/2 in) or foam brush
- Painters tape
- Chalk or chalk marker (for writing names/drinks)
- Matte spray sealer (optional for the outer mug surface; avoid sealing the writable label area if you want it erasable)
Step-by-Step Instructions
- Tape the label shape: Create a rectangle or rustic sign shape about 2.5 in wide x 1.5 in tall (6.5 x 4 cm). Press tape edges firmly to prevent bleed.
- Paint thin coats: Apply 2–3 thin coats of chalk-style paint, letting each coat dry about 10–15 minutes.
- Remove tape carefully: Peel tape back on itself slowly while paint is dry to the touch.
- Cure time: Let the label cure at least 2 hours before writing; overnight is even better.
- Write your party labels: Add “Cocoa,” “Cider,” guest names, or a short message.
Beginner-Friendly Adaptation
- Don’t love freehand writing? Use a simple stencil for drink names.
Rustic Mug Idea #3: Distressed Paint + Sanded Edges (Farmhouse Look)
Skill level: Intermediate
Time: 45–60 minutes + dry time
Great for: Rustic wedding showers, farmhouse-themed parties, table centerpieces
Materials
- Matte acrylic paint (cream, sage, dusty blue, or charcoal)
- Small sponge or brush
- 220–320 grit sandpaper
- Matte clear sealer (spray)
Step-by-Step Instructions
- Apply a base coat: Paint the outside of the mug with thin coats, avoiding the top 1/2 in (12 mm) near the rim. Let dry 15–20 minutes between coats.
- Create subtle texture: Dab a slightly darker shade using a sponge in random patches for a timeworn effect.
- Distress the edges: Once dry, lightly sand high spots: around the handle, bottom edge, and a few random areas. Start gently—you can always sand more.
- Seal: Spray with a matte clear sealer in 2 light passes (outdoors or in a well-ventilated area). Let cure according to the can (often 24 hours).
Advanced Variation
- Layer two colors (dark first, light second), then sand to reveal the underlayer for extra depth.
Rustic Mug Idea #4: Etched Woodland or Monogram Mug (Elegant Rustic)
Skill level: Intermediate to Advanced
Time: 45–75 minutes
Great for: Personalized party favors, rustic bridal showers, custom gift tables
Materials
- Etching cream (for glass/ceramic—check label compatibility)
- Vinyl stencil (cut with a craft cutter or use pre-made stencils)
- Old paintbrush for applying etching cream
- Disposable gloves
Step-by-Step Instructions
- Apply stencil: Place vinyl on the mug, burnish firmly (use a scraper or old gift card). Seal edges especially well.
- Protect the area: Wear gloves. Work on a protected surface.
- Apply etching cream: Brush on a thick, even layer over the stencil opening. Don’t “paint” back and forth too much—just cover.
- Wait: Follow product directions (commonly 5–10 minutes).
- Rinse thoroughly: Rinse under running water while the stencil is still on. Then peel stencil and rinse again.
- Dry and admire: The etched design will look frosty and rustic-chic.
Pro Tips for Better Results (And Longer-Lasting Mugs)
- Keep designs off the drinking edge: Stay at least 1/2 in (12 mm) from the rim for comfort and safer use.
- Thin coats beat thick coats: Paint layers dry smoother and resist peeling.
- Burnish stencils hard: Most bleeding happens because edges aren’t fully pressed down.
- Let projects cure: “Dry” isn’t the same as “cured.” If you can, wait 24–72 hours before heavy handling or gifting.
- Hand-wash recommended: Many DIY finishes last longer with gentle washing.
Troubleshooting: Fix Common Issues Fast
Paint is streaky
- Cause: paint too thick or brush marks
- Fix: switch to a foam brush or sponge and apply 1–2 thinner coats
Stencil bleed under the edges
- Cause: stencil not burnished, or too much paint
- Fix: use less paint on the sponge (almost dry), dab straight up and down, and burnish edges more firmly
Twine looks uneven or bumpy
- Cause: glue blobs or loose tension
- Fix: use smaller glue dots more often; keep steady tension and pause every few wraps to align rows
Sealer looks cloudy
- Cause: humidity or spraying too heavily
- Fix: move to a drier area; apply very light passes and let each one flash-dry before the next
Common Crafting Mistakes to Avoid
- Skipping the alcohol wipe: Oils from hands can cause peeling and patchy paint.
- Decorating the inside of the mug: It rarely holds up well and can be unsafe depending on materials.
- Putting thick paint near the rim: It chips faster and feels unpleasant when drinking.
- Rushing cure time: Handling too soon leaves fingerprints, dents, or tacky spots.
- Using too much hot glue: It creates lumps that make twine wraps look messy.
Party-Ready Rustic Mug Variations
- Hot Cocoa Bar Mug Set: Make 6–12 mugs in coordinating colors (cream + black + kraft). Add labels: “Marshmallows,” “Peppermint,” “Caramel.”
- Wedding Favor Mugs: Etch initials + date. Tie a small tag to the handle and set one at each place setting.
- Birthday “Campfire” Theme: Add a simple pine tree stencil and a twine band for a cozy outdoor vibe.
- Kids’ Party Adaptation: Skip etching cream. Use pre-cut vinyl decals and twine bows for a safer, quick win.
FAQ: Rustic Mug DIYs
1) Are these rustic mugs dishwasher-safe?
Most DIY finishes (paint, decals, twine) last longer with hand-washing. If you need dishwasher-safe results, choose products specifically labeled dishwasher-safe and follow their cure instructions exactly.
2) Can I use thrifted mugs?
Yes—thrifted mugs are perfect for budget-friendly DIY crafts. Check for cracks, scrub well, and wipe with rubbing alcohol before decorating.
3) What mug size works best for party drink stations?
A standard 11–15 oz mug works well for coffee bars and cocoa bars. For place settings or favors, 11 oz is usually the easiest to find in matching sets.
4) How do I keep twine from unraveling?
Secure the start and finish with hot glue, and add tiny glue dots every 1–1.5 in (2.5–4 cm). If you want extra security, tie a small knot at the end before gluing it down.
5) Can I make these as party favors without spending a lot?
Absolutely. Use thrifted mugs, do one technique (like chalk labels or twine wraps), and keep embellishments minimal. A simple tag and a cocoa packet inside still feels thoughtful and handmade.
6) What’s the easiest rustic look for a total beginner?
The twine-wrapped band is the fastest, most forgiving option. It instantly reads “rustic,” hides imperfections, and doesn’t require painting skills.
Wrap-Up: Make a Set, Mix Techniques, and Have Fun With It
Rustic mugs are one of those party decoration DIYs that feel special but stay practical—you’ll use them for gatherings, seasonal decor, and gifting long after the event. Start with two or three mugs to test your favorite style, then build a matching set for your next coffee bar, cocoa station, or rustic-themed celebration.
Want more party-ready handmade projects, easy decor ideas, and creative DIY crafts? Explore more tutorials and inspiration on smartpartyprep.com and keep making celebrations feel personal.
More Articles
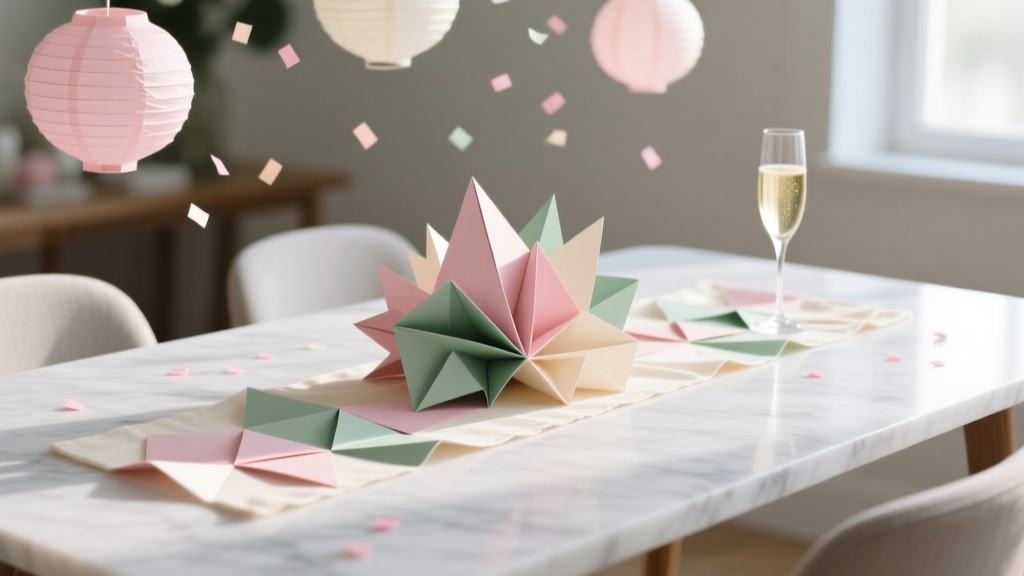 Paper Craft Table Runners Ideas
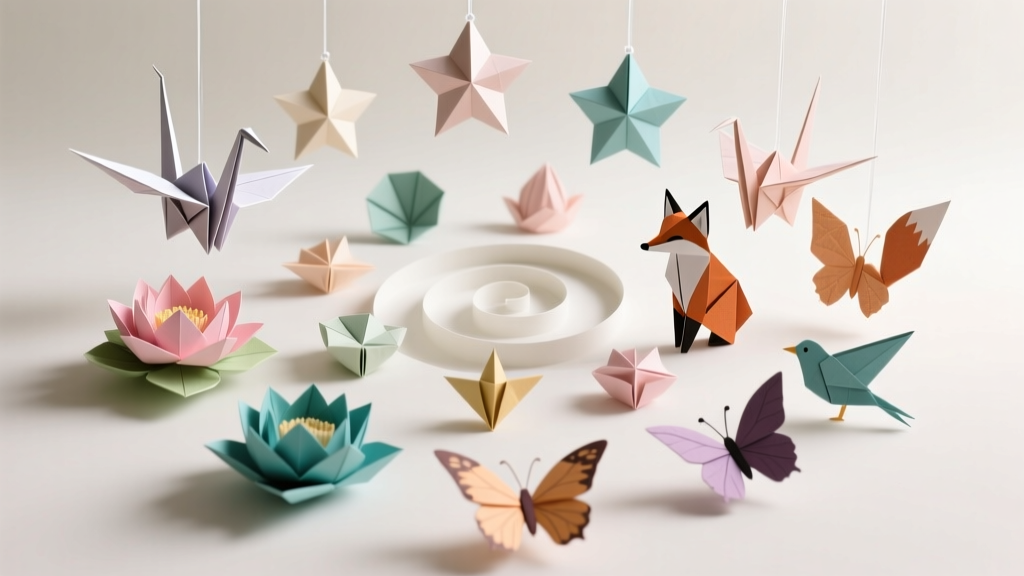 20 Creative Origami Decorations Ideas
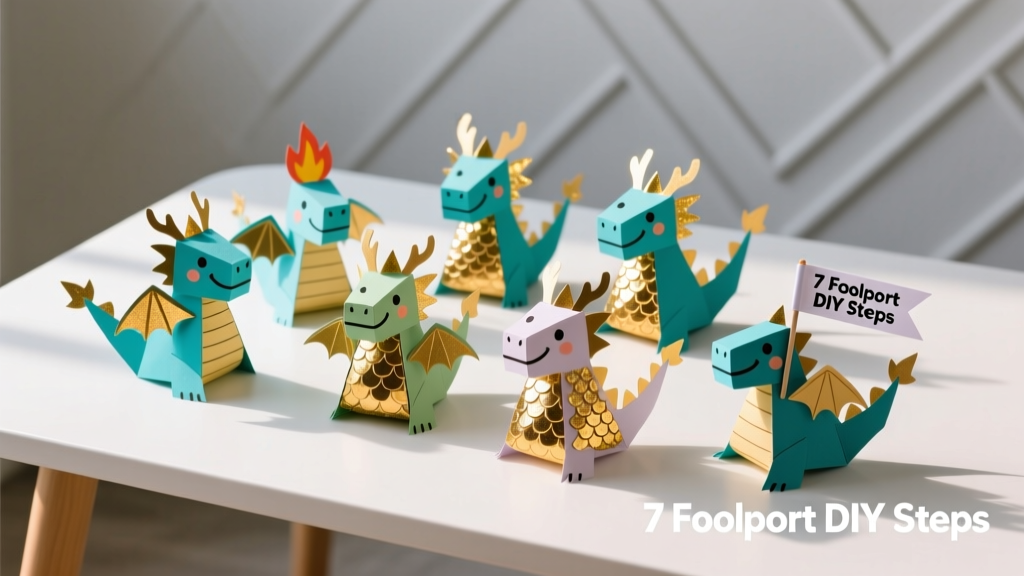 How to Train a Dragon Party Favors: 7 Foolproof DIY Steps (No Fire Breathing Required!) — Easy, Kid-Safe, & Instagram-Worthy in Under 90 Minutes
 Easy Masks for Beginners
 Step-by-Step Invitations Tutorial
 25 Creative Cake Toppers Ideas
 DIY Party Hats Using Cricut
 How to Unblock 3rd Party Session Cookies in 2024: The Only 5-Step Guide You’ll Need (No Extensions, No Coding, Works on Chrome, Safari & Edge)
 How to Make Embroidered Patches at Home
 How to Make a Tea Party Hat in Under 45 Minutes (No Sewing, No Fancy Tools—Just Paper, Glue & Joy!)