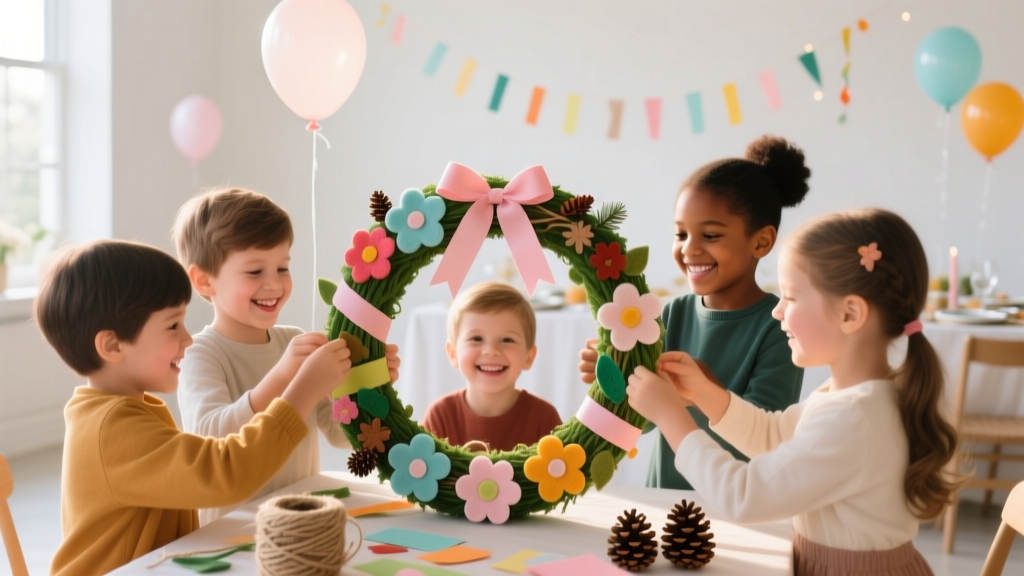
Kids' Craft: Wreaths
Wreath-making is one of those magical kids’ crafts that feels fancy, looks party-ready, and still stays totally doable for beginners. A wreath instantly says “welcome,” “celebration,” or “something special is happening here”—which makes it a perfect handmade party decoration for birthdays, baby showers, classroom events, holiday gatherings, and even weekend playdates.
Even better: wreaths are incredibly flexible. You can keep it simple with paper shapes and glue, go more textured with pom-poms or felt, or make a statement with ribbons and themed cutouts. Kids love choosing colors, layering shapes, and adding personalized details (names, ages, little icons that match the party theme). Adults love that a wreath is lightweight, easy to hang, and doubles as a photo backdrop accent.
This guide walks you through a kid-friendly wreath project with practical materials, clear steps, and fun variations—from preschool-safe options to advanced upgrades that look boutique-level. Let’s make a DIY wreath that’s party-perfect and proudly handmade.
Project Overview: DIY Kids’ Party Wreath
- Skill level: Beginner (with adult help for cutting/hot glue). Advanced options included.
- Best ages: Ages 4–12 (adaptations for preschoolers and older kids below)
- Time estimate: 30–60 minutes (plus optional drying time)
- Finished size: 10–14 inches (standard party door or wall wreath)
- Great for: Birthday parties, classroom doors, holiday parties, baby showers, “Welcome” signs, photo booth backdrops
Materials & Tools (With Estimated Costs)
Base Options (Choose One)
- Foam wreath form (10–12 inch): $3–$8
- Cardboard (recycled shipping box) + template: $0–$2
- Paper plate ring (cut center out): $0.25–$1
Covering & Decorating
- Colored cardstock (8.5" x 11", pack): $5–$10
- Crepe paper streamer rolls (assorted colors): $1–$5 per roll
- Felt sheets (9" x 12", assorted pack): $6–$12
- Pom-poms (assorted sizes): $4–$10
- Ribbon (3/8" and 1" widths recommended): $3–$8
- Glitter foam sheets (optional for sparkle): $5–$10
- Stickers or foam stickers (letters, stars, themed icons): $2–$8
- Mini clothespins (optional for photo wreath): $3–$6
Adhesives & Fasteners
- Glue stick (kid-friendly, low mess): $1–$3
- School glue (washable PVA): $1–$3
- Double-sided tape (great for quick party prep): $3–$7
- Hot glue gun (adult use for sturdiness): $7–$20 + glue sticks $3–$8
Tools (Recommended)
- Kid-safe scissors + adult scissors for thicker materials
- Craft knife (adult-only for clean cardboard cuts)
- Ruler (12") and pencil
- Circle template or two bowls/plates for tracing rings
- Hole punch (for hanging ribbon): $5–$12
Estimated total cost: $8–$25 depending on what you already have. Recycled cardboard + streamers can keep it very budget-friendly.
Measurements: Choosing the Right Wreath Size
- Small (8–10"): Great for chair backs, gift table signs, or party favors.
- Medium (10–12"): Best all-purpose size for doors and walls.
- Large (14–16"): Statement piece for photo backdrops and dessert tables.
Easy ring measurement guide: For a 12" wreath, cut an outer circle about 12 inches wide and an inner circle about 6–7 inches wide (this leaves a sturdy ring that’s easy for kids to decorate).
Step-by-Step: Classic Kids’ Paper Party Wreath
This version uses cardstock/streamers and is perfect for party decorating because it’s lightweight, colorful, and quick to make.
Step 1: Make the Wreath Base (10 minutes)
- Trace the outer circle: Use a large plate or bowl. Aim for 10–14 inches across.
- Trace the inner circle: Use a smaller bowl. Aim for 5–8 inches across.
- Cut out the ring:
- Kids can cut the outer circle with scissors if cardboard is thin.
- An adult can cut the inner circle with a craft knife for a clean opening.
- Optional strength boost: Cut a second identical ring and glue them together. Let dry for 5–10 minutes.
Step 2: Cover the Ring (10–15 minutes)
Covering the base hides the cardboard and helps decorations stick.
- Streamer wrap method (fastest): Wrap crepe paper around the ring like a bandage, overlapping by about 1/2 inch. Secure with glue stick or tape every few wraps.
- Paper strip method (neat and sturdy): Cut 1 inch x 8.5 inch strips of colored paper. Wrap and glue the ends on the back.
- Ribbon wrap method (party-polished): Wrap 3/8" ribbon around the ring. Use hot glue (adult) to secure the start and finish.
Step 3: Create Simple Party Shapes (10–20 minutes)
Pick a theme that matches your party decor: hearts, stars, balloons, flowers, dinosaurs, sea creatures, or “Happy Birthday” letters.
- Quick flower: Cut 6–8 paper petals (about 1.5–2 inches long) + 1 circle center (about 1 inch wide).
- Confetti dots: Use a hole punch on scrap paper for easy “confetti.”
- Bows: Fold a 1" x 6" strip into loops and glue in the center.
- Name/age plaque: Cut a rectangle about 3" x 5" or a circle about 4" wide.
Step 4: Arrange Before You Glue (2–5 minutes)
- Lay decorations on the wreath without adhesive first.
- Place big items (bows, name plaque) at the top or bottom.
- Fill gaps with smaller pieces (dots, stars, mini flowers).
Step 5: Attach Decorations (10–15 minutes)
- For younger kids: Glue stick + paper pieces. Press firmly for 10 seconds.
- For mixed materials (pom-poms, ribbon): Use school glue for light items and hot glue (adult-only) for heavier elements.
- Layering tip: Glue flat background pieces first, then add 3D accents on top.
Step 6: Add a Hanger (2 minutes)
- Use a hole punch at the top of the wreath ring.
- Thread a 12–16 inch ribbon through and tie a knot or bow.
- No hole punch? Tape a loop of ribbon to the back with strong tape, or hot glue (adult) for extra hold.
Pro Tips for a Party-Ready Finish
- Pick 2–3 main colors: This keeps the wreath looking coordinated with your party decorations (balloons, tableware, banners).
- Use a “visual triangle” layout: Place three bigger accents (like flowers or stars) spaced around the wreath for balance.
- Mix textures: Paper + felt + ribbon makes even simple shapes feel more “store-bought.”
- Make it photo-friendly: Add a bold name or age in the center for party pictures.
- Batch-prep for groups: Pre-cut bases and a set of shapes. Let kids focus on decorating and arranging.
Beginner-Friendly Adaptations (Great for Preschoolers)
- Use a paper plate ring: Easy to cut and lightweight.
- Swap cutting for tearing: Let kids tear tissue paper into 1–2 inch pieces and glue them like a mosaic.
- Sticker wreath: Cover the base with one color, then let kids cover it in themed stickers (balloons, animals, stars).
- Glue control: Put glue in small dots around the ring so kids dab items onto “glue spots.”
Advanced Variations (For Older Kids & DIY Enthusiasts)
Pompom Party Wreath (Textured & Bold)
- Use a foam wreath form (10–12").
- Hot glue pom-poms tightly together until the form is fully covered.
- Add a big bow, name tag, or mini banner across the center.
Balloon-Themed Birthday Wreath
- Cut balloon shapes from cardstock (about 2–3 inches tall).
- Use thin ribbon or yarn as “strings” dangling into the center.
- Add “Happy Birthday” letters around the bottom curve.
Photo Memory Wreath (Party + Keepsake)
- Attach 6–10 mini clothespins around the wreath.
- Clip on small photos (2" x 3" prints) of the guest of honor, party prep moments, or classroom milestones.
Troubleshooting: Fixes for Common Wreath Problems
- Decorations won’t stick:
- Wipe dusty foam or cardboard quickly with a dry paper towel.
- Use double-sided tape for paper-on-paper.
- For heavier items, switch to hot glue (adult) or use stronger tacky craft glue.
- Wreath feels floppy:
- Double-layer the cardboard ring.
- Keep the inner circle at least 5–6 inches for a sturdy band.
- Warping or curling:
- Too much liquid glue can warp paper. Use glue stick or small dots of school glue.
- Let it dry flat under a book (with wax paper in between) for 10–15 minutes.
- Looks “busy” instead of polished:
- Repeat a few shapes rather than adding many different ones.
- Leave a little open space; it helps your focal point stand out.
Common Crafting Mistakes to Avoid
- Making the ring too thin: A narrow ring tears easily and doesn’t hold decorations well. Aim for a band that’s at least 2.5–3 inches wide.
- Gluing before arranging: Dry-fit first so you don’t end up with a lopsided design.
- Overusing wet glue: It can wrinkle cardstock and cause pieces to slide. Use glue stick for paper and save wet glue for small, sturdy items.
- Skipping the hanger plan: Decide how you’ll hang it before decorating the top area. Bows and hangers compete for space.
- Too much weight on one spot: Heavy decorations (big bows, clusters of pom-poms) should be balanced with another element or attached with stronger adhesive.
FAQ: Kids’ Wreath Craft
1) What’s the easiest wreath base for a classroom party?
A paper plate ring is the fastest and least messy. Pre-cut the centers (adult) and set up stations with glue sticks, stickers, and pre-cut shapes for a smooth group activity.
2) Can I make this without a hot glue gun?
Yes. Stick to lightweight materials (paper, foam stickers, small felt shapes) and use glue sticks or double-sided tape. If you want to add ribbon bows or pom-poms without hot glue, use tacky craft glue and allow 30–60 minutes drying time.
3) How do I make a wreath that matches my party theme?
Choose a color palette from your party supplies (plates/napkins/balloons), then repeat 1–2 theme icons (like stars for a space party, shells for a mermaid party, or paw prints for a pet party). Add a name or age in the center for a personalized party decoration.
4) How long will a paper wreath last?
For indoor use, a paper wreath can last weeks or even months if kept dry and stored flat. For longer life, use a foam wreath base, felt shapes, and stronger adhesive.
5) What’s a good size wreath for a front door?
A 12–14 inch wreath is a great fit for most doors. If it’s for a party backdrop wall, consider 14–16 inches so it reads well in photos.
6) How can kids personalize their wreaths?
Add letter stickers (names), a number for the birthday age, a small photo in the center, or a mini banner that says “Welcome,” “Happy Birthday,” or the party theme (like “Under the Sea”).
Wrap-Up: A Handmade Wreath That’s Ready to Celebrate
A kids’ wreath craft is the kind of DIY project that checks all the boxes: it’s creative, party-useful, easy to customize, and fun for different ages. Make one as a front-door welcome sign, a dessert-table decoration, or a photo-ready party backdrop accent—and let kids take ownership of the colors, shapes, and theme details.
Try one classic version first, then experiment with pom-poms, ribbons, photo clips, and layered cutouts as your confidence grows. Your next party decoration might become a new tradition.
Want more DIY crafts, party decorations, and handmade project ideas? Browse more creative how-tos and smart celebration tips on smartpartyprep.com.
More Articles
 Rustic Dream Catchers Ideas
 How to Make Pet Party Invitations That Actually Get RSVPs: 7 Foolproof Steps (No Design Skills Needed + Free Templates Inside)
 DIY Gift Boxes Party Favors
 Personalized Balloon Arches Gifts
 DIY Custom Stickers Party Favors
 Kids' Craft: Mason Jar Crafts
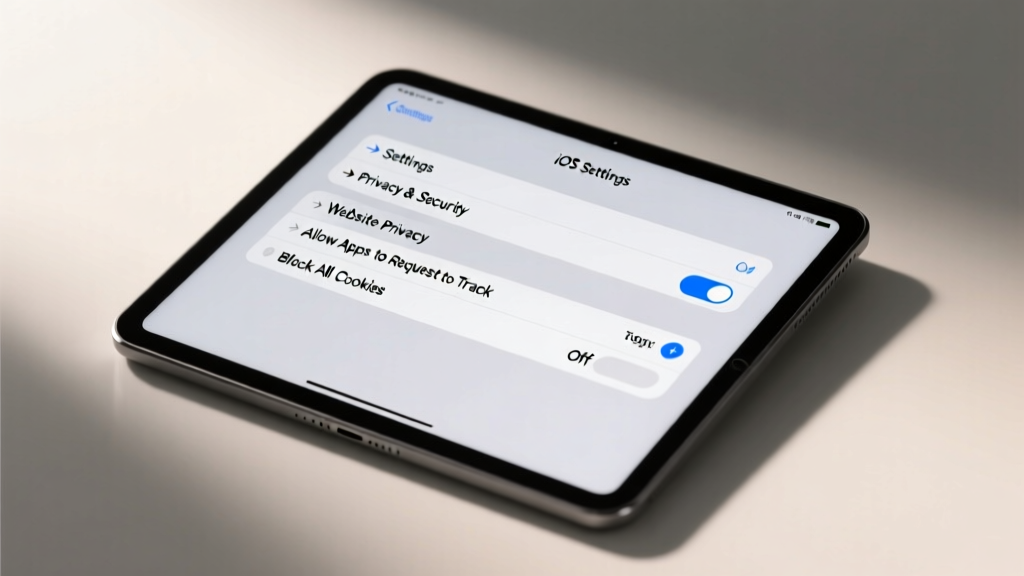 How to Allow Third Party Cookies on iPad in 2024: A Step-by-Step Guide That Actually Works (No More 'Blocked' Messages or Broken Logins)
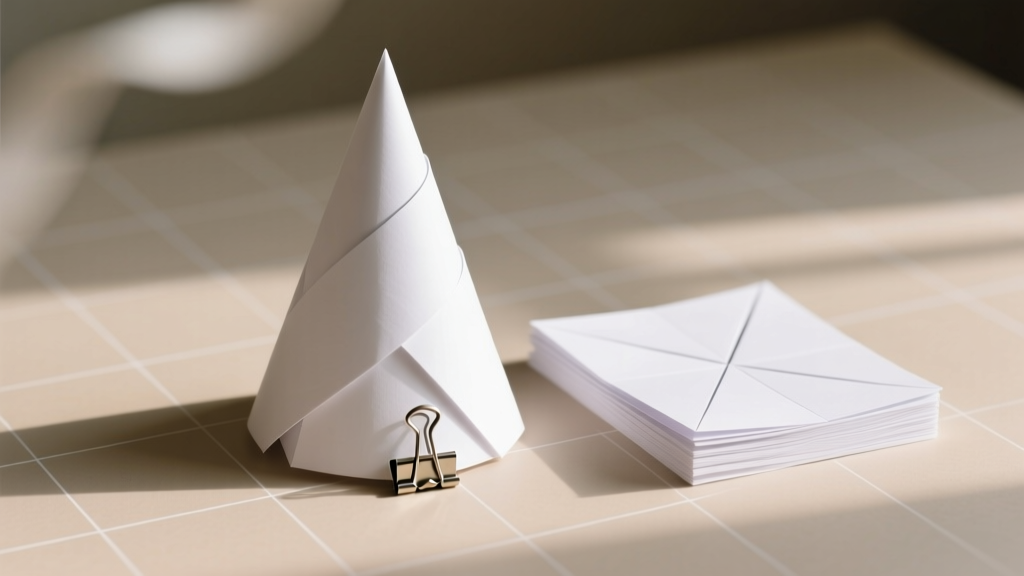 How Do You Make a Party Hat Out of Paper in Under 10 Minutes? (No Glue Gun, No Scissors Required — Just 3 Sheets & 1 Stapler)
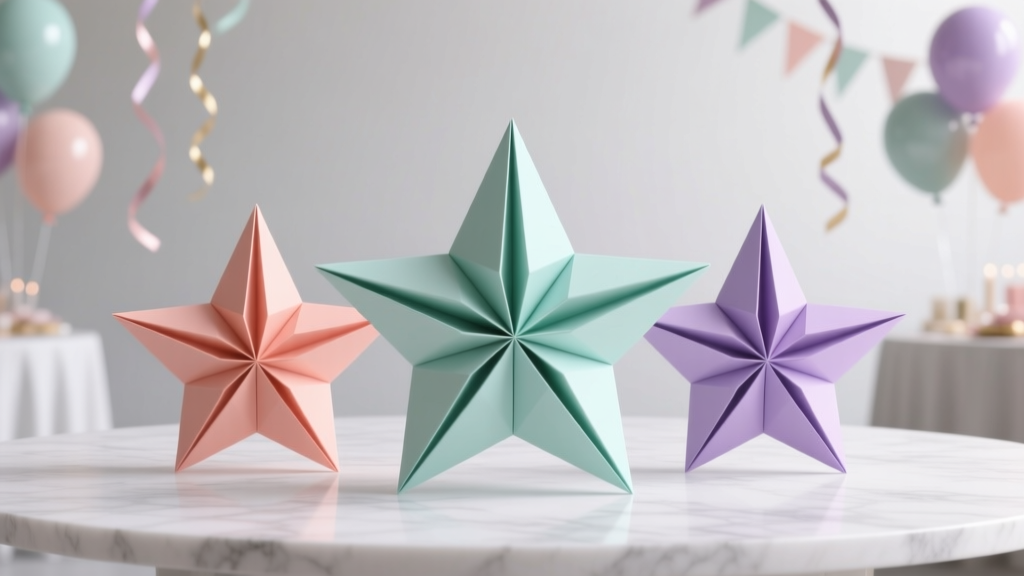 Advanced Origami Decorations for Crafters
 DIY Balloon Arches in 30 Minutes