
Kids' Craft: Confetti
Confetti is one of those party details that instantly makes everything feel more festive—without needing a huge budget or a professional decorator. Even better? Making your own confetti can be a fun kids’ craft that doubles as a practical DIY party decoration. You can match your theme perfectly (rainbow birthday, pastel baby shower, gold-and-black graduation) and create exactly the amount you need.
This project is ideal for rainy afternoons, classroom crafting, birthday party prep, or a pre-party activity station. Kids love the punch-and-sprinkle factor, and adults love having a stash of handmade confetti ready for table scatters, gift wrap, DIY party invitations, and photo backdrops.
Below you’ll find a step-by-step guide for making kid-friendly confetti—plus pro tips, variations, troubleshooting, and common mistakes to avoid. Whether you’re going for simple paper dots or upgraded confetti shapes, you’ll be set up for success.
Project Snapshot: Skill Level, Time, and Best Uses
- Skill level: Beginner (with kid-friendly options) to Intermediate (for shaped or specialty confetti)
- Age guidance: Ages 4+ with supervision (especially around hole punches and scissors)
- Time estimate:
- Small batch (1 cup): 15–25 minutes
- Party batch (3–5 cups): 45–90 minutes
- Mess level: Medium (manageable with a tray or tablecloth)
- Great for: Table scatter, balloon stuffing, party favor bags, handmade cards, confetti poppers, gift wrap, photo props, and DIY party decor
Materials and Tools (with Estimated Costs)
Choose supplies based on your party theme and how you plan to use the confetti (table scatter vs. poppers vs. crafts). Costs vary by brand and location, but these estimates are realistic for common craft stores and online shopping.
Paper Options
- Colored cardstock (8.5 x 11 in, 65–80 lb): Best for crisp shapes and less static. Estimated cost: $6–$12 per 50-sheet pack
- Construction paper (9 x 12 in): Softer, easier for little hands to fold and punch. Estimated cost: $4–$8 per pack
- Tissue paper: Lightweight and floaty; great for confetti poppers and balloon filling (note: more static). Estimated cost: $3–$7 for assorted sheets
- Scrap paper: Old party invitations, wrapping paper, maps, or art leftovers. Estimated cost: Free
Tools (Recommended)
- Handheld hole punch (single-hole, 1/4 in / 6 mm): Classic confetti dots. Estimated cost: $6–$12
- Shape punches (1/2 in to 1 in): Hearts, stars, circles, flowers. Estimated cost: $8–$18 each
- Kid-safe scissors: Helpful for cutting strips or squares before punching. Estimated cost: $3–$8
- Craft tray or rimmed baking sheet: Catches confetti and makes cleanup fast. Estimated cost: $0–$10 (use what you have)
- Small bowls or cups: For color-sorting. Estimated cost: $0–$5
- Optional: Mini paper cutter for adults (safer and straighter cuts than lots of scissor work). Estimated cost: $15–$30
Optional Add-Ons for Party-Ready Confetti
- Biodegradable glitter (fine): Adds sparkle for themed tablescapes. Estimated cost: $6–$12
- Clear treat bags or small jars: For confetti favors. Estimated cost: $5–$12
- Double-sided tape or glue dots: For sticking confetti onto invitations or banners. Estimated cost: $4–$10
Prep: Pick Your Confetti Size and Color Mix
Before you start punching, decide how your confetti will be used—this affects size, paper choice, and how much you’ll need.
Suggested Sizes
- Mini dots (1/4 in / 6 mm): Best for table scatter and cards; looks professional
- Medium shapes (1/2 in / 12 mm): Great for party favor bags and photo styling
- Large shapes (3/4–1 in / 19–25 mm): Best for banners, gift wrap accents, and statement decor
How Much Confetti Do You Need?
- Table scatter: About 2–3 tablespoons per standard party table (6–8 ft)
- Gift wrap decoration: 1–2 teaspoons per gift (if gluing pieces down)
- Balloon stuffing (11–12 in balloon): About 1–2 tablespoons (tissue paper works best)
- Confetti poppers: 1–2 tablespoons per popper (don’t overfill)
Step-by-Step: Classic Confetti Dots (Kid-Friendly)
This method uses a standard 1/4-inch hole punch and is the easiest way to create a big batch quickly.
Step 1: Set Up a “Confetti Station”
- Cover the work surface with a plastic tablecloth or lay down a rimmed tray.
- Place one bowl per color so kids can sort as they go.
- Keep a small trash cup nearby for paper scraps.
Step 2: Cut Paper into Punch-Friendly Strips
For easiest punching, cut sheets into strips or rectangles. Adult helper recommended for speed.
- Recommended strip size: 1.5 in x 8.5 in (about 38 mm x 216 mm)
- Alternative: 2 in x 6 in rectangles if you’re using smaller kid scissors
Step 3: Punch Confetti into a Tray
- Hold the paper strip and insert it fully into the hole punch.
- Position the punch over the tray (or hold it inside the tray).
- Press down firmly to cut one dot at a time.
- Slide the paper and repeat until the strip is used.
Kid helper tip: If pressing the punch is difficult, an adult can “prime” the punch by pressing once, then kids can help with paper positioning and collecting.
Step 4: Empty the Punch and Sort Colors
- Every 20–30 punches, flip the punch over and tap out dots to prevent jamming.
- Pour confetti into bowls by color, or mix into one big “party blend.”
Step 5: Store for Party Day
- Store confetti in resealable bags or small jars.
- Label with the color mix and date.
- Keep it dry and away from humid areas to prevent curling.
Step-by-Step: Shaped Confetti (Hearts, Stars, Flowers)
Shaped confetti looks extra special for DIY party decorations and handmade invitations. It does take a bit more time, but the results are worth it.
Best Paper for Shape Punches
- Cardstock (65–80 lb) produces clean, crisp shapes.
- Avoid very fibrous construction paper for detailed shapes (it can tear).
Instructions
- Choose punch size: 1/2 in (12 mm) for confetti; 3/4–1 in (19–25 mm) for statement pieces.
- Cut paper into smaller pieces: 2 in x 4 in (about 50 mm x 100 mm) makes it easier to handle.
- Punch shapes: Press straight down on a stable surface for the cleanest edges.
- Mix and match: Combine 2–4 colors for a coordinated party theme.
Pro Tips for Cleaner Cuts, Faster Crafting, and Less Mess
- Use a baking sheet: A rimmed sheet pan keeps confetti from drifting and makes it easy to funnel into bags.
- Sharpen a sticky punch: Punch through aluminum foil 10–15 times, then punch through wax paper 5–10 times to lubricate.
- Reduce static: If tissue paper is clinging everywhere, lightly wipe the tray with a dryer sheet (adult step), then punch again.
- Batch by color: Punch each color into its own bowl first, then mix for consistent distribution.
- Make it a party prep game: Set a timer for 10 minutes and see how much confetti each helper can make.
- Think “confetti zones”: Keep confetti crafting in one area and do not carry open bowls through the house.
Creative Variations (Beginner-Friendly to Advanced)
Beginner Variations
- Rainbow mix: Punch one strip of each color for instant cheerful DIY party decor.
- Monochrome theme: Use 3 shades of the same color (light, medium, dark) for a modern tablescape.
- Two-tone confetti: Match party colors (ex: pink + gold, blue + silver, black + white).
Intermediate Variations
- Confetti “sprinkles”: Cut paper into tiny rectangles about 1/8 in x 1/2 in (3 mm x 12 mm). Great for cupcake-themed parties.
- Layered confetti for invitations: Use glue dots to add a few shapes to envelopes, menus, or place cards.
- Confetti mix with sparkle: Add 1/2 teaspoon biodegradable glitter per 1 cup of paper confetti (shake in a bag).
Advanced Variations
- Custom silhouette confetti: Use a craft cutting machine (adult tool) to cut tiny icons (numbers, names, party symbols). Keep shapes at least 0.5 in (12 mm) so they don’t tear.
- Confetti “seals” for favor bags: Punch larger circles (1 in / 25 mm) and stamp letters or tiny designs on top.
- Photo-ready confetti blend: Mix 70% small dots + 30% larger shapes for depth in styling.
Troubleshooting: What to Do If…
- Your punch keeps jamming:
- Empty the punch more often.
- Use thinner paper or switch from tissue to cardstock (or vice versa depending on punch type).
- Sharpen with aluminum foil, then wax paper.
- Your shapes look torn or fuzzy:
- Switch to smoother cardstock.
- Press straight down on a hard surface (not on carpet or a soft couch cushion).
- Check if the punch is dull—foil/wax paper trick helps.
- Confetti is sticking everywhere (static):
- Use cardstock instead of tissue for table scatter.
- Store confetti in a sealed bag and gently shake before using.
- Wipe the tray lightly with a dryer sheet (adult step).
- Kids are getting tired of punching:
- Rotate roles: one punches, one sorts, one cuts strips.
- Make smaller “confetti missions” (fill one cupcake liner per color).
- Use larger punches—they’re often easier to press.
Common Crafting Mistakes to Avoid
- Using the wrong paper for the job: Tissue is pretty, but can cling and shred. Cardstock is cleaner for shaped confetti and table scatter.
- Overfilling confetti poppers: Too much confetti won’t “pop” well. Stick to 1–2 tablespoons per popper.
- Skipping a catch tray: Confetti travels fast. A rimmed tray or sheet pan saves major cleanup time.
- Mixing colors too early: If you need a balanced blend, punch and measure each color first, then mix.
- Letting punches get clogged: Empty and tap out the punch regularly to keep cuts crisp and avoid frustration.
- Leaving confetti loose near pets or toddlers: Store it sealed and out of reach—tiny pieces can be a hazard.
FAQ: Making DIY Confetti for Parties
How do I make confetti that’s easy to clean up?
Use larger shapes (3/4 in to 1 in / 19–25 mm) and cardstock. Bigger pieces are easier to grab, and cardstock is less likely to cling from static. For outdoor parties, skip tiny tissue confetti—it tends to travel.
Can I use a regular hole punch for tissue paper?
You can, but it may tear or stick. For best results, fold tissue into a small stack (about 4–6 layers), punch slowly, and empty the punch often. If it’s frustrating, switch to construction paper or cardstock.
How far in advance can I make handmade confetti?
Plan on making it 1–4 weeks ahead. Store it in airtight bags or jars in a dry area so it stays flat and doesn’t absorb humidity.
What’s the best confetti for balloon stuffing?
Tissue paper confetti is lightweight and floats better inside balloons. Use about 1–2 tablespoons for an 11–12 inch balloon. A balloon pump helps, and rubbing the balloon with a cloth can increase static so confetti sticks to the sides for a full look.
Is DIY confetti biodegradable?
Paper confetti is generally biodegradable, but it’s still best to clean it up after the party—especially outdoors. Avoid plastic confetti for eco-friendlier party decorations.
How do I match confetti to a party theme?
Pick 2 main colors plus 1 accent (like metallic gold or silver cardstock). For themed parties, add one shape punch (stars for space parties, hearts for Valentine parties) to make the mix look custom.
Ready to Make Your Own Party Confetti?
Handmade confetti is a simple kids’ craft with a big payoff: it turns tables, favors, and invitations into instantly festive DIY party decorations. Start with classic dots, keep your setup mess-friendly, and try one fun variation once you’ve got the basics down. You’ll end up with a stash of confetti that fits your celebration perfectly—and the memories of making it together are part of the party magic.
Want more easy, creative party prep projects? Browse more DIY craft ideas, handmade decorations, and celebration-ready tutorials at smartpartyprep.com.
More Articles
 DIY Friendship Bracelets Using Cricut
 30 Creative Painted Rocks Ideas
 How to Allow Third-Party Cookies on Chrome iPad in 2024: The Only 4-Step Guide That Actually Works (No More ‘Settings Not Found’ Errors)
 Easy Wooden Signs for Beginners
 Why Don’t Third Parties Usually Succeed on Quizlet? The 5 Hidden Structural Barriers That Kill Outside Study Tools (And How to Beat Them)
 Seasonal Gift Boxes Ideas
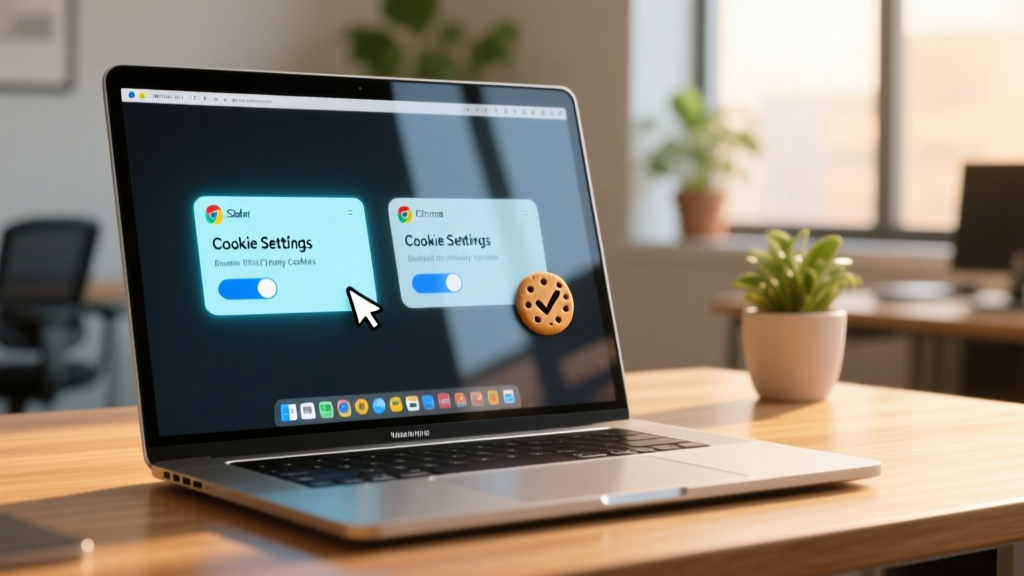 How to Enable Third Party Cookies on MacBook: A Step-by-Step Safari & Chrome Fix (2024 Verified — No More 'Blocked' Errors or Broken Logins)
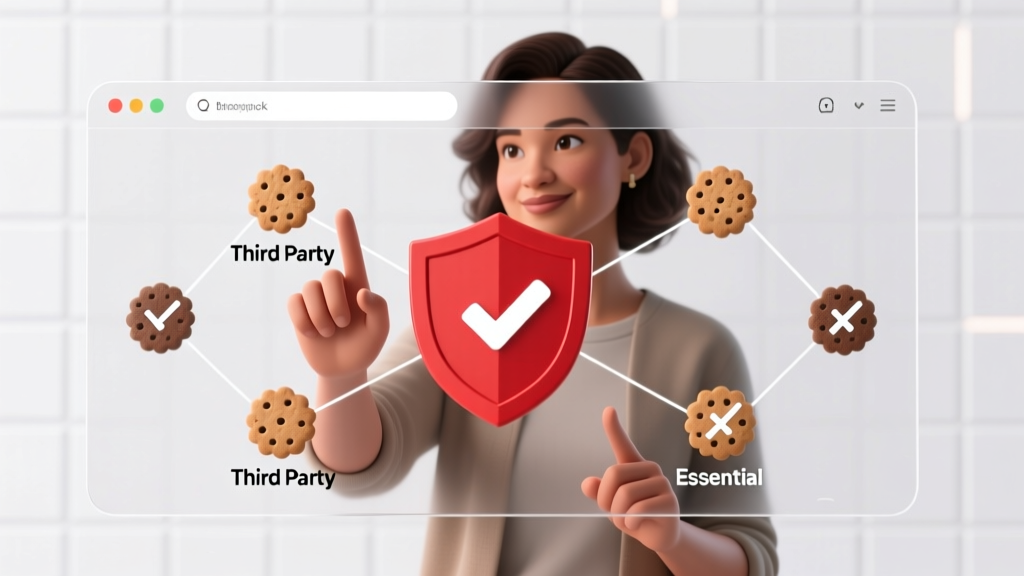 How Do I Block Third Party Cookies in 2024? The Real-World Guide That Actually Works (No Tech Degree Required)
 How to Make Balloon Arches at Home
 Personalized Invitations Gifts