
Kids' Craft: Thank You Cards
After the balloons pop and the last cupcake crumb disappears, there’s one party task that often gets rushed: saying thank you. Handmade thank you cards turn that final step into a creative, feel-good project kids can actually enjoy—especially when the cards match the party theme and include fun textures like stickers, pom-poms, and stamped shapes.
This kids’ craft is practical (you’ll actually use the finished cards), budget-friendly, and easy to customize for birthdays, baby showers, classroom parties, graduations, team celebrations, and holiday gatherings. Even better: it’s a low-mess DIY craft that works as a rainy-day activity or a “day after the party” calm-down project.
Below you’ll find simple, step-by-step instructions for kid-friendly handmade cards, plus pro tips, variations, and troubleshooting to help you create polished, party-ready thank you notes—no fancy art degree required.
Project Overview
- Skill level: Beginner (easy enough for preschoolers with help), adaptable for intermediate/advanced crafters
- Age range: 3+ with supervision; 6+ can do most steps independently
- Time estimate:
- Prep (adult): 10–15 minutes
- Per card: 8–15 minutes
- Batch of 10 cards: 60–90 minutes (assembly-line style)
- Best for: DIY party crafts, handmade party decor, post-party activities, classroom thank you notes
Materials List (With Estimated Costs)
Costs vary by brand and whether you already have supplies. These estimates reflect common craft-store or online pricing.
Card Base & Paper
- Cardstock (8.5" x 11", 65–110 lb weight), 20–50 sheets: $6–$12
- Patterned scrapbook paper (12" x 12" or 8.5" x 11"), 10–20 sheets: $5–$15
- Blank note cards + envelopes (optional shortcut), pack of 20: $8–$14
Adhesives
- Glue sticks (washable for kids), pack of 4–8: $2–$6
- Liquid school glue (white, washable): $1–$3
- Double-sided tape or tape runner (for cleaner results): $4–$10
Decorations (Pick a Few)
- Stickers (theme-based: balloons, dinosaurs, princesses, stars), 2–5 sheets: $3–$10
- Foam stickers or foam sheets (adds dimension): $3–$8
- Pom-poms (small 0.5"–1"): $3–$6
- Washi tape (party colors): $4–$12
- Glitter glue pens (less mess than loose glitter): $4–$8
- Rubber stamps + ink pad (stars, hearts, confetti): $6–$20
Tools (Recommended)
- Kid-safe scissors and/or adult scissors: $2–$12
- Paper trimmer (optional, speeds up batches): $12–$25
- Ruler (12") and pencil: $2–$6
- Corner rounder punch (optional, makes cards look “store-bought”): $6–$12
- Hole punch (single hole): $3–$8
Writing Supplies
- Markers (washable), pack of 10–20: $4–$10
- Fine-tip black pen (for neat writing): $2–$5
- Metallic marker (gold/silver for party sparkle): $3–$6
Card Size & Measurements (Easy and Mail-Friendly)
A classic handmade thank you card size is A2:
- Finished card: 4.25" x 5.5"
- Cut cardstock: 8.5" x 5.5"
- Fold: fold in half to make a 4.25" x 5.5" card
Optional layered panel (for a clean, framed look):
- Front panel (patterned paper): 4" x 5.25"
- That leaves a crisp border around the edges.
Step-by-Step Instructions: Classic Kids’ Thank You Card
Step 1: Prep Your Workstation (5 minutes)
- Cover the table with kraft paper, a plastic tablecloth, or a reusable mat.
- Set out:
- Pre-cut cardstock bases
- Pre-cut paper panels
- Glue sticks + tape runner
- Markers/pens
- A “decorations tray” (stickers, pom-poms, washi tape)
- Keep wet wipes nearby for quick cleanups.
Step 2: Cut and Fold the Card Base (2–3 minutes per card)
- Cut cardstock to 8.5" x 5.5".
- Fold in half to create 4.25" x 5.5".
- Press the fold firmly using a ruler edge or the back of a spoon for a crisp crease.
Beginner-friendly shortcut: Use pre-made blank note cards with envelopes and jump straight to decorating.
Step 3: Add a Front Panel (Optional but Makes It Pop) (2 minutes)
- Apply double-sided tape or a glue stick to the back of the 4" x 5.25" patterned panel.
- Center it on the card front, leaving a small border all around.
Step 4: Create a Simple Focal Design (5–8 minutes)
Pick one of these kid-friendly focal designs (or mix them):
Option A: Sticker “Party Cluster”
- Choose 1 large sticker (cake, balloon bouquet, dinosaur, unicorn) for the center.
- Add 2–4 smaller stickers around it (stars, hearts, confetti dots).
- Frame with a strip of washi tape at the top or bottom.
Option B: Stamped Confetti
- Stamp 6–12 small shapes around the edges (stars/dots) to make a confetti border.
- Leave the center open for the “THANK YOU!” message.
Option C: Paper “Gift Tag” Layer
- Cut a rectangle 2.25" x 3.5" from contrasting paper.
- Round corners (optional) with a corner punch or scissors.
- Punch a hole at the top and tie a short piece of ribbon or twine (about 6" long).
- Glue the tag onto the card front.
Step 5: Add the Thank You Message (2–5 minutes)
Keep it short and bold on the front:
- “THANK YOU!”
- “THANKS A BUNCH!”
- “THANKS FOR CELEBRATING!”
Tool tip: Use a fine-tip black pen for the main letters, then outline or shadow with a metallic marker for a party vibe.
Step 6: Write the Inside Note (3–5 minutes)
Use a simple fill-in template so kids don’t get stuck:
- “Dear ______, Thank you for ______. I loved ______. From, ______.”
For younger kids: Have them draw a picture inside (balloons, cake, favorite party moment) while an adult writes the words.
Step 7: Final Dry Time + Envelope Prep (5–10 minutes)
- Let cards dry flat if you used liquid glue or glitter glue.
- Address envelopes once the card front is fully dry to avoid smudges.
- Slip each card into an envelope and seal when ready.
Pro Tips for Party-Perfect Handmade Cards
- Make it a batch craft: Cut all bases first, then all panels, then decorate. Kids stay focused when steps repeat.
- Limit the choices: Put out 2–3 sticker sheets and 2 washi tapes. Too many options = decision overload.
- Use tape runner for flat pieces: It’s less wrinkly than glue sticks for thin patterned paper.
- Dimension without bulk: Foam stickers add a 3D look but still fit in envelopes.
- Theme-match your party decor: Use the same colors as your DIY party decorations for a coordinated finish (great for photos, too).
- Pre-write names lightly in pencil: Kids can trace “Dear Grandma” neatly, then you erase stray pencil marks.
Creative Variations (Beginner to Advanced)
Beginner: Handprint Thank You Card
- Trace a hand on colored paper and cut it out.
- Glue to the front and write “High five for coming!” or “Thanks!”
- Best for: toddlers/preschoolers (no paint required)
Beginner: Cupcake Liner Flower Card
- Flatten 1–2 mini cupcake liners and layer them.
- Add a pom-pom or sticker in the center.
- Draw a stem and leaves with marker.
- Party tie-in: Uses leftover cupcake liners from the celebration
Intermediate: Pop-Up Surprise Inside
- Cut two parallel slits (about 1" long, 0.5" apart) on the inside fold.
- Push the tab inward to create a pop-up step.
- Glue a small shape (balloon, star, gift) to the tab.
- Tip: Keep decorations light so the card closes neatly.
Advanced: Shaker Window “Confetti” Card
- Cut a window in the front panel (circle or rectangle).
- Add clear plastic (from packaging) behind the window.
- Use foam tape as a border and fill with paper confetti.
- Seal with a back panel.
- Great for: older kids/teens and DIY enthusiasts who love impressive handmade projects
Troubleshooting & Fixes
- Paper is wrinkling under glue: Use less glue, switch to a tape runner, or glue only around the edges and corners.
- Stickers won’t stay stuck: Press firmly for 10 seconds; add a dot of school glue under lifting corners.
- Markers are bleeding through: Use heavier cardstock (90–110 lb) or write on a glued-in white panel inside.
- Glitter glue is smearing: Let it dry flat for at least 20 minutes; speed up with a fan on low.
- Card won’t close (too bulky): Move chunky items (pom-poms, layered foam) to the inside or use flatter embellishments.
Common Crafting Mistakes to Avoid
- Using printer paper for the base: It flops and wrinkles. Choose cardstock for sturdy handmade thank you cards.
- Skipping dry time: Wet glue + stacking cards = stuck-together mess. Dry flat before piling.
- Over-decorating the front: Leave space for the message and the child’s name/signature.
- Writing first, decorating later: Kids often smear ink with gluey fingers. Decorate first, then write inside.
- Making cards too thick to mail: If you plan to mail, keep embellishments low-profile and test one in an envelope.
- No plan for who gets which card: Keep a simple list of guests and gifts so cards go to the right people.
FAQ: Kids’ Thank You Card Craft
How many thank you cards should we make?
A good rule: one per guest (or per household). For classroom parties, one card for the teacher plus one for helpers is a thoughtful touch.
What’s the easiest way to help young kids write the message?
Use a fill-in template and have an adult write lightly in pencil first. Kids can trace or copy, then add a drawing and their name.
Can these be mailed, or are they just hand-delivered?
They can be mailed if you keep embellishments flat (stickers, washi tape, paper layers). Avoid bulky pom-poms or test one card in an envelope to be sure it closes neatly.
What cardstock weight is best for handmade cards?
Look for 65–110 lb cardstock. Lighter is easier for little hands to fold; heavier feels more professional and holds up to markers and layered paper.
How do we match the cards to our party theme?
Pull 2–3 colors from your party decorations (plates, banners, balloons) and use matching patterned paper and stickers. A simple icon (balloon, star, dinosaur footprint) repeated on each card ties the whole set together.
What if we’re short on time?
Use blank note cards, add one big sticker on the front, write “Thank you!” and let kids draw inside. You’ll still get a handmade, personal result in minutes.
Wrap-Up: A Handmade Thank You That Feels Like Part of the Party
Kids’ thank you cards don’t have to be complicated to be meaningful. With a sturdy cardstock base, a few theme-matching decorations, and a simple message, you’ll create a set of handmade cards that feel like a sweet extension of your party decor—and a keepsake guests will actually want to keep.
Gather your supplies, pick a design style, and make a small batch today. Once you find a format you love, it becomes one of those go-to DIY crafts you can reuse for every celebration.
Looking for more party-ready DIY crafts and handmade decoration ideas? Browse more creative projects on smartpartyprep.com and keep the celebration going—one crafty detail at a time.
More Articles
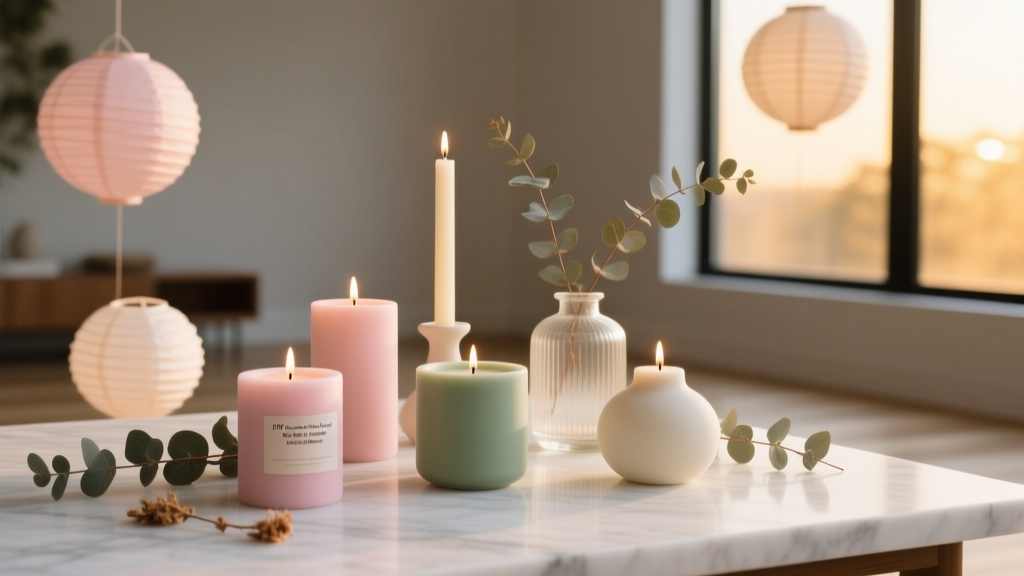 DIY Candles for Home Decor
 What Is Party Craft? (And Why Your Next Celebration Doesn’t Need Store-Bought Decor — Here’s the Real, Low-Stress, High-Joy Definition Most People Get Wrong)
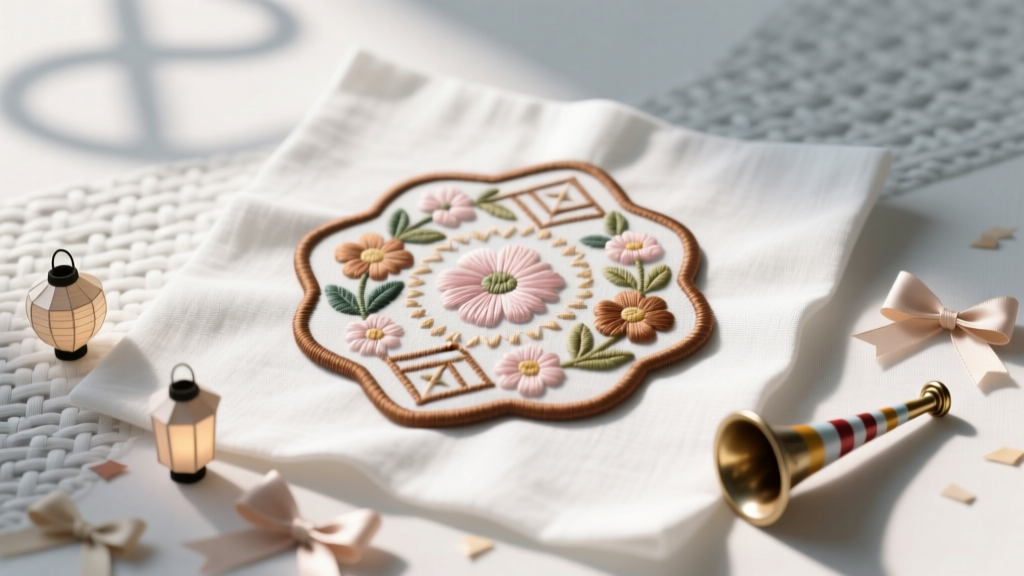 No-Sew Embroidered Patches Tutorial
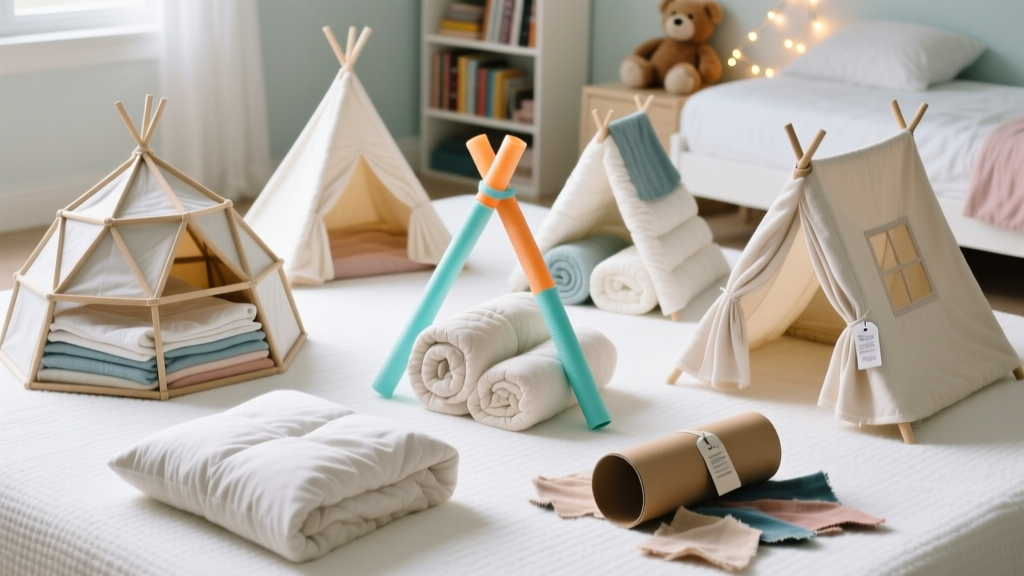 How to Make Tents for a Slumber Party: 7 No-Sew, Budget-Friendly Ideas That Take Under 20 Minutes (Plus Pro Tips to Keep Them Standing All Night!)
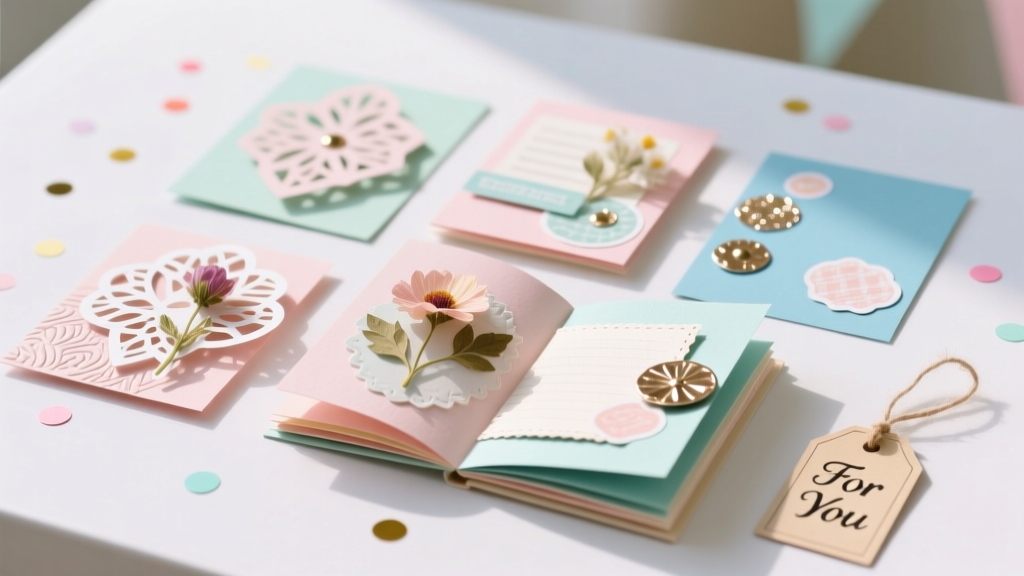 DIY Scrapbook Pages Party Favors
 Is Mary Ruth’s Third Party Tested? We Investigated Every Certificate, Lab Report, and FDA Warning Letter So You Don’t Have To — Here’s What’s Verified, What’s Missing, and How to Spot Legit Supplements in 2024
 How to Draw a Party in 7 Simple Steps (Even If You Can’t Draw Stick Figures): No Fancy Tools, No Art School Required — Just Paper, Pencil & Joy
 Upcycled Origami Decorations from Recycled Materials
 DIY Gift Boxes for Birthdays
 How to Allow Third Party Cookies on a Mac in 2024: A Step-by-Step Safari & Chrome Guide (No Tech Degree Required)