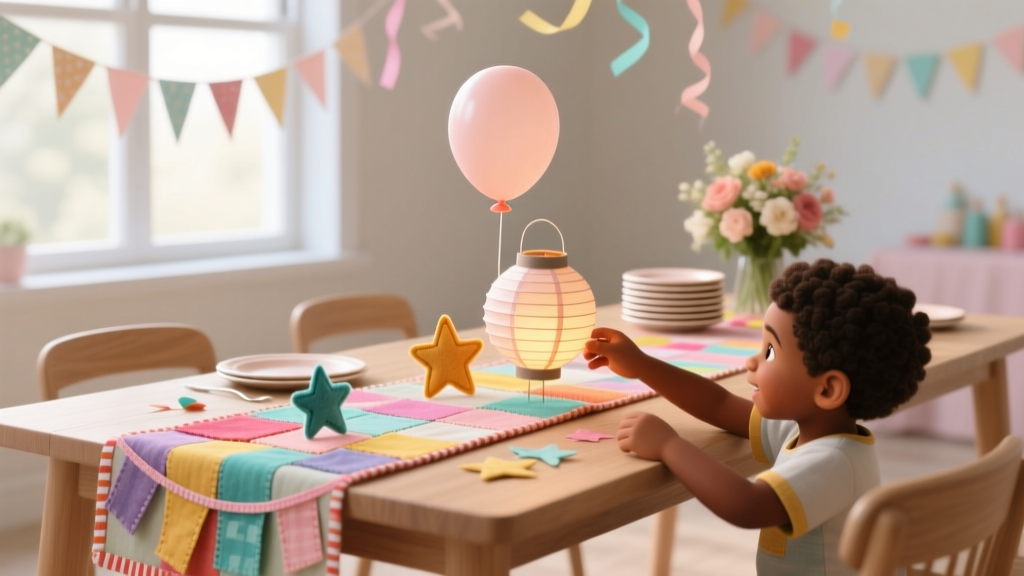
Kids' Craft: Table Runners
A handmade table runner is one of those party decorations that instantly makes a space feel styled—without needing expensive centerpieces or fancy linens. Even better? It’s a kid-friendly craft that doubles as a practical table protector. Whether you’re hosting a birthday party, holiday gathering, classroom celebration, or backyard picnic, a DIY table runner gives your theme a bright “wow” moment right down the middle of the table.
This project is especially fun for kids because it feels like making a giant artwork. They can stamp, paint, collage, or personalize it with names and doodles. And for adults (or older kids), it’s an easy way to create coordinated party décor that matches your invitations, balloons, or dessert table setup.
Choose a simple base (kraft paper, fabric, or felt), then decorate with kid-proof techniques that dry quickly and hold up through the party. You’ll end up with a handmade decoration that looks intentional, photographs beautifully, and can even become a keepsake.
Project Overview
- Skill level: Beginner (with optional advanced upgrades)
- Great for ages: 4+ with supervision; 8+ can complete most steps independently
- Estimated time:
- Prep: 10–20 minutes
- Crafting: 30–60 minutes
- Dry time (paint/ink): 20–60 minutes (varies by materials)
- Best for: Birthday parties, baby showers, holiday tables, classroom parties, picnic tables, dessert tables
- Keywords naturally included: DIY table runner, kids crafts, party decorations, handmade party décor, DIY party ideas, table décor
Pick Your Runner Base (3 Easy Options)
Option A: Kraft Paper Runner (fastest + most budget-friendly)
- Best for: One-time parties, messy crafts, quick cleanup
- Look: Rustic, modern, neutral backdrop for bright colors
Option B: Fabric Runner (washable + reusable)
- Best for: Repeating celebrations, keepsakes, more polished décor
- Look: Softer, more “finished” party table décor
Option C: Felt or Non-Woven Craft Fabric (no-hem, kid-friendly)
- Best for: No-sew households, appliqué shapes, themed parties
- Look: Bold, colorful, playful
Measurements: How Long and Wide Should a Table Runner Be?
A classic table runner is narrower than the table and hangs slightly over the ends.
- Standard width: 12–16 inches wide (kid crafts look great at 14 inches)
- Standard overhang: 6–10 inches on each end
Quick formula:
- Runner length = table length + 12–20 inches
Examples:
- 6-foot table (72"): runner length 84–92"
- 8-foot table (96"): runner length 108–116"
- Dining table (60"): runner length 72–80"
Materials List (with Product Types + Estimated Costs)
Costs vary by brand and what you already have. These estimates assume U.S. craft store pricing.
Base Materials
- Kraft paper roll (18"–24" wide, 30–75 ft roll): $8–$18
- Cotton canvas or cotton duck fabric (1 yard x 44" wide makes 2–3 runners): $10–$18/yard
- Muslin fabric (lighter, budget-friendly): $5–$10/yard
- Felt roll or non-woven craft fabric (12"–18" wide): $5–$12
Decorating Supplies (choose a few)
- Washable tempera paint (primary colors): $6–$12
- Acrylic paint (for fabric with fabric medium): $2–$6 per bottle
- Fabric paint or fabric markers: $8–$20
- Stamp pads (washable for kids): $5–$12
- Glitter glue (less mess than loose glitter): $3–$8
- Washi tape (theme colors): $4–$12
- Stickers (stars, animals, letters, seasonal): $3–$10
- Construction paper or cardstock for cutouts: $3–$10
Adhesives + Protection
- Glue sticks (kid-friendly): $2–$6
- School glue (for paper projects): $2–$5
- Double-sided tape (clean + fast): $4–$10
- Clear contact paper (optional “laminate” top layer): $8–$15
Tools (recommended)
- Kid-safe scissors + adult scissors: $3–$12
- Ruler or measuring tape: $3–$10
- Pencil + eraser: $1–$3
- Foam brushes (great for kids): $3–$8
- Paint trays or paper plates: $2–$5
- Craft knife + cutting mat (adult-only, optional for crisp edges): $10–$25
- Iron (for fabric paint heat-setting, optional): already owned or borrowed
Step-by-Step: Classic Kids’ Painted Paper Table Runner
This is the go-to version for parties: it’s fast, affordable, and easy to customize for any theme.
Step 1: Measure and cut the runner
- Measure your table length.
- Cut kraft paper to table length + 16 inches (8" overhang on each end).
- Trim width to 14 inches (or keep 18" for a bolder look on wide tables).
Tool tip: For straight edges, use a ruler and adult scissors, or a craft knife on a cutting mat (adult-only).
Step 2: Tape it down for frustration-free crafting
- Lay the paper on a protected surface (table covered with a plastic tablecloth or trash bags).
- Tape the runner corners with painter’s tape so it doesn’t slide.
Step 3: Plan simple “zones” (optional but makes it look polished)
Lightly pencil in guidelines:
- Border: 1.5" from each long edge
- Center strip: 4–6" wide for names, age, or a message
- Sections: divide every 10–12" for repeating patterns (stars, balloons, hearts)
Step 4: Decorate using kid-friendly techniques
Choose 1–3 techniques so the runner looks coordinated, not chaotic.
- Sponge stamping: Dip foam shapes into paint and stamp along the border.
- Handprint parade: Alternate colors for a birthday “memory runner.”
- Dot confetti: Use cotton swabs or the eraser end of a pencil to make dots.
- Sticker + outline: Place stickers, then outline them with marker for a bold look.
- Washi tape stripes: Add diagonal stripes or a center “track” for race car themes.
Dry-time hack: Use thin paint layers. Thick paint takes much longer to dry and can crack on paper.
Step 5: Add personalization (makes it party-perfect)
- Write “Happy Birthday, [Name]!” in the center strip.
- Add the age in big numbers (use a stencil if you want clean edges).
- Let guests sign the runner as an activity during the party.
Step 6: Seal it (optional) for durability
If you expect spills or want it to last through a long event:
- Let the runner dry fully.
- Apply clear contact paper over the top like a laminate (start at one end and smooth with a ruler).
Step 7: Style it on the table
- Place it down the center.
- Add plates and décor on top.
- If outdoors, use a small piece of tape underneath the ends to keep it from fluttering.
Beginner-Friendly Adaptations
- Pre-cut runner: Cut and tape the paper ahead of time so kids can jump straight to decorating.
- Limited color palette: Pick 2–3 colors to keep it looking coordinated (example: blue + green + white for a dinosaur party).
- No-paint version: Use washable markers, stickers, and washi tape only—perfect for quick setup and minimal mess.
- Template shapes: Cut cardstock stars/hearts/circles and let kids trace them with markers.
Advanced Variations (for Extra “Wow”)
Reusable Fabric Table Runner (painted + heat-set)
- Cut fabric to 14" x (table length + 16").
- Use fabric paint or acrylic paint mixed with fabric medium (follow product ratios, commonly 1:1).
- After drying, heat-set per paint instructions (often ironing on the reverse side for 3–5 minutes with a pressing cloth).
No-Sew Felt Appliqué Runner
- Cut a felt base runner (felt doesn’t fray).
- Cut themed shapes (balloons, pumpkins, snowflakes).
- Attach with fabric glue or hot glue (adult-only hot glue).
Photo Memory Runner (party keepsake)
- Print small photos (2" x 3" or 3" x 3").
- Mount on cardstock frames.
- Tape or glue along the center strip, leaving room for guests to write messages.
Pro Tips for Better Results
- Protect your surface: A plastic tablecloth underneath makes cleanup take 2 minutes.
- Use painter’s tape as a border tool: Tape long edges for crisp lines, then peel once dry to reveal clean borders.
- Pick one “hero” element: Big balloons down the center + small dots on the sides looks intentional.
- Keep paint workable: Pour small amounts at a time—kids tend to over-dip.
- Fast drying setup: Place finished runners on the floor (protected) where nobody will bump the table.
- Smudge control: Work left-to-right if your child is right-handed (reverse if left-handed).
Troubleshooting: Fix Common Issues
- Paint is curling the paper: Use less water, thinner layers, and tape the runner down. Curling often relaxes once dry.
- Colors look muddy: Limit palette and let one color dry before layering another.
- Stickers won’t stick to painted areas: Make sure paint is fully dry, or use double-sided tape for stronger hold.
- Runner slides on the table: Add small loops of painter’s tape underneath every 12–18 inches.
- Contact paper has bubbles: Lift gently and re-smooth with a ruler edge from center outward.
Common Crafting Mistakes to Avoid
- Making it too wide: A runner wider than 16–18" can crowd plates and cups. Aim for 12–16".
- Skipping dry time: Moving the runner too soon leads to smears and fingerprints (unless that’s the look you want).
- Using permanent markers with young kids: Choose washable markers for easy cleanup and less stress.
- Overloading with techniques: Too many patterns can look busy. Stick to 1–3 decorating methods.
- Forgetting the party layout: If you’re placing a tall centerpiece, leave the center area lighter so the décor doesn’t hide the best artwork.
- Not testing supplies: Quick test on a scrap prevents surprises like bleeding markers or sticky paint.
Theme Ideas (Quick Inspiration)
- Rainbow birthday: Painted stripes + white polka dots
- Dinosaur party: Green footprints + stamped leaves
- Under the sea: Blue sponge waves + fish stickers
- Holiday table: Red/green handprints shaped into wreaths
- Space party: Black runner + glow-in-the-dark stars (test glow stickers first)
- Princess tea: Pastel border + glitter glue crowns
FAQ: Kids’ DIY Table Runners
1) What’s the best table runner material for a kids’ party?
Kraft paper is the easiest and most affordable for a one-time event. If you want reusable handmade party décor, go with cotton fabric and fabric paint.
2) How do I keep the runner from tearing during the party?
Use a slightly heavier kraft paper (or double-layer it), tape it to the table underneath at intervals, and consider covering it with clear contact paper once it’s decorated and dry.
3) Can I make this craft ahead of time?
Yes! Paper runners can be made 1–7 days ahead. Store rolled (not folded) to avoid creases. Fabric runners can be made weeks ahead once heat-set and washed.
4) What paints are safest and easiest for kids?
Washable tempera paint is a favorite for kids’ crafts. For fabric runners, use fabric paint or acrylic paint with fabric medium (and follow heat-setting directions).
5) How do I make it look “party styled” even with little kids crafting?
Pick a limited color palette, add a simple border, and repeat one shape (dots, stars, hearts) along the length. Repetition makes it look designed.
6) Can this double as a party activity?
Absolutely. Set the runner at a craft station and let guests add a doodle, sticker, or signature. It becomes décor and a keepsake in one.
Wrap-Up
A kids’ craft table runner is one of the most rewarding DIY party ideas because it’s creative, functional, and totally customizable. You can keep it simple for a quick birthday setup or go all out with fabric, appliqués, and personalized details for a reusable handmade decoration you’ll bring out again and again.
Pick your base, choose a theme, and let the kids’ creativity do the decorating—your party table will look brighter, more personal, and photo-ready.
Want more easy DIY crafts and party decorations? Explore more creative project ideas and smart celebration tips on smartpartyprep.com.
More Articles
 DIY Resin Jewelry Using Cricut
 How to Make Diddy Party in Infinite Craft: The Only 4-Step Method That Actually Works (No Random Combos, No Wasted Time)
 DIY Cake Toppers Party Favors
 Personalized Origami Decorations Gifts
 Upcycled Backdrops from Recycled Materials
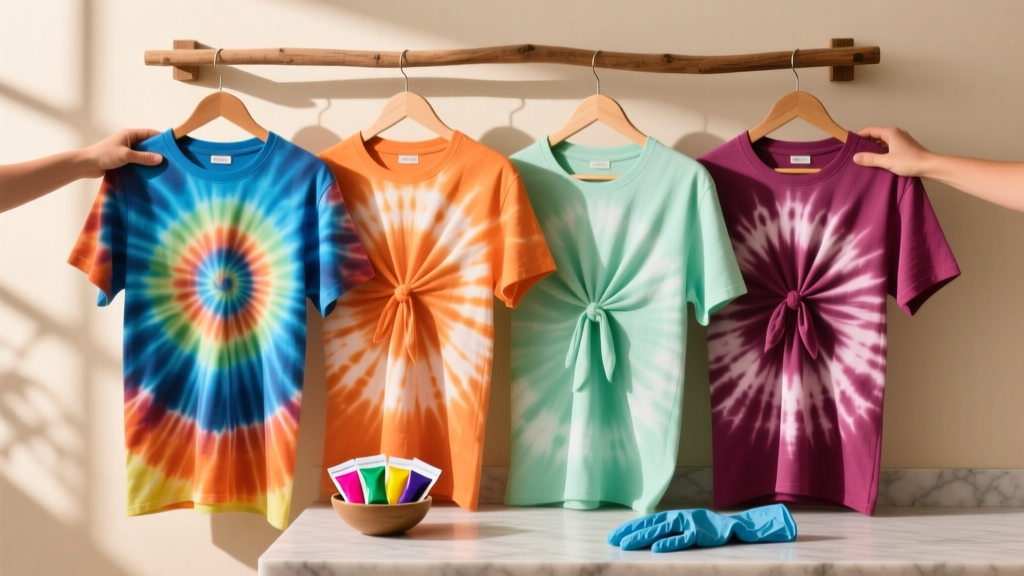 DIY Tie-Dye Shirts for Holidays
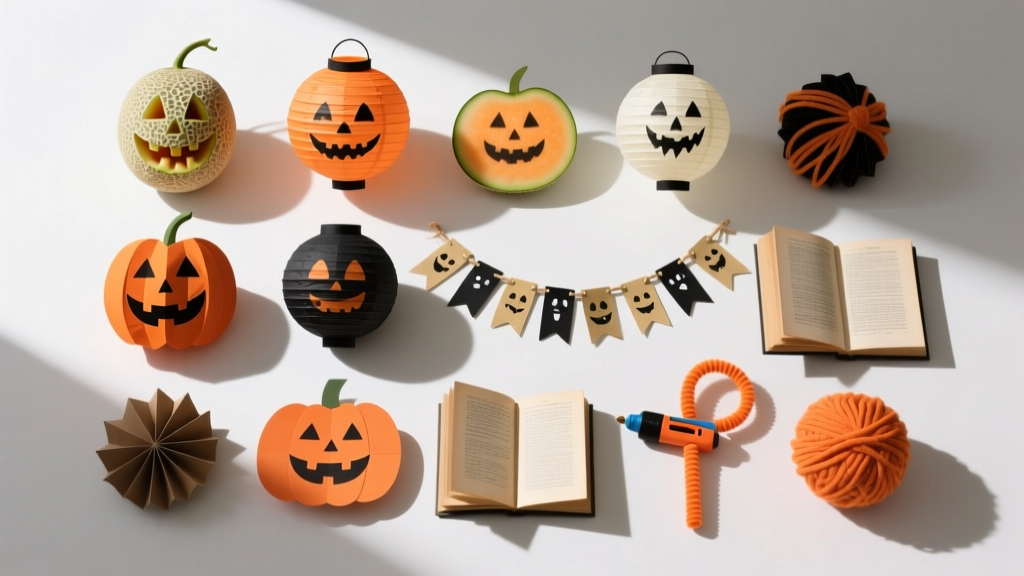 12 Do It Yourself Halloween Party Decorations That Take Under 30 Minutes Each (No Glue Gun? No Problem — We Tested 47 Materials So You Don’t Waste Time or Money)
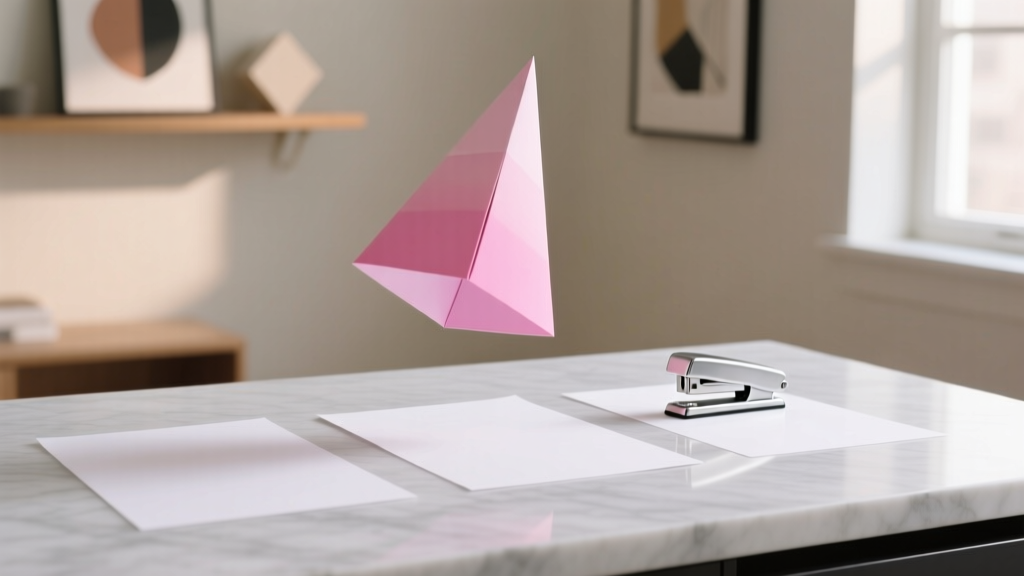 How to Make a Party Hat from Paper in Under 8 Minutes (No Glue Gun, No Scissors Required — Just 3 Sheets & a Stapler)
 How to Install 3rd Party Apps on Roku TV (Without Jailbreaking): The Only Legal, Step-by-Step Method That Actually Works in 2024 — No Developer Mode Confusion, No Failed Sideloading, Just Real Results
 How to Enable Third Party Cookies in My Browser (2024 Guide): Step-by-Step Fixes for Chrome, Safari, Firefox & Edge — Because Yes, You *Can* Still Do It (Without Compromising Security)