Kids' Craft: Beaded Bracelets
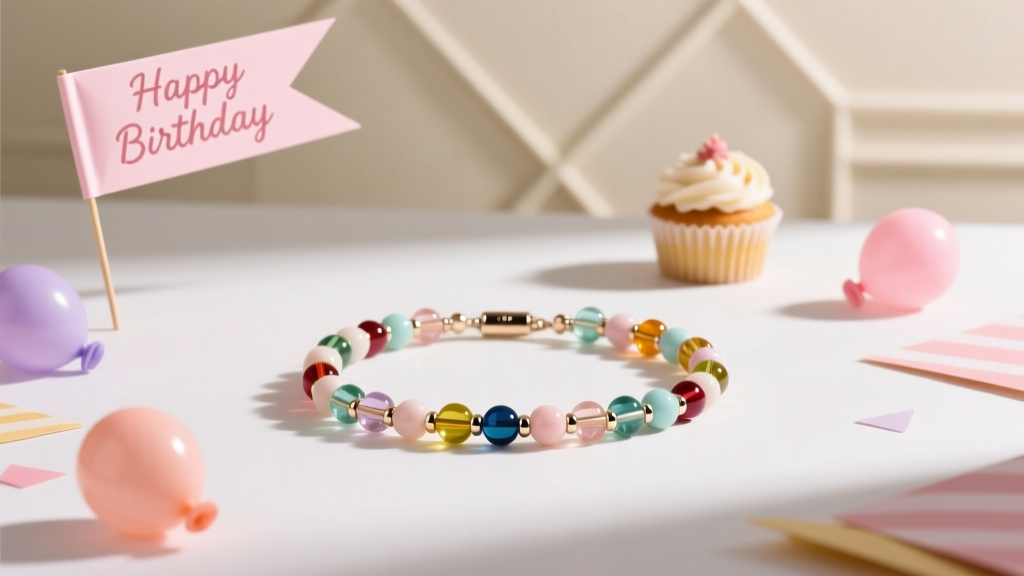
Beaded bracelets are one of those kids’ crafts that instantly feels like a “real” project: you start with a pile of colorful beads, and a little while later you’re holding something wearable, giftable, and totally party-ready. They’re also wonderfully flexible—perfect for a rainy afternoon, a birthday party activity station, or a take-home favor that guests actually keep.
What makes this craft especially fun for parties is the built-in personalization. Kids can match bracelet colors to a party theme (rainbow, mermaid, superhero, pastel, neon), spell their names, or create friendship bracelets for the whole group. It’s a hands-on DIY craft that doubles as party entertainment and a handmade keepsake.
Whether you’re planning a small sleepover or a full-on celebration, this step-by-step guide will help you set up a smooth bracelet-making experience—complete with materials, time estimates, skill levels, variations, and troubleshooting. Let’s get those beads sorted and the creativity flowing.
Project Overview (Skill Level, Time, and Best Ages)
- Skill level: Beginner (elastic bracelets); Intermediate (knotted/stretch cord with crimp covers); Advanced (wire + clasps)
- Best ages:
- Ages 4–6: Larger beads + thick elastic with adult help
- Ages 7–12: Most bracelet styles, including name beads
- Teens: Advanced patterns, charms, clasps, wire wrapping
- Time estimate per bracelet:
- Simple stretch bracelet: 10–20 minutes
- Name bracelet with pattern planning: 20–30 minutes
- Charm bracelet with knots/spacers: 25–40 minutes
- Party planning tip: Budget 30–45 minutes for the activity station plus 10 minutes for cleanup.
Materials & Tools (With Estimated Costs)
Costs vary by brand and quantity, but these estimates work well for planning a party craft table. Prices shown are typical for craft stores or online multipacks.
Core Supplies (Best for Beginner Stretch Bracelets)
- Stretch beading cord (elastic):
- Recommended size: 0.8 mm–1.0 mm for pony beads and larger beads; 0.5 mm–0.7 mm for smaller beads
- Type: Clear elastic or fabric-covered elastic cord
- Estimated cost: $4–$10 per roll (10–25 meters)
- Assorted beads (mix and match for party themes):
- Pony beads (great for kids): $6–$12 for 500–1,000 beads
- Acrylic round beads (6–10 mm): $5–$12 for assorted pack
- Letter beads (for names/words): $6–$15 per set
- Spacer beads (silver/gold look): $4–$10 per pack
- Bead organizer (or muffin tin/ice cube tray):
- Estimated cost: $3–$12 (or free if using kitchen items)
- Scissors (sharp, small craft scissors recommended): $3–$10
- Clear-drying craft glue (optional but helpful for knot security):
- Type: Jewelry glue or clear tacky glue
- Estimated cost: $3–$8
- Measuring tape or ruler: $1–$5
Helpful Add-Ons (Intermediate/Advanced Options)
- Beading needles (especially for smaller bead holes): $2–$6
- Masking tape or binder clips (to secure cord end while beading): $2–$5
- Charms (theme-based: hearts, stars, animals, flowers): $5–$15
- Crimp covers / knot covers (to hide knots): $4–$10
- Jewelry pliers set (round nose + chain nose + cutters) for clasp bracelets: $10–$25
- Beading wire + clasps (advanced, more “jewelry-like” finish): $8–$18
Approximate Cost Per Bracelet (Party Planning)
- Basic pony bead stretch bracelet: $0.50–$1.50
- Name bracelet with spacers and a charm: $1.50–$3.50
- Advanced clasp bracelet: $3–$6
Choosing Bracelet Size (Simple Measurements That Work)
Bracelet sizing is where parties can get tricky—so keep it simple. For stretch bracelets, you want a comfortable fit that slides on without being too loose.
Quick Size Guide (Wrist + Ease)
- Measure wrist with a tape measure (or wrap a string around the wrist and measure the string).
- Add 0.5 inch (1.25 cm) for a snug fit, or 0.75–1 inch (2–2.5 cm) for a comfortable fit.
Party-Friendly “No Measuring Tape” Trick
- Wrap the cord around the wrist once, pinch the overlap, then add 2 inches (5 cm) extra for tying knots.
Typical Finished Bracelet Lengths
- Ages 4–6: 5.5–6 inches (14–15.25 cm)
- Ages 7–10: 6–6.5 inches (15.25–16.5 cm)
- Ages 11–teen: 6.5–7 inches (16.5–18 cm)
- Adults: 7–7.5 inches (18–19 cm)
Step-by-Step: Classic Stretch Beaded Bracelet (Best for Kids)
This is the go-to method for a kids’ party craft station: quick, forgiving, and colorful. It’s also a great DIY craft for handmade party favors.
Step 1: Prep the Work Area
- Set out beads in small trays or compartments.
- Give each child:
- One pre-cut elastic cord
- A small bead tray
- Scissors (shared with adult supervision)
- Optional: place a bead mat or towel under the tray to stop runaway beads.
Step 2: Cut the Elastic Cord
- Cut cord to: bracelet length + 8 inches (20 cm).
- Example: For a 6.5-inch bracelet, cut 14.5 inches of cord.
Step 3: Stop Beads from Sliding Off
- Option A (fast): Tie a loose knot at one end (you’ll cut it off later).
- Option B (great for parties): Tape one end to the table with masking tape.
- Option C: Use a binder clip to clamp the end.
Step 4: Plan the Pattern (Optional, but Keeps Things Calm)
Encourage kids to lay beads in a line before stringing. This helps avoid “oops, I ran out of blue beads” halfway through.
- Easy patterns:
- ABAB (pink/white/pink/white)
- AABB (two of each color)
- Rainbow repeat
- All one color + metallic spacers
Step 5: String the Beads
- String beads until the bracelet fits around the wrist comfortably.
- Tip: Test size before tying by wrapping the beaded cord around the wrist (keep a finger on both ends).
- If using letter beads, place them:
- Centered on the bracelet
- With spacers on each side to “frame” the name (example: gold spacer + letters + gold spacer)
Step 6: Tie a Secure Knot
- Remove the tape/stopper knot (if used).
- Pull the ends snug so the beads touch but still move slightly (not overly tight).
- Tie a double overhand knot:
- Right over left, pull tight
- Repeat once more
- For extra security, tie a surgeon’s knot (wrap one end around twice on the first pass), then finish with another overhand knot.
Step 7: Reinforce and Finish
- Add a tiny dot of clear-drying glue to the knot (optional but recommended for party bracelets).
- Let dry for 5–10 minutes (follow glue directions).
- Trim tails to about 1/8–1/4 inch (3–6 mm).
- Optional “pro finish”: Gently slide the knot into a larger-hole bead to hide it.
Pro Tips for Party-Perfect Results
- Pre-cut cords before the party: Prep 1–2 extra per guest to replace snapped cords or do-overs.
- Use bigger beads for younger kids: Pony beads and 10 mm acrylic beads are easier to handle.
- Make a “design menu” sign: Offer 4–6 example patterns so kids can choose quickly.
- Color-sort in advance: It speeds up the craft station and reduces bead mixing.
- Theme it like a party decoration project: Match bead colors to tableware, balloons, and banners for a coordinated DIY party look.
- Label keepers: Provide small resealable bags so kids can take home leftover beads as part of the party favor.
Fun Variations (Beginner-Friendly and Advanced)
1) Name + Charm Bracelet (Beginner/Intermediate)
- Add one charm at the center or near the side.
- Use a jump ring charm that fits over the cord, or string a charm with a wide loop.
- Looks great for birthday parties, team parties, and sleepovers.
2) Glow-in-the-Dark Party Bracelets (Beginner)
- Use glow pony beads or glow acrylic beads.
- Perfect for a “dance party” moment—charge them under a bright light first.
3) Heishi/Clay Disc Bracelet (Intermediate)
- Use 6 mm heishi polymer clay beads with a few accent beads.
- These create that trendy stacked-bracelet look, great for tweens/teens.
4) Memory Wire Bracelet (Advanced, More Durable)
- Use memory wire (pre-formed steel wire) and finish ends with looped plier bends or end caps.
- Best for older kids/teens with adult help.
- Creates a professional-looking handmade jewelry piece with less worry about stretching out over time.
5) Beaded Bracelet + Matching Party Decoration
- Use the same bead colors to make:
- Beaded napkin rings
- Mini beaded keychains
- Beaded drink markers
- This ties the DIY craft activity to the party décor for a cohesive handmade theme.
Troubleshooting: Fixes for Common Bracelet Problems
- Bracelet feels too tight: Remove 2–4 beads (or add 1/2 inch / 1.25 cm length) before tying.
- Bracelet is too loose and slides off: Remove 3–6 beads, retie with slightly more tension.
- Knot keeps coming undone: Use a surgeon’s knot + second knot, add a tiny glue dot, and trim only after drying.
- Elastic snaps while tying: You’re pulling too hard or using elastic that’s too thin. Switch to 0.8–1.0 mm for bigger beads.
- Beads won’t string easily: Use a beading needle or wrap clear tape around the cord tip, then cut at an angle to create a stiff “needle” end.
- Letter beads face different directions: String all letters with the same orientation (face-up) before moving on.
Common Crafting Mistakes to Avoid
- Cutting cords too short: Always add at least 8 inches (20 cm) extra for tying.
- Overfilling with beads: If beads are packed too tightly, the bracelet won’t stretch comfortably and elastic wears out faster.
- Skipping a size test: Test around the wrist before tying—especially for party crafting where kids may rush.
- Using tiny beads for very young kids: Stick with larger beads for easier handling and safer crafting.
- Not securing the knot: A well-tied knot (and optional glue) saves bracelets from falling apart in the car ride home.
- Mixing bead sizes without a plan: Very large beads next to tiny beads can create gaps and uneven tension—use spacers or repeat a consistent pattern.
FAQ: Kids’ Beaded Bracelet Crafting
How many beads do you need for one bracelet?
It depends on bead size and wrist size. As a rough guide, a 6.5-inch bracelet often uses 25–35 pony beads or 18–26 beads in the 8–10 mm range. Always string until it fits, rather than counting.
What elastic cord is best for kids’ bracelets?
For most kids’ party crafts, 0.8 mm–1.0 mm stretch cord is the easiest to handle and strong enough for pony beads. If you’re using small-hole beads, go down to 0.5–0.7 mm and use a needle.
How do you keep the knot from showing?
Try sliding the knot into a bead with a larger hole. You can also use a knot cover or place a charm with a wider opening near the knot to disguise it.
Are beaded bracelets a good party favor?
Yes—because guests make them themselves, they feel special and personalized. Package each bracelet in a small bag with a name tag for an easy handmade party favor.
How do you set up a bracelet-making station for a birthday party?
Pre-sort beads by color/theme, pre-cut cords, and display 4–6 sample designs. Keep one “helper kit” at the table with extra cord, glue, scissors, and a few backup beads for quick fixes.
Can younger kids (preschoolers) do this craft?
They can with the right materials: use larger beads (pony beads or 10 mm rounds), thicker elastic, and adult supervision. Pre-cut cords and start their first few beads to help them get going.
Wrap-Up: A Handmade Bracelet Craft Kids Will Love
Beaded bracelets are a cheerful, low-stress DIY craft that brings instant color to any party. They’re creative, customizable, and easy to scale—from a simple stretch bracelet for beginners to charm and memory-wire designs for more advanced crafters. Set out a few inspiring bead combos, keep the steps simple, and you’ll have a table full of proud makers showing off their handmade projects in no time.
Want more party-ready DIY crafts, handmade decorations, and creative activity ideas? Explore more kid-friendly projects and celebration inspiration at smartpartyprep.com.
More Articles
 Easy Wall Art for Beginners
 Is Mary Ruth’s Third Party Tested? We Investigated Every Certificate, Lab Report, and FDA Warning Letter So You Don’t Have To — Here’s What’s Verified, What’s Missing, and How to Spot Legit Supplements in 2024
 DIY Dream Catchers with Dollar Store Supplies
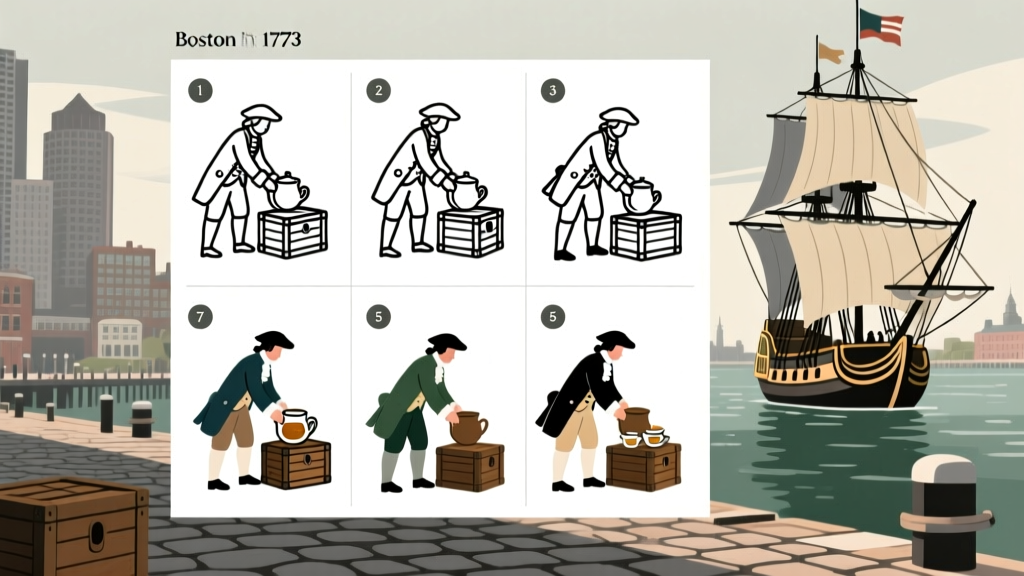 How to Draw the Boston Tea Party in Just 7 Simple Steps — No Art Degree Needed! (Beginner-Friendly Tutorial with Historical Accuracy & Printable Reference Sheets)
 Step-by-Step Place Cards Tutorial
 Upcycled Origami Decorations from Recycled Materials
 DIY Thank You Cards Party Favors
 How Do I Enable Third Party Cookies on My Mac? The Real Answer (Spoiler: You Can’t — But Here’s What Actually Works in 2024)
 DIY Clay Ornaments Party Favors
 How to Unblock 3rd Party Cookies on Mac: A Step-by-Step Safari & Chrome Guide (No Tech Degree Required — Just 90 Seconds & Your Settings App)