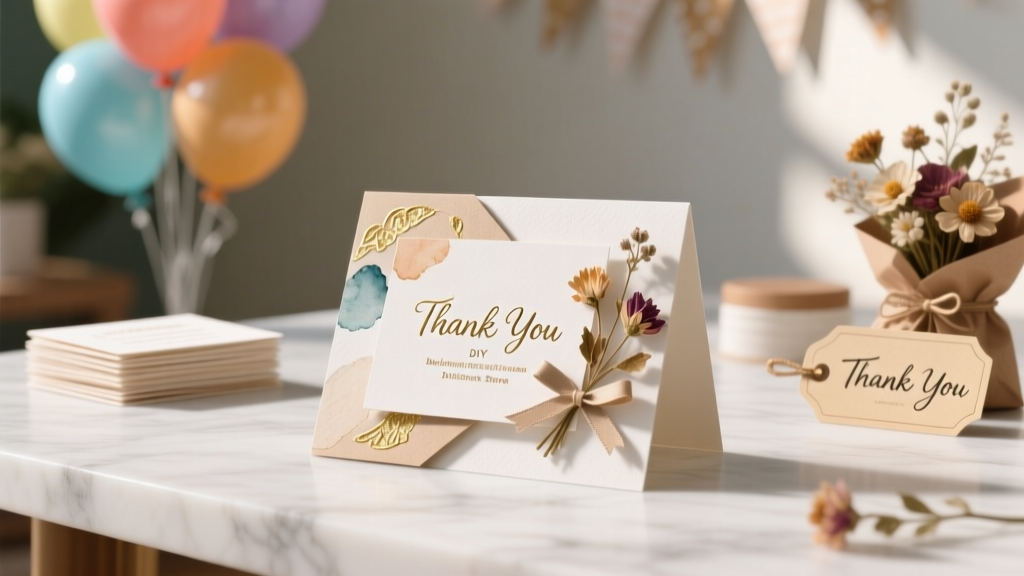
DIY Thank You Cards with Dollar Store Supplies
Thank you cards are one of those party details that feel small—but they leave a lasting impression. Whether you’re thanking guests for coming to a birthday party, sending appreciation after a baby shower, or following up after a graduation celebration, a handmade card adds warmth you can’t get from a store-bought pack.
Even better: you don’t need fancy tools or pricey paper to make them. With a quick trip to the dollar store (or a peek in your craft drawer), you can create a whole stack of cute, coordinated thank you cards that match your party decorations. This project is budget-friendly, beginner-friendly, and perfect for customizing around your theme—boho, glitter glam, rainbow, rustic, you name it.
Below you’ll find practical, step-by-step instructions, easy variations, and troubleshooting tips so your cards look polished—even if you’re new to DIY crafts.
Project Overview
- Skill level: Beginner (with optional intermediate/advanced upgrades)
- Time estimate:
- 10–15 minutes for 1 card (first one always takes longer)
- 3–5 minutes per card when batch-making 10–20 cards
- Best for: Birthday parties, baby showers, bridal showers, graduation parties, holiday gatherings, classroom parties
- Finished size (recommended): A2 card size, 4.25 in x 5.5 in
Dollar Store Materials List (With Estimated Costs)
Prices vary by location, but most items below are $1.25–$5 each. You can make 12–24 cards from one mini haul.
Paper & Card Base Options
- Blank note cards (A2 or similar size, 8–12 pack) – $1.25–$3
- Cardstock (12x12 scrapbook sheets or letter-size) – $1.25–$3
- Patterned paper (scrapbook pad, themed designs) – $1.25–$5
Decorations (Choose 2–4)
- Foam stickers (letters, hearts, stars, florals) – $1.25
- Washi tape (1–3 rolls) – $1.25
- Ribbon (satin, grosgrain, twine, jute) – $1.25
- Craft gems or pearls – $1.25
- Confetti (paper or sequins; use sparingly) – $1.25
- Mini party decorations (tiny banners, cupcake toppers, mini balloons) – $1.25–$3
Adhesives & Tools
- Glue stick – $1.25
- Double-sided tape (best for ribbon) – $1.25–$3
- Liquid glue (clear-dry) – $1.25
- Scissors – $1.25
- Ruler (12 in) – $1.25
- Pencil – $1.25
- Black fine-tip marker (or metallic marker) – $1.25
Optional “Nice-to-Have” Upgrades
- Paper trimmer (if you already have one, use it) – varies
- Corner rounder punch – $5–$10 (sometimes found at discount stores)
- Foam mounting squares (for 3D layers) – $1.25–$3
- Stamps + ink pad (for quick “Thank You!” repeats) – $1.25–$5
Plan Your Theme (So Your Cards Match the Party)
For party-related DIY projects, cohesion is the secret sauce. Before you glue anything down, pick a simple “recipe” you’ll repeat across all cards:
- Color palette: Choose 2 main colors + 1 accent (example: blush + gold + white)
- Motif: Stars, balloons, florals, confetti dots, bows, or the guest of honor’s initials
- Layout: Center message, top banner, or bottom strip
Batch-making tip: Make 1 “sample card” first. Once you love it, replicate the same cuts and placements for a neat, professional-looking set.
Step-by-Step: Classic Layered Thank You Card (Dollar Store Style)
This is the most flexible design: a card base + a patterned layer + a focal strip + a simple “Thank You” message.
Step 1: Cut Your Card Base (If You’re Not Using Pre-Folded Cards)
- Cut cardstock to 8.5 in x 5.5 in.
- Score or crease at 4.25 in (halfway) and fold to make an A2 card (4.25 in x 5.5 in).
Tool recommendation: A ruler + the back of a butter knife (or a bone folder if you have one) helps make a crisp fold.
Step 2: Create the Background Layer
- Cut patterned paper to 4 in x 5.25 in.
- Glue it centered on the front of the card, leaving a slim border around the edges.
Why this size works: The 1/8–1/4 inch border makes the card look clean and intentional, like a store-bought design.
Step 3: Add a Focal Strip (Ribbon or Washi Tape)
- Cut a strip of paper to 1 in x 5.25 in OR use washi tape across the width.
- Place it vertically (left side) or horizontally (bottom third).
- If using ribbon:
- Cut ribbon to 6 in and wrap around the patterned layer.
- Secure ends on the back with double-sided tape.
Beginner-friendly choice: Washi tape is the easiest “no-fuss” focal strip—no fraying, no glue mess.
Step 4: Create a Message Panel
- Cut a solid cardstock rectangle to 3 in x 2 in.
- Write “Thank You” with a fine-tip marker, or apply letter stickers.
- Center the panel on the card front.
Optional 3D upgrade: Use foam mounting squares behind the message panel for instant dimension.
Step 5: Add Simple Embellishments
Choose 1–3 small accents so the card doesn’t get bulky for mailing.
- 1–3 gems at the corners of the message panel
- A tiny bow from ribbon or twine (about 1 in wide)
- A small sticker (heart, star, flower) near the message
Step 6: Write the Inside Message
If you’re making a stack for party guests, keep the inside consistent and add the personalized line later.
Quick inside message template:
“Thank you for celebrating with me! Your kindness made my day extra special.”
Pro Tips for Clean, Professional-Looking Handmade Cards
- Use less glue than you think: A light, even layer prevents warping and wrinkling.
- Press + set: After gluing each layer, press with a book for 30–60 seconds.
- Stick to odd numbers: 3 gems look more “designed” than 2 or 4.
- Keep embellishments flat for mailing: If you add chunky items, plan to hand-deliver or use padded envelopes.
- Make a placement guide: Lightly mark the center point with pencil on the first card, then replicate.
- Test pens first: Some markers bleed on thin cardstock. Scribble on a scrap before writing on your card.
Creative Variations (Beginner to Advanced)
Beginner Variation: Washi Tape Burst
- Cut 6–10 short washi strips, each 2–3 in long.
- Arrange them like a fan behind a “Thank You” panel.
- Add one sticker in the center.
Best for: Bright birthday parties, kids’ parties, casual celebrations.
Party-Themed Variation: Mini Banner Thank You
- Cut 5–7 tiny triangles from patterned paper, each about 1 in wide.
- Glue them to a short piece of twine (4.5 in) across the card.
- Add “THANKS” letter stickers under the banner.
Best for: Backyard parties, graduation parties, rustic themes.
Intermediate Variation: Shaker-Style Confetti Window (Low-Budget Version)
- Cut a frame from cardstock: outer size 4 in x 5.25 in, inner window 2.75 in x 4 in.
- Tape a piece of clear packaging plastic behind the window (recycled from product packaging).
- Add a tiny pinch of confetti and seal with foam tape to create a shallow shaker.
Tip: Keep confetti minimal so the card stays lightweight and seals well.
Advanced Variation: Layered Die-Cut Look (Without a Die Machine)
- Trace a simple shape (balloon, flower, star) using a cookie cutter or stencil.
- Cut 3–5 identical shapes from cardstock.
- Glue the shapes stacked to mimic a thick die-cut embellishment.
Best for: Elegant party themes and polished handmade projects.
Troubleshooting: Fix Common Issues Fast
- Paper is wrinkling: Too much liquid glue. Switch to a glue stick or double-sided tape for flat layers.
- Card won’t close flat: Embellishments are too thick near the fold. Move them toward the center or use flatter accents.
- Stickers peeling up: Reinforce edges with a tiny dot of liquid glue, then press for 20 seconds.
- Washi tape lifting: Burnish it down (rub firmly with a ruler edge) and add a thin line of glue stick underneath the ends.
- Messy lettering: Write “THANK YOU” on a separate panel and glue it on—no one will know it wasn’t written directly on the card.
Common Crafting Mistakes to Avoid
- Skipping a test card: Always build one complete card first to check sizing, spacing, and adhesive choices.
- Cutting everything at random: Measure and batch-cut pieces (example: cut all 4 in x 5.25 in panels at once).
- Over-embellishing: Too many stickers, gems, and ribbon can look cluttered and make the card hard to mail.
- Using runny glue near edges: Glue seepage can warp paper and leave shiny marks. Apply glue toward the center and spread outward.
- Not matching pen to paper: Some markers feather on porous paper. Choose a fine-tip permanent marker or gel pen that writes cleanly.
FAQ: DIY Thank You Cards with Dollar Store Supplies
How many cards can I make from one set of dollar store supplies?
With a pack of blank note cards (8–12) plus one set of stickers and a roll of washi tape, you can usually finish 8–12 coordinated thank you cards. If you’re using cardstock and a paper pad, it’s often 20+ depending on how many layers you add.
What’s the easiest design for total beginners?
Use pre-folded blank cards, add one patterned paper rectangle (4 in x 5.25 in), then place a “Thank You” sticker or a handwritten message panel in the center. Finish with one small sticker or gem.
Can these handmade thank you cards be mailed?
Yes—keep embellishments flat (stickers, thin washi tape, small gems). If you add bulky bows or shaker elements, plan to hand-deliver or use a padded envelope and expect extra postage.
What if I don’t have a paper trimmer?
No problem. Use a ruler and scissors. Make light pencil marks first, cut slowly, and rotate the paper (instead of your scissors) to keep lines straight. A dollar store cutting mat isn’t necessary, but a clean, flat surface helps.
How do I make the cards look “matching” without being identical?
Repeat the same layout and color palette, then change one element—like alternating two patterns of paper, switching sticker shapes, or rotating the focal strip from vertical to horizontal.
What should I write in a thank you card for a party?
Try this quick formula: Thank them + mention the party + mention the gift or their presence. Example: “Thank you for coming to my party! I loved celebrating with you, and I appreciate your thoughtful gift.”
Wrap-Up: Make a Stack, Keep Extras, and Enjoy the Compliments
DIY thank you cards are one of the most satisfying party-related handmade projects because they’re fast, meaningful, and easy to personalize. Start with the simple layered design, batch-make a set in your party colors, and you’ll have beautiful cards ready to go—without blowing your budget.
Want more budget-friendly DIY crafts, party decorations, and handmade project ideas? Explore more creative inspiration at smartpartyprep.com and keep your next celebration extra personal.
More Articles
 DIY Friendship Bracelets for Birthdays
 How to Make Party Hats Out of Paper in Under 10 Minutes (No Glue Gun, No Scissors Required — Just Printer Paper & Tape)
 DIY Crowns in An Afternoon
 How to Unblock Third Party Cookies on iPad in 2024: A Step-by-Step Guide That Actually Works (No More ‘Blocked by Safari’ Errors)
 How Do You Make Party Hats That Actually Stay On? (No Glue Gun, No Tears — Just 3 Foolproof Methods Using Stuff You Already Have)
 12 Stunning Do It Yourself Western Party Decorations You Can Make in Under 2 Hours (No Craft Store Run Needed — Just Dollar Store & Recycled Supplies!)
 Easy Coasters for Beginners
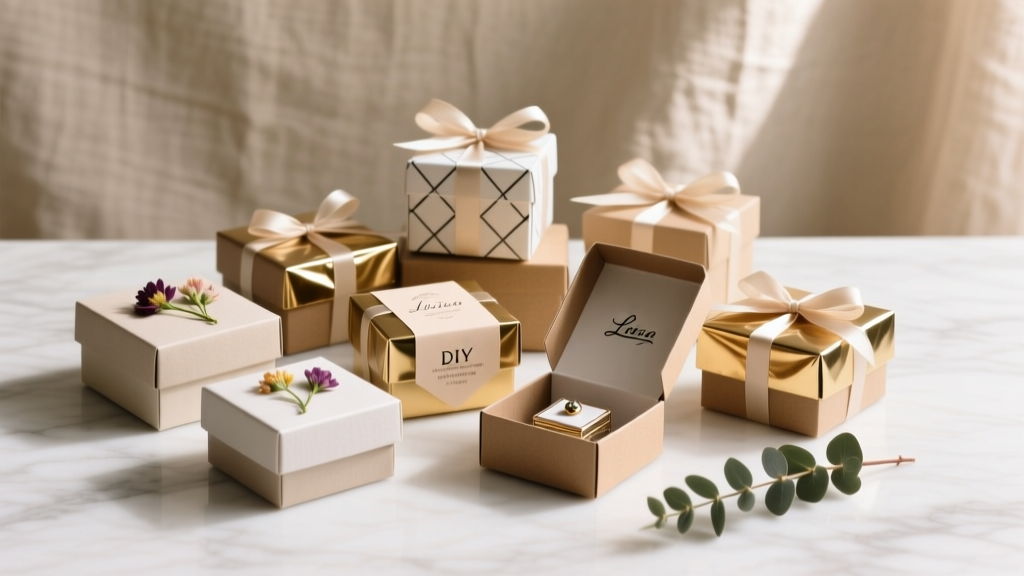 DIY Gift Boxes Party Favors
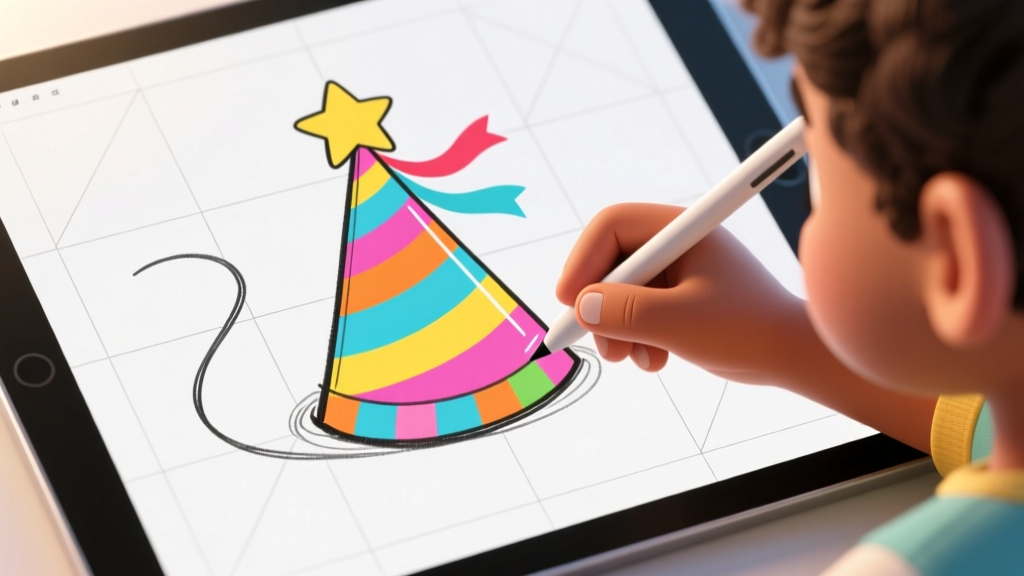 How to Draw Party Hat in 5 Minutes (Even If You Can’t Draw): A Foolproof Step-by-Step Guide for Kids, Teachers & DIY Crafters Who Hate Frustrating Tutorials
 What Is 'A Party of Patches'? The Surprisingly Viral DIY Crafter’s Guide to Hosting a Low-Stress, High-Joy Fabric-Fueled Gathering That Builds Community (Not Just Quilts)