Networking Mixer Seating Arrangement Ideas
A networking mixer can feel effortless when it’s well-designed—and awkward when it isn’t. The difference often comes down to one overlooked detail: the seating arrangement. Where people sit (or stand), how long they linger, and how easily they can join a new conversation all shape the energy in the room. A thoughtful layout turns “small talk panic” into genuine connections.
Seating at a mixer isn’t about assigning every chair. It’s about creating multiple pathways for people to meet—quickly, comfortably, and repeatedly. Today’s guests expect flexibility, comfortable zones for different social styles, and spaces that feel intentional (not random). With the right plan, your seating becomes a networking tool: it guides flow, encourages introductions, and prevents bottlenecks near the bar or buffet.
This guide walks you through practical seating arrangement ideas, real-world layouts, a planning timeline and checklist, budget considerations, vendor selection tips, and common mistakes to avoid—so you can coordinate a mixer that feels polished, welcoming, and productive.
What Makes a Seating Plan “Work” at a Networking Mixer?
Start with the goal of the mixer
Before choosing furniture or table shapes, define what successful networking looks like for your event:
- Lead generation: Create quiet pockets for meaningful conversations and clear sponsor visibility.
- Community-building: Encourage mixing with high-turnover seating and structured conversation prompts.
- Recruitment or career networking: Add semi-private areas for longer discussions and easy access to resumes/QR codes.
- Investor/founder matchups: Include scheduled “micro-meetings” and reserved tables for focused talks.
Use “zones” to serve different interaction styles
Current event planning trends emphasize activity-based zones and guest choice. A strong mixer layout typically includes:
- Arrival zone: Check-in + name tags + a quick “welcome prompt” sign.
- High-energy mingling zone: Standing cocktail tables near drinks (fast introductions).
- Conversation zone: Lounge seating or small rounds for 10–20 minute chats.
- Quiet zone: Slightly separated seating for deeper, less noisy discussions.
- Activation zone: Sponsor table, product demo, photo moment, or a “conversation card” station.
Design for movement, not permanence
Networking thrives on circulation. Aim for:
- Wide aisles: 4–6 feet in main walkways so guests can pass without interrupting conversations.
- Short “dwell” seating: Mix stools, high-tops, and small clusters that encourage turning over.
- No dead ends: Avoid layouts where guests get stuck in corners with one exit path.
Seating Arrangement Ideas That Spark Conversations
1) The “High-Top Highway” (best for upbeat mixers)
Set cocktail tables in a loose loop around the room perimeter, leaving the center open. Guests naturally circulate and re-encounter new people.
- Furniture: 30” round high-tops + 2–4 stools each (optional).
- Works well for: 50–200 guests, happy-hour style networking events.
- Pro tip: Place 1–2 “topic tables” along the loop (e.g., “AI & Automation,” “Marketing,” “Hiring”).
2) Pods + Pathways (best for balanced mingling and comfort)
Create multiple seating pods—each pod has a small table with 4–6 chairs—connected by clear pathways to drinks, food, and activations.
- Furniture: 36–48” rounds or small rectangles with standard chairs.
- Works well for: Guests who prefer seated conversations; mixed-age groups.
- Pro tip: Stagger pods so no one feels “on display.” Use plants or simple pipe-and-drape to soften sightlines.
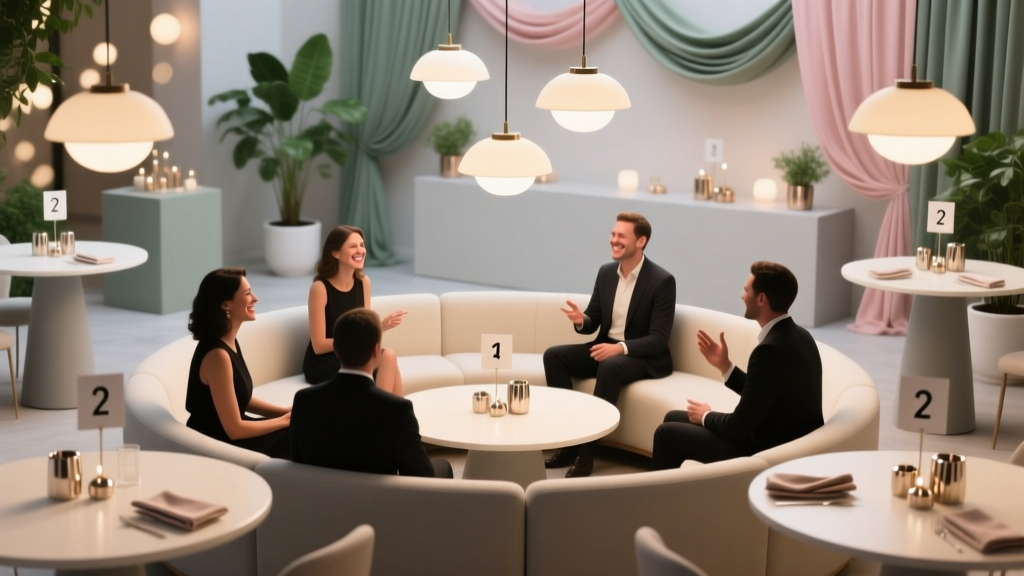
3) Lounge Clusters (best for premium or sponsor-forward events)
Use soft seating—couches, club chairs, ottomans—in clusters of 4–8. This encourages longer, relationship-building conversations.
- Furniture: 1 couch + 2 chairs + coffee table per cluster.
- Works well for: Executive mixers, investor meetups, VIP areas.
- Pro tip: Keep lounge clusters away from speakers/DJ and the bar to reduce noise and jostling.
4) Community Tables with “Conversation Cards” (best for purposeful networking)
Use a few long communal tables and place prompt cards every few seats. Guests can sit briefly, talk, then move on.
- Furniture: 6–8 ft banquet tables, minimal décor to keep it approachable.
- Works well for: Industry association mixers, coworking community events.
- Pro tip: Add a small sign: “Sit for 10 minutes, then swap seats to meet someone new.”
5) The “Speed Networking Corner” (best for high ROI connections)
Set up two rows of chairs facing each other or small two-top tables for timed networking rounds.
- Furniture: 10–20 chairs or 5–10 two-tops.
- Works well for: Career networking nights, founder meetups, structured connection formats.
- Pro tip: Keep it optional. Promote as a 20–30 minute feature window so guests can join or skip.
6) “Anchor + Satellites” Layout (best for product demos and sponsors)
Create one main anchor area (stage/sponsor wall/demo) and place smaller seating satellites around it, leaving clear sightlines.
- Furniture: Mix of high-tops and small rounds.
- Works well for: Brand activations, launch parties, sponsor-driven networking mixers.
- Pro tip: Don’t put the bar directly at the anchor—guests will cluster and stop moving. Put drinks slightly off-center.
Real-World Layout Examples (Capacity + Quick Specs)
Example A: 60-Guest Startup Mixer in a Loft
- Goal: Fast introductions, high energy
- Layout: High-Top Highway + one lounge cluster
- Furniture count:
- 10 high-top cocktail tables
- 1 lounge cluster (1 couch, 2 chairs)
- 1 registration table + name tag station
- Flow tip: Put food on one side and drinks on the opposite side to encourage movement.
Example B: 120-Guest Chamber of Commerce Mixer at a Hotel
- Goal: Comfortable conversations + sponsor visibility
- Layout: Pods + Pathways + sponsor activation zone
- Furniture count:
- 12 rounds (5–6 chairs each)
- 12 cocktail tables near bar
- 2 sponsor tables + banner stands
- Flow tip: Use signage: “Meet someone new—join any table.” Keep table centerpieces low.
Example C: 35-Guest VIP Investor Mixer at a Restaurant
- Goal: Deeper discussions, reduced noise
- Layout: Lounge clusters + a few two-tops
- Furniture count:
- 3 lounge clusters
- 6 two-top tables
- 1 quiet corner reserved for scheduled meetings
- Flow tip: Use a host to introduce guests and keep seating “open” rather than assigned.
Step-by-Step Planning Timeline + Checklist
4–6 Weeks Before: Strategy + Space Decisions
- Define mixer goals, audience size, and success metrics (leads, connections, sponsor engagement).
- Choose venue based on acoustics, layout flexibility, and furniture included.
- Draft a floor plan with zones (arrival, bar, food, seating types, activations).
- Decide your seating mix:
- 60–70% standing/cocktail
- 30–40% seated (pods + lounge + quiet space)
- Confirm accessibility needs (ADA routes, chair options, clear signage).
2–3 Weeks Before: Layout Finalization + Rentals
- Confirm headcount range (min/target/max) and adjust furniture counts.
- Book rentals if needed: high-tops, stools, lounge furniture, pipe-and-drape, stanchions.
- Plan power and lighting for any sponsor/demo tables.
- Create simple table signage:
- Topic signs
- “Open seating” signs
- Directional signs to quiet zone and restrooms
1 Week Before: Operational Details
- Finalize floor plan and share with venue + rental company + caterer/bartender.
- Build a staffing plan:
- 1 greeter at check-in
- 1 floater host to make introductions
- 1 person monitoring food/drink areas for congestion
- Prepare networking tools:
- Name tags with large first names
- Optional pronouns/company line
- QR codes for LinkedIn or digital business cards
- Conversation prompt cards
Event Day: Setup + Flow Check
- Mark zones with tape before furniture arrives (faster setup).
- Place high-traffic items first: check-in, bar, food, restrooms signage.
- Set tables and seating; keep 4–6 ft main pathways.
- Do a “crowd test” walk:
- Can two people pass each other comfortably?
- Is the bar area congested?
- Are there conversation pockets away from noise?
- Brief staff on introductions, timing, and how to encourage movement.
Post-Event Checklist (Next Business Day)
- Collect feedback (quick 3-question survey).
- Send follow-up email with attendee list opt-in, sponsor links, and next event date.
- Document what worked:
- Best-performing zones
- Furniture counts that felt right
- Bottlenecks and fixes
Budget Considerations (Seating + Layout)
Sample budget breakdown for a 100-guest networking mixer
- Venue: 35–55%
- Food & beverage (catering/bartending): 25–40%
- Rentals (tables, chairs, lounge furniture, linens): 8–15%
- AV/lighting (if needed): 3–8%
- Signage + printing (name tags, table prompts): 2–5%
- Staffing (host/greeter/attendant): 5–10%
- Contingency: 5–10%
Smart ways to save without sacrificing guest experience
- Use venue furniture strategically: Add a few statement lounge pieces rather than renting everything.
- Skip heavy centerpieces: Use small bud vases or simple tabletop signage to keep tables functional.
- Choose fewer, better zones: One well-designed quiet area beats three cramped seating corners.
- Optimize linen spend: Linens can be a hidden cost; consider bare high-tops or simple runners.
Vendor Selection Tips (Venue, Rentals, Catering)
Venue questions that directly affect seating layout
- What furniture is included (high-tops, rounds, lounge pieces)?
- Are there columns, fixed bars, or immovable décor that impact flow?
- What’s the sound environment like at full capacity?
- Where are the power outlets for sponsor/demo tables?
- What are load-in times and rules for floor plan changes?
Rental company tips
- Ask for a scaled diagram and confirm table sizes (30” high-top vs 36” can change spacing).
- Confirm delivery windows, setup responsibilities, and damage waivers.
- Request photos of the exact lounge pieces to ensure a cohesive look.
Catering/bartending coordination tips
- Place food stations where they won’t block seating pathways.
- Use two smaller bars instead of one long line when possible.
- Offer at least one grab-and-go option to keep guests circulating (passed appetizers or pre-set snack bowls).
Common Networking Mixer Seating Mistakes to Avoid
- Too much seating: If everyone sits, conversations stagnate and networking slows.
- All standing, no relief: Guests who need a break will leave early or camp at the only available chairs.
- Bar and food in the same corner: This creates congestion and traps guests in one area.
- Oversized tables: Large rounds encourage people to stay with their group and make it harder to join.
- No clear “entry point”: Guests arrive and hover. A defined welcome zone reduces awkwardness.
- Ignoring acoustics: Seating deep conversation zones next to speakers or kitchen noise ruins the experience.
FAQ: Networking Mixer Seating Arrangements
How many seats should I provide at a networking mixer?
A practical guideline is 30–50% seated capacity. This supports comfort while still encouraging movement and mingling. Increase seating for older audiences, longer events, or venues with limited standing room.
Should I assign seats at a networking mixer?
Usually, no. Assigned seating can limit spontaneous connections. Use open seating with light structure—topic tables, prompt cards, and a host making introductions—so guests feel guided without feeling managed.
What table size is best for networking conversations?
Smaller tables work best. Consider 30” cocktail tables for standing conversations and 36–48” rounds for seated pods of 4–6. Avoid very large tables unless you’re running a structured program.
How do I prevent people from clustering only near the bar?
Create multiple attractions: place food on the opposite side, add a lounge zone away from the bar, and use one or two “topic tables” or activations that give guests a reason to move.
What’s a simple way to help shy guests network?
Set up a clearly labeled “Start Here” or “Introductions Table” near check-in with conversation prompts and a friendly host. Lounge clusters also help—sitting side-by-side can feel less intimidating than joining a standing circle.
How do I adapt seating for a small networking event (20–40 guests)?
Use fewer pieces with clearer purpose: 3–5 high-tops, one comfortable seating cluster, and one optional topic table. Too many tables in a small room can make the event feel empty and disconnected.
Next Steps: Build a Layout That Matches Your Networking Goals
Choose a seating mix that supports movement, add zones that serve different conversation styles, and coordinate vendors so the floor plan stays functional from the first arrival to the final goodbye. Start by sketching your space, placing the bar and food to encourage flow, then layering in high-tops, pods, and a quiet zone for depth.
If you’re ready to refine your event planning process, explore more practical guides, checklists, and party organization tips at smartpartyprep.com.
More Articles
 Which political party ended slavery? The truth behind Lincoln, the Republican Party, and the complex, bipartisan reality of emancipation — no oversimplifications, just documented facts and overlooked contributions from Democrats, abolitionists, and enslaved people themselves.
What Is MLM Party? The Truth Behind the Buzz: How Modern Hosts Are Ditching High-Pressure Scripts for Authentic, Relationship-First Events That Actually Convert (Without the Awkwardness)
How to Throw a Casino Party Without Breaking the Bank or Losing Your Mind: A Stress-Free 7-Step Blueprint (With Real Guest Feedback & Budget Hacks)
What Does a Party Need? The 7 Non-Negotiable Pillars (That 83% of Hosts Overlook—Especially the Budget Buffer & Guest Flow Map)
How Do You Make Punch for a Party Without It Tasting Like Sad Lemonade or Turning Into a Sugary Slush? (7 Proven Formulas That Actually Impress Guests)
How Much Is a Party Bus to Rent NYC? Real 2024 Pricing Breakdown (Spoiler: It’s Not $299—Here’s What You *Actually* Pay Based on Group Size, Date, & Amenities)
Which political party ended slavery? The truth behind Lincoln, the Republican Party, and the complex, bipartisan reality of emancipation — no oversimplifications, just documented facts and overlooked contributions from Democrats, abolitionists, and enslaved people themselves.
What Is MLM Party? The Truth Behind the Buzz: How Modern Hosts Are Ditching High-Pressure Scripts for Authentic, Relationship-First Events That Actually Convert (Without the Awkwardness)
How to Throw a Casino Party Without Breaking the Bank or Losing Your Mind: A Stress-Free 7-Step Blueprint (With Real Guest Feedback & Budget Hacks)
What Does a Party Need? The 7 Non-Negotiable Pillars (That 83% of Hosts Overlook—Especially the Budget Buffer & Guest Flow Map)
How Do You Make Punch for a Party Without It Tasting Like Sad Lemonade or Turning Into a Sugary Slush? (7 Proven Formulas That Actually Impress Guests)
How Much Is a Party Bus to Rent NYC? Real 2024 Pricing Breakdown (Spoiler: It’s Not $299—Here’s What You *Actually* Pay Based on Group Size, Date, & Amenities)
 How Long Before Wedding Is Bachelorette Party? The Real-World Timing Sweet Spot (Not What Pinterest Says) — Avoid Last-Minute Chaos or Awkward Gaps With This Data-Backed 4-Week Planning Framework
Is CA a two party consent state? Yes — and here’s exactly what that means for your calls, meetings, podcasts, and recordings in 2024 (with real-world examples and step-by-step compliance checks)
How Long Before Wedding Is Bachelorette Party? The Real-World Timing Sweet Spot (Not What Pinterest Says) — Avoid Last-Minute Chaos or Awkward Gaps With This Data-Backed 4-Week Planning Framework
Is CA a two party consent state? Yes — and here’s exactly what that means for your calls, meetings, podcasts, and recordings in 2024 (with real-world examples and step-by-step compliance checks)
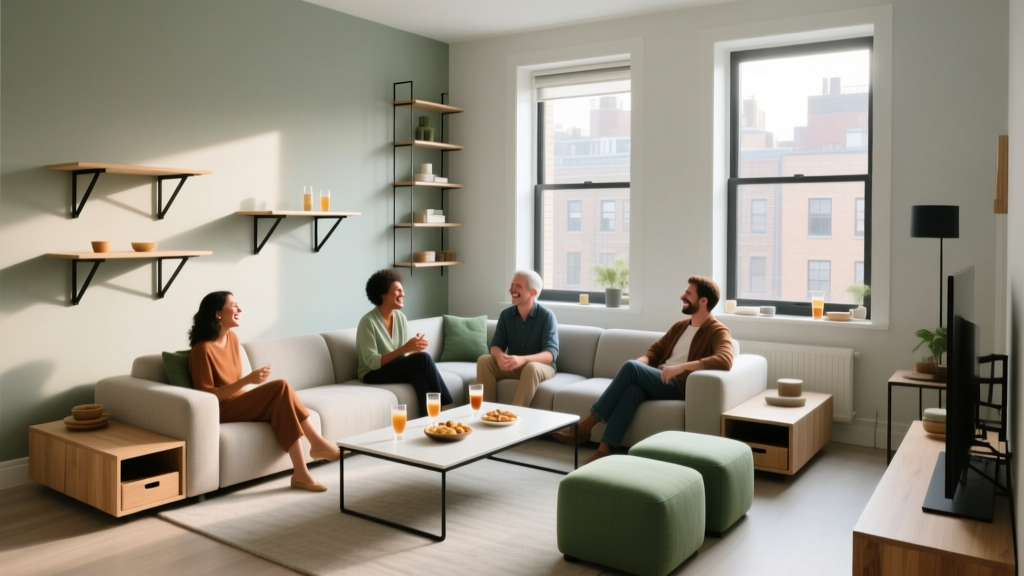 How to Host a Party in a Small House Without Feeling Cramped: 7 Realistic, Space-Savvy Strategies That Actually Work (No Renovation Required)
How to Dress to Party Without Stress or Overthinking: The 7-Second Rule That Saves Time, Money, and Confidence (Backed by Stylist Data)
How to Host a Party in a Small House Without Feeling Cramped: 7 Realistic, Space-Savvy Strategies That Actually Work (No Renovation Required)
How to Dress to Party Without Stress or Overthinking: The 7-Second Rule That Saves Time, Money, and Confidence (Backed by Stylist Data)