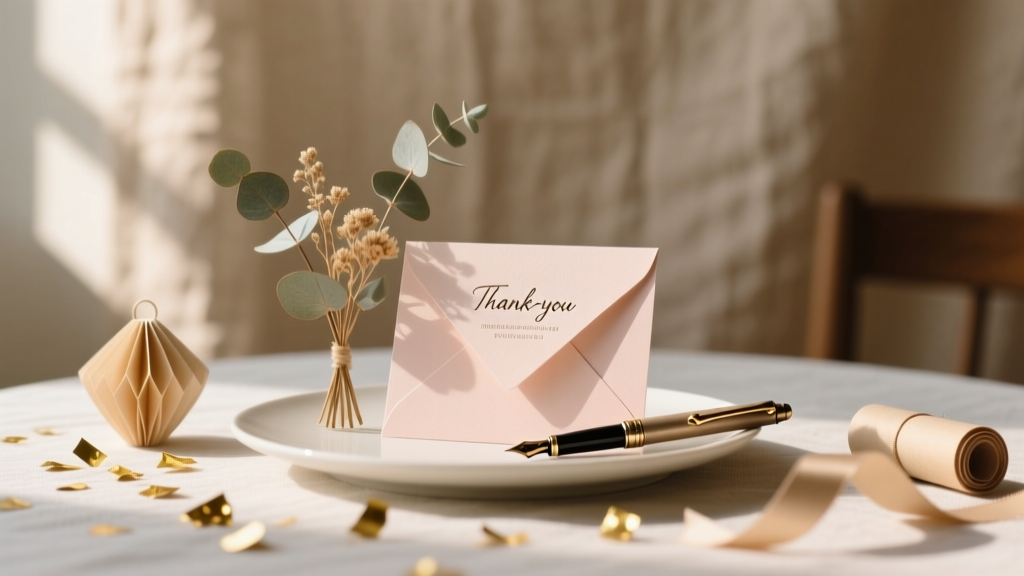
Step-by-Step Thank You Cards Tutorial
A handmade thank you card is one of those small party details that makes a big impression. Whether you’re wrapping up a birthday bash, bridal shower, baby shower, graduation party, or holiday gathering, a DIY thank you card turns a quick note into a keepsake—without needing fancy equipment or advanced art skills.
This project is especially fun because you can customize it to match your party theme: boho florals, modern minimal, rainbow confetti, elegant black-and-gold, or even a kid-friendly “handprint” style. It’s also a practical craft—you’ll end up with a stack of cards ready to send, plus the skills to make coordinating party decorations like place cards, cupcake toppers, and gift tags.
Grab your paper, your favorite pens, and a few simple tools. You’ll be surprised how polished your handmade cards look after just one afternoon of crafting.
Project Overview: Skill Level, Time & Finished Size
- Skill level: Beginner (with easy upgrades for Intermediate/Advanced)
- Time estimate:
- 1 card: 10–20 minutes
- Set of 10 cards: 60–120 minutes (batch crafting saves time)
- Finished card size (recommended): A2 folded card, 4.25 in x 5.5 in
- Best for: Party thank you notes, hostess gifts, party favors, teacher appreciation, bridal shower thank yous
Materials List (With Product Types & Estimated Costs)
You can keep this budget-friendly or make it luxe. The list below includes common craft store options and what they typically cost.
Paper & Card Base
- Cardstock (8.5 in x 11 in), 65–110 lb in white or colors (packs of 25–100 sheets): $6–$15
- Patterned scrapbook paper (12 in x 12 in sheets or pads) for accents: $5–$20
- A2 envelopes (4.375 in x 5.75 in) white or kraft (pack of 25–50): $6–$12
Adhesives
- Double-sided tape runner (clean and fast): $5–$10
- Liquid craft glue (fine-tip recommended): $3–$7
- Foam adhesive squares for 3D dimension: $3–$6
Tools (Recommended)
- Paper trimmer (for clean, straight cuts): $12–$25
- Scissors (sharp, precision tip): $5–$12
- Bone folder (or the back of a spoon) for crisp folds: $4–$10
- Ruler and pencil: $2–$6
Decor & Lettering Supplies
- Black fine-liner pen (0.3–0.5 tip) for neat writing: $2–$5
- Brush pen or metallic marker for “Thank You” lettering: $3–$10
- Stickers, die-cuts, or washi tape (party-themed sets are great): $3–$12
- Optional: stamps + ink pad (great for batch crafting): $10–$25
Optional Embellishments (Use Sparingly for Mailing)
- Small gems/pearls/sequins: $3–$8
- Ribbon or twine (thin is best): $3–$7
- Corner rounder punch: $6–$12
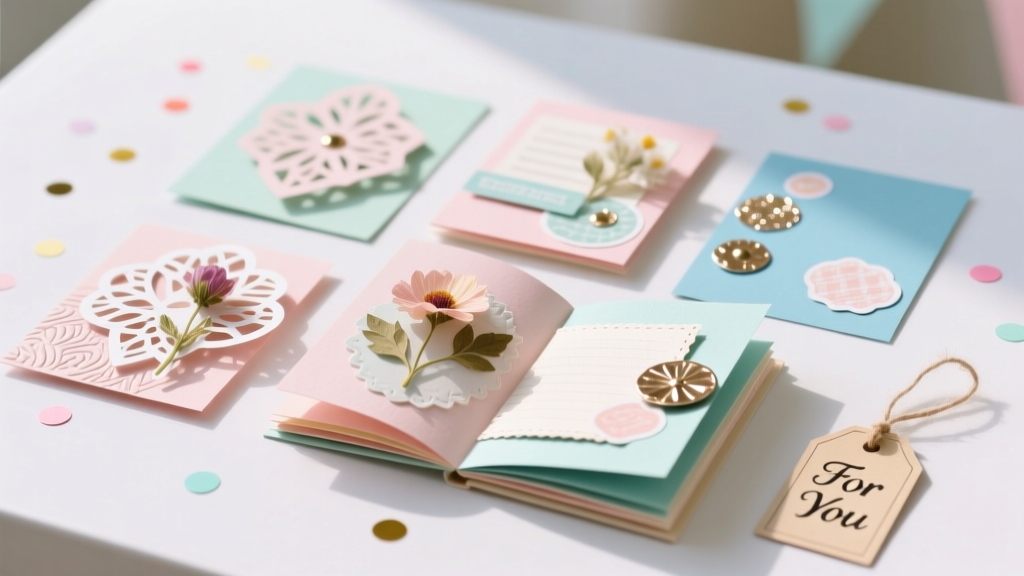
Choose Your Card Style (Pick One Template)
These layouts look party-ready and are easy to repeat for a whole set.
Style A: Simple Modern (Beginner-Friendly)
- Clean cardstock base
- One patterned strip
- Bold “Thank You” in the center
Style B: Party Confetti (Fun & Bright)
- White base
- Hand-cut paper confetti or sticker dots
- Optional metallic accents for a celebration vibe
Style C: Floral or Greenery Frame (Intermediate)
- Patterned paper border or stamped leaves
- Centered message panel
- Foam tape dimension for a layered look
Step-by-Step Instructions: A2 Folded Thank You Card
Step 1: Cut the Card Base
- Start with 8.5 in x 11 in cardstock.
- Using a paper trimmer, cut the sheet to 8.5 in x 11 in (already sized) and decide orientation:
- Side-fold card: Cut at 5.5 in on the 11-inch side to get a piece that’s 8.5 in x 5.5 in.
- Top-fold card: Cut at 4.25 in on the 8.5-inch side to get a piece that’s 4.25 in x 11 in.
- Fold:
- Side-fold: fold the 8.5 side in half to 4.25 x 5.5.
- Top-fold: fold the 11 side in half to 4.25 x 5.5.
- Crease with a bone folder (or the back of a spoon) for a crisp professional fold.
Step 2: Add a Decorative Layer (Instant “Finished” Look)
Layering is the easiest way to make DIY crafts look polished.
- Cut a panel from patterned paper to 4 in x 5.25 in. (This leaves a neat border around the edges.)
- Adhere the panel to the front of the card using a tape runner for smooth, wrinkle-free results.
Step 3: Create a Message Panel (For “Thank You”)
- Cut a solid cardstock rectangle to 3.25 in x 4.25 in (white or a coordinating color).
- Optional: round the corners using a corner punch or trim gently with scissors.
- Attach the message panel:
- Flat look: tape runner
- 3D look: foam squares (great for party-themed handmade projects)
Step 4: Letter “Thank You” (Three Easy Options)
Option 1: Neat Hand Lettering (Beginner)
- Lightly pencil “Thank You” centered on the message panel.
- Trace with a fine-liner or brush pen.
- Erase pencil marks after ink dries.
Option 2: Sticker Letters (Fastest)
- Place alphabet stickers in the center of the panel.
- Tip: Use a ruler to keep the baseline straight.
Option 3: Stamped Sentiment (Best for Batching)
- Stamp “THANK YOU” using a clear stamp + acrylic block.
- Use pigment ink for bold color; heat set if your ink smears easily.
Step 5: Add a Party-Inspired Detail
This is where your thank you card ties into party decorations and the event theme.
- Confetti corner: Glue 8–15 tiny paper dots in one corner (keep them flat for easy mailing).
- Mini banner strip: Cut a strip 0.75 in x 4 in, notch the end into a “V,” and tuck behind the message panel.
- Washi tape accent: Add a strip across the top or bottom and trim flush.
- One focal embellishment: Add a small gem or pearl near the sentiment (one or three looks best).
Step 6: Write the Inside Message (Quick Script That Sounds Personal)
If these are party thank you notes, keep it warm and specific. Here are plug-and-play lines:
- “Thank you for celebrating with us! Your gift was so thoughtful.”
- “We loved having you at the party—thanks for making the day feel extra special.”
- “Your kindness means a lot. Thank you for the sweet gift and support!”
Pro writing tip: Write the inside message before adding chunky embellishments—your hand won’t bump into raised details.
Pro Tips for Clean Results (Even If You’re New)
- Batch craft: Cut all cardstock bases first, then all patterned layers, then assemble. This speeds up party-related DIY projects dramatically.
- Use a tape runner for big panels: Liquid glue can warp paper if you use too much.
- Center like a pro: For a 4.25 in wide card, the center line is at 2.125 in. Use a light pencil mark on the back of your message panel for alignment.
- Keep embellishments mail-friendly: Flat cards fit standard postage better. If you love dimension, use foam tape only on the sentiment panel and keep the rest flat.
- Color match your party theme: Choose 2–3 main colors (example: blush + gold + white for bridal shower; primary colors for kids’ parties).
Creative Variations (Beginner Adaptations + Advanced Upgrades)
Beginner-Friendly Adaptations
- Printable insert: Print “Thank You” on cardstock (centered) and decorate with washi tape.
- One-tool design: Use only a black pen and patterned paper—clean, modern, and hard to mess up.
- Sticker theme: Balloon, confetti, cake, stars—perfect for birthday party thank you cards.
Intermediate/Advanced Upgrades
- Heat embossing: Stamp “Thank You,” add embossing powder, heat set for a raised metallic finish.
- Layered die-cuts: Cut a script “thanks” and layer it twice for chipboard-like thickness.
- Watercolor wash: Paint a soft wash (about 3 in x 4 in) on the message panel, let dry fully, then letter on top.
- Shaker window: Cut a window in the front panel, add acetate, foam tape, and sequins (amazing for party decor lovers—just note it can increase postage).
Troubleshooting: Fix Common Issues Fast
- My paper is wrinkling or warping: Use less liquid glue, switch to a tape runner, and press under a heavy book for 5–10 minutes.
- My lettering smeared: Let ink dry longer, use quick-dry ink, or heat set gently. Avoid touching metallic ink until fully dry.
- My layers aren’t straight: Add light pencil guidelines or align to a grid cutting mat. Work from the center outward.
- Foam tape won’t stick: Make sure hands are clean and paper is dust-free. Press firmly for 10 seconds.
- My card won’t fit the envelope: Keep finished size at 4.25 x 5.5 and don’t let decorations hang over the edges.
Common Crafting Mistakes to Avoid
- Skipping the crease tool: A crisp fold makes your handmade card look store-bought.
- Using too many patterns at once: Stick to one patterned paper plus one solid color for a clean party theme.
- Over-gluing: More glue doesn’t mean stronger—just messier. Use thin lines or a tape runner.
- Placing chunky embellishments in the center: They can catch in the mail and raise postage. Keep bulk minimal or place it near an edge.
- Waiting until the last minute: If these are for party thank you notes, make your cards within a week of the event while details are fresh and you can personalize messages.
FAQ: Step-by-Step Thank You Cards
How many thank you cards should I make for a party?
Plan for one per gift or attendee household. For kids’ parties, one per family is usually enough; for bridal/baby showers, one per gift giver is typical. If you’re unsure, make 2–5 extra—mistakes happen, and leftovers are handy.
What’s the best cardstock weight for DIY thank you cards?
80–110 lb cardstock gives a sturdy, professional feel. If you’re using a home printer, 65–80 lb may feed more easily.
Can I make these without a paper trimmer?
Yes. Use a ruler and pencil to mark cut lines, then cut with sharp scissors. For straighter edges, score lightly with the scissors blade (don’t cut) and fold along the score.
How do I keep handmade cards flat for mailing?
Use flat embellishments (washi tape, stickers, thin paper accents) and avoid bulky gems or thick bows. If you add dimension, keep it minimal and consider a padded envelope for extra protection.
What can I do if my handwriting isn’t “pretty”?
Try stamped sentiments, sticker letters, or print “Thank You” in a font you love and decorate around it. Clean, simple lettering looks modern and intentional.
How can I match my thank you cards to my party decorations?
Repeat the same 2–3 colors and one motif from your party decor—confetti, florals, stars, balloons, or gingham. Even a single strip of matching patterned paper can tie everything together.
Wrap-Up: Your Party Thank You Cards, Made by You
Handmade thank you cards are one of the easiest DIY crafts to personalize, and they’re a meaningful finishing touch after any celebration. Make a simple set first, then try adding layers, foam tape, or party-themed details as you get comfortable. Every card you create gets faster—and the results look more professional each time.
Want more party-ready handmade projects, DIY decorations, and creative ideas? Browse more craft tutorials on smartpartyprep.com and keep the celebration going—one beautiful detail at a time.
More Articles
 How to Enable 3rd Party Cookies on Safari in 2024: The Real Truth (Spoiler: You Can’t — But Here’s What Actually Works Instead)
 DIY Scrapbook Pages Party Favors
 How Do I Enable Third Party Cookies on My Mac? The Real Answer (Spoiler: You Can’t — But Here’s What Actually Works in 2024)
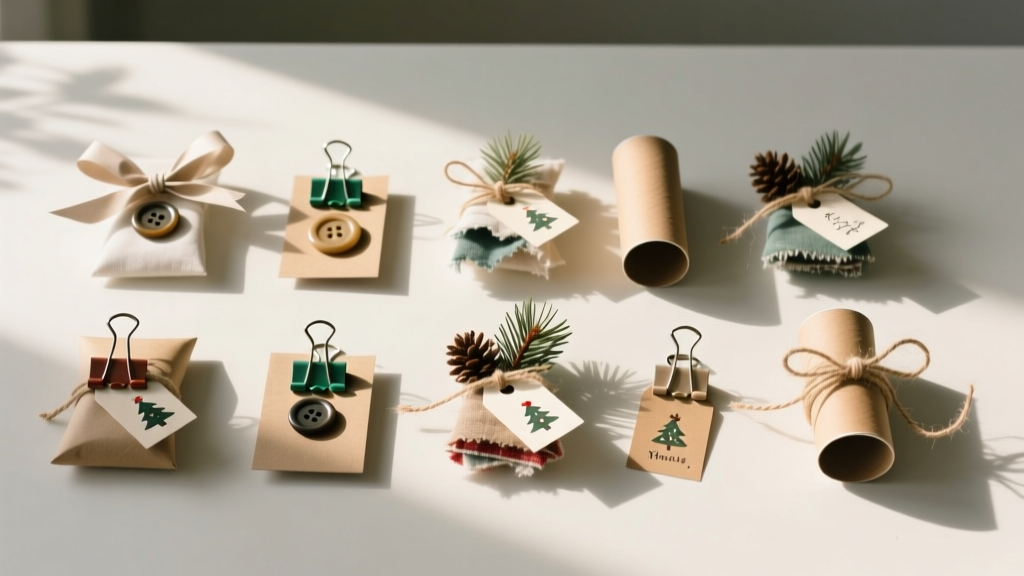 12 Do It Yourself Christmas Party Favors That Actually Impress Guests (No Craft Store Run Required — Just What’s in Your Junk Drawer + 20 Minutes)
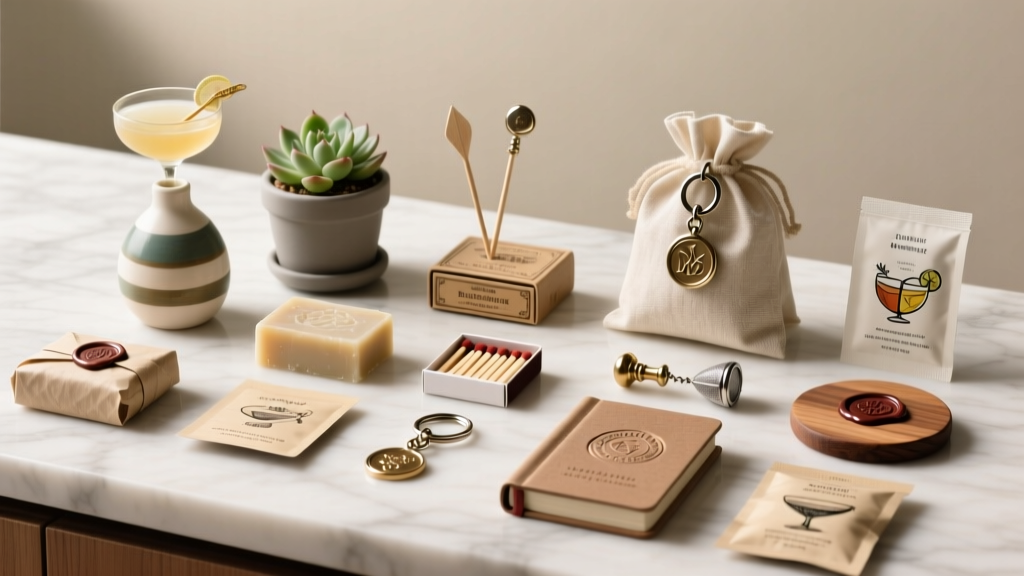 Stop Wasting $47 on Boring Party Favors: 12 Stunning, Low-Effort DIY Party Favors for Adults That Guests Actually Keep (Not Toss!) — No Glue Gun Required
 How Do You Make a Party Hat Out of Paper in Under 10 Minutes? (No Glue Gun, No Scissors Required — Just 3 Sheets & 1 Stapler)
 DIY Dream Catchers for Home Decor
 How to Make a Party Hat Out of Construction Paper in Under 8 Minutes (No Glue Gun, No Scissors Required — Just 3 Supplies You Already Own)
 Kids' Craft: Thank You Cards
 How to Make Party in Infinity Craft: 7 Foolproof Steps (No Modding Skills Needed) + Free Blueprint Pack for Instant Build-Ready Celebrations