Top 50 Signs for Picnics
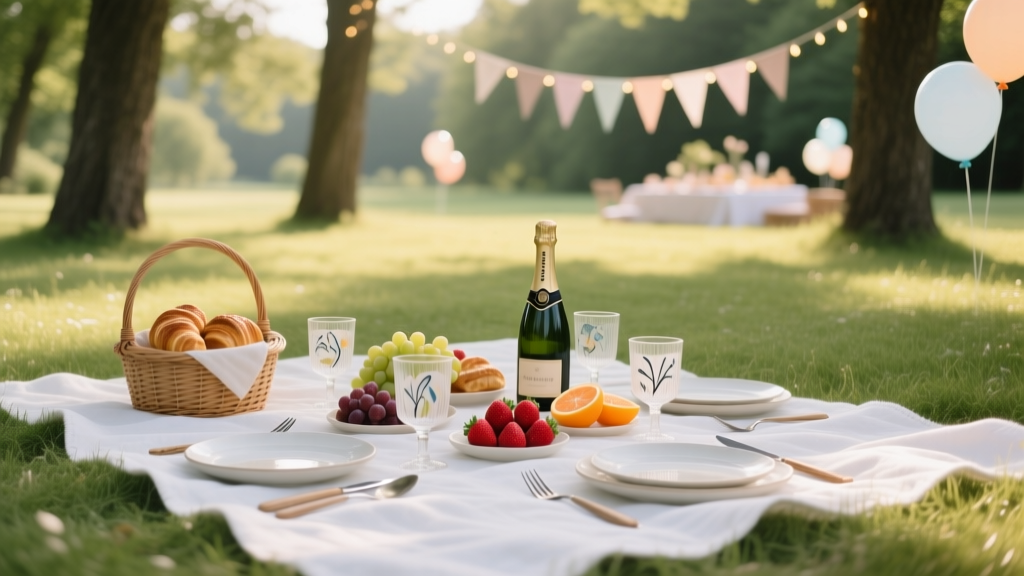
Picnics are having a major moment: “cute but effortless” outdoor gatherings, park birthday parties, backyard brunches, and micro-weddings with blanket seating are everywhere on Pinterest and Instagram. The one supply that instantly upgrades the vibe (and makes your setup feel intentional) is signage. Picnic signs do more than decorate—they guide guests, set expectations, and make everything look styled even if you packed it all in a tote 20 minutes ago.
Whether you’re planning a casual family picnic, a company team lunch, a romantic proposal, or a full-blown picnic party with games and a dessert bar, the right signs keep the flow smooth: guests know where to sit, where food is, what’s inside the cooler, and what’s happening next. Plus, signs are one of the easiest picnic decorations to reuse, personalize, or DIY on a budget.
Below you’ll find the top 50 picnic sign ideas, smart buying recommendations (with price ranges and where to buy), setup tips, quantity guidelines, and common mistakes to avoid—so your outdoor event looks coordinated and runs like a pro planned it.
How to Choose Picnic Signs (So They’re Useful, Not Just Cute)
Match your signs to your picnic style
- Classic gingham picnic: red/white checks, kraft paper, chalkboard signs, apple crate stands.
- Boho picnic party: acrylic “minimal” fonts, rattan easels, pampas accents.
- Kids’ picnic birthday: bright colors, playful arrows, character themes, laminated signs.
- Elevated picnic (bridal shower/proposal): frosted acrylic, gold stands, vellum overlays, custom calligraphy.
Materials that hold up outdoors
- Acrylic/PVC foam board: weather-resistant, photo-ready.
- Corrugated plastic (yard sign material): durable, stake-friendly.
- Chalkboard: charming and reusable, but avoid heavy wind.
- Paper/cardstock: budget-friendly; best inside frames or laminated.
Quantity guidelines (quick planning math)
- Small picnic (2–8 guests): 5–10 signs (welcome, seating, food labels, trash/recycling, activities).
- Medium picnic party (10–25 guests): 10–18 signs (add drink bar, menu, game rules, restroom direction).
- Large picnic event (30–75 guests): 18–30 signs (add multiple stations, schedules, parking, allergy labels).
The Top 50 Signs for Picnics (Ideas You Can Copy)
A. Welcome & Wayfinding Signs
- Welcome to Our Picnic (classic greeting sign at entry)
- Pick a Blanket / Find a Seat (helps avoid awkward hovering)
- Picnic This Way (arrow sign for parks with multiple entrances)
- Parking / Drop-Off (especially for large groups)
- Restrooms → (practical = guests love you)
- Hand Sanitizer Station (near food)
- Shoe-Free Blanket Area (for luxe low-picnic setups)
- Kids’ Zone (directs high-energy guests to a safe space)
- Games & Activities (with arrows if games are off to the side)
- Photo Spot (marks the best-lit, best-styled corner)
B. Food & Drink Station Signs
- Picnic Menu (big sign listing the spread)
- Grab a Plate & Napkin (keeps the line moving)
- Sandwich Bar (label the station)
- Salad Station
- Charcuterie Board (or “Grazing Table”)
- Fruit & Veg (light, fresh, easy to spot)
- Dessert Table
- S’mores Bar (perfect for sunset picnics)
- Ice Chest (helps guests stop opening the “wrong” cooler)
- Drinks (general beverage station sign)
- Lemonade Stand (kids’ parties and summer themes)
- Coffee & Tea (for brunch picnics)
- Mocktails (current trend for all-ages gatherings)
- BYO Bottle Refill Station (eco-friendly and practical)
- Allergy Info (simple: “Ask about allergens”)
C. Food Labels & Dietary Signs (The Details Make It Feel Pro)
- Gluten-Free
- Dairy-Free
- Nut-Free (or “Contains Nuts”)
- Vegan
- Vegetarian
- Spicy (save sensitive taste buds)
- Contains Honey (helpful for vegan guests and kids under 1)
- Keep Chilled (for mayo-based salads, dairy dips)
- Please Use Tongs (hygiene and less mess)
D. Seating, Comfort & Courtesy Signs
- Reserved (for grandparents, VIPs, or the guest of honor)
- Gift Table (birthdays, showers)
- Cards & Wishes (pairs nicely with a jar and pens)
- Sunblock & Bug Spray (a tiny “comfort station” sign)
- Blankets Here (if you have a stack to borrow)
- Please Don’t Feed the Wildlife (parks + lakeside picnics)
- Leave No Trace (timeless essential, especially on trails)
- Quiet Corner (helpful for baby showers or sensory breaks)
E. Activities, Photo Moments & Schedule Signs
- Picnic Party Schedule (arrival, lunch, games, cake, sunset photos)
- Scavenger Hunt Starts Here
- Lawn Games (with rules printed below)
- Polaroid Guestbook (trend: instant photos + notes)
- Tag Us (include your event hashtag or social handle)
- Cheers! (cute at drink station)
- Happy Birthday / Happy Anniversary (statement sign for photos)
- Thank You for Coming (at exit near favor basket)
Specific Product Recommendations (Price Ranges + Where to Buy)
1) Acrylic Picnic Signs (Modern + Photo-Ready)
- Best for: proposals, bridal showers, boho luxe picnics, milestone birthdays
- Price range: $25–$90 for standard sizes; custom sets $80–$200+
- Where to buy: Etsy (custom), Amazon (ready-made), Zazzle (personalized), local print shops
- Pro tip: Choose frosted acrylic for readability in sunlight.
2) Chalkboard & Dry-Erase Signs (Reusable + Flexible)
- Best for: menu changes, “today’s drinks,” schedule boards
- Price range: $10–$40 per sign; tabletop mini chalkboards $12–$25 for packs
- Where to buy: Target, Walmart, Amazon, Michaels, Hobby Lobby
- Pro tip: Use chalk markers (less smudge, cleaner lines).
3) Foam Board / Poster Signs (Big Impact on a Budget)
- Best for: welcome sign, large menu, photo backdrop text
- Price range: $8–$30 DIY print; $25–$70 professionally printed
- Where to buy: Staples, FedEx Office, Office Depot, Canva + local printer
- Pro tip: Ask for matte finish to reduce glare outdoors.
4) Yard Signs with Stakes (For Parks + Wayfinding)
- Best for: “Picnic This Way,” parking, restroom arrows, event entrance
- Price range: $12–$35 each; multi-pack directionals $25–$60
- Where to buy: Amazon, Etsy, Vistaprint
- Pro tip: Corrugated plastic holds up to breeze better than foam board.
5) Pre-Made Printable Sign Sets (Fast + Coordinated)
- Best for: last-minute planning, themed parties, matching designs
- Price range: $5–$25 for digital downloads; printing costs extra
- Where to buy: Etsy, Canva templates, Creative Market
- Pro tip: Print on heavyweight cardstock and slide into clear acrylic frames for an instant upscale look.
Setup Tips & Decoration Ideas (Make Signs Look Styled, Not Random)
Placement rules that work every time
- Welcome sign: Put it where guests naturally pause (parking path, gate, trail opening).
- Food signs: Place at the “decision point” (start of the table, not the middle).
- Trash/recycling signs: Put one at each end of the picnic area. People won’t walk far with a sticky plate.
- Restroom arrows: Put at eye level and again at the next turn if needed.
Easy ways to display picnic signs
- Mini easels: Great for labels (pack of 6–12 is perfect for most picnics).
- A-frame sandwich board: Ideal for welcome + schedule.
- Clipboard on a stake: Cute, budget-friendly, and wind-resistant.
- Picture frames: Thrift-store frames + printables = instant charm.
- Crates + boards: Use wooden crates as risers; lean a sign against them for a styled “station.”
Decorating with signs (trend-forward ideas)
- Color-coordinated sign suite: Match fonts and colors to your tableware, napkins, and balloons.
- Bow trend: Tie a gingham or satin bow on easels, stakes, or sign corners.
- Pressed-flower acrylic: Add small dried florals to sign edges for a romantic picnic party look.
- “Station moments”: Pair each sign with a small prop (lemon basket by lemonade, lantern by s’mores, mini flags by sandwiches).
Wind-proofing hacks
- Use museum putty under frames and easels.
- Attach signs to weighted clip stands or small sandbags.
- Choose shorter, wider tabletop signs instead of tall narrow ones.
Budget Ranges for Picnic Signage
- Budget: $15–$45 total (DIY printables, cardstock, thrift frames, one mini chalkboard)
- Mid-range: $50–$150 total (printed foam board welcome sign + label set + a few yard arrows)
- Premium: $150–$400+ total (custom acrylic welcome + menu + bar signs + matching label suite)
DIY Alternatives (Cute, Fast, and Actually Doable)
- Brown kraft paper banner signs: Use a black paint marker and clothespins on twine.
- Chalkboard labels on jars: Great for drink dispensers and snack containers.
- Sticker-letter boards: Reusable for “Menu,” “Drinks,” “Games,” and “Schedule.”
- QR code sign: Link to a digital menu, playlist, or scavenger hunt list (print a small QR and frame it).
Common Mistakes to Avoid When Choosing Picnic Signs
- Too small to read: If guests need to step in front of the table to read it, go bigger.
- Glossy glare: Shiny prints can turn into mirrors in sunlight—pick matte finishes.
- No plan for wind: Outdoor party supplies need weight, stakes, or frames.
- Over-signing: Signs should reduce confusion, not create visual clutter. Prioritize: welcome, menu, drinks, trash/recycling, restroom direction.
- Skipping allergy labels: Even one small “Contains Nuts” card can prevent a major issue.
- Mismatch in style: Five different fonts and random colors can make a gorgeous picnic setup feel chaotic. Choose one theme and repeat it.
FAQ: Picnic Signs & Outdoor Party Planning
1) What are the most essential picnic signs?
Start with a welcome sign, a menu/food station sign, drink station sign, and trash/recycling signs. For parks, add a “Picnic This Way” arrow and restroom direction.
2) What size should a welcome sign be for a picnic?
For most picnic parties, 18x24 inches is the sweet spot. For large events or busy parks, go 24x36 inches so it’s readable from a distance.
3) How do I keep signs from blowing over?
Use stakes for yard signs, weighted easels for tabletop displays, and museum putty under frames. Avoid ultra-light foam board without a backing or stand.
4) Are printable signs worth it?
Yes—printables are one of the best budget-friendly party supplies because you can create a matching sign set fast. Pair them with thrifted frames or clear acrylic frames for a polished look.
5) How many food label signs do I need?
Plan for one label per dish, plus 3–6 dietary labels (gluten-free, contains nuts, vegetarian, spicy, etc.) depending on your guest list. For 15–25 guests, 10–14 labels is typical.
6) Where can I buy custom picnic signs quickly?
For fast turnaround, check Amazon (ready-made), Zazzle (personalized), and local print shops (often same-day or next-day for posters). Etsy is great for custom designs—just watch the production time.
Your Next Steps: Build a Picnic Sign Kit You’ll Reuse
To make picnic planning easy, create a simple “sign kit” you can pull out for any outdoor gathering:
- Pick a theme (gingham, boho, bright kids, minimalist).
- Choose your essentials: welcome, menu, drinks, trash/recycling, restroom arrow.
- Add 5–10 label cards for food + dietary needs.
- Grab display helpers: mini easels, tape/museum putty, and a couple of stakes.
- Do a quick walk-through on arrival: entrance → seating → food → trash → restroom.
Ready to make your picnic party look coordinated, welcoming, and totally photo-worthy? Browse more picnic decorations, party supplies, and event planning ideas on smartpartyprep.com—we’ve got plenty of ways to level up your next outdoor celebration.
More Articles
 Bubble Machines Ideas for Bat Mitzvahs
 What to Bring to Class Party: The Stress-Free, Teacher-Approved Checklist (No Last-Minute Panic, No Awkward Empty-Handed Walks Down the Hallway)
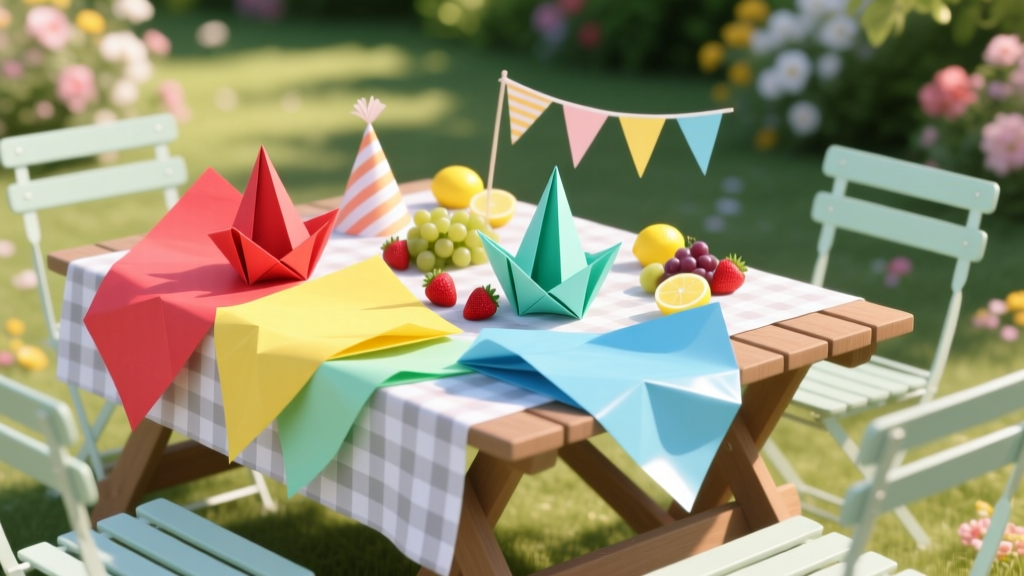 Best Tissue Paper for Picnics: Bright, Practical, and Party-Ready Picks
 Personalized Lighting for Farewell Parties
What’s It Toy Word Party: The Real Reason Your Guests Keep Asking ‘Wait—How Do You Even Play This?’ (And Exactly How to Fix It in Under 5 Minutes)
What to Bring to Lunar New Year Party: The 12-Item No-Stress Checklist (That Actually Prevents Awkward 'Oops, I Forgot the Red Envelopes' Moments)
Stop Wasting $247 on Last-Minute Party Print Jobs: 7 Aren Party Printers That Print, Cut, and Personalize in Under 90 Seconds (No Design Skills Needed)
What to Buy for Gender Reveal Party: The 12 Non-Negotiable Supplies (Plus 5 That Waste Your Money & 3 Hidden Budget Traps You’ll Regret)
Are Party City's closing? The truth behind the rumors — plus where to buy costumes, balloons, and decorations now (2024 updated list with real-time store status)
Personalized Lighting for Farewell Parties
What’s It Toy Word Party: The Real Reason Your Guests Keep Asking ‘Wait—How Do You Even Play This?’ (And Exactly How to Fix It in Under 5 Minutes)
What to Bring to Lunar New Year Party: The 12-Item No-Stress Checklist (That Actually Prevents Awkward 'Oops, I Forgot the Red Envelopes' Moments)
Stop Wasting $247 on Last-Minute Party Print Jobs: 7 Aren Party Printers That Print, Cut, and Personalize in Under 90 Seconds (No Design Skills Needed)
What to Buy for Gender Reveal Party: The 12 Non-Negotiable Supplies (Plus 5 That Waste Your Money & 3 Hidden Budget Traps You’ll Regret)
Are Party City's closing? The truth behind the rumors — plus where to buy costumes, balloons, and decorations now (2024 updated list with real-time store status)
 Best Tents for Easter: Create a Bright, Weather-Ready Spring Celebration