How to Style Ice Buckets for BBQs
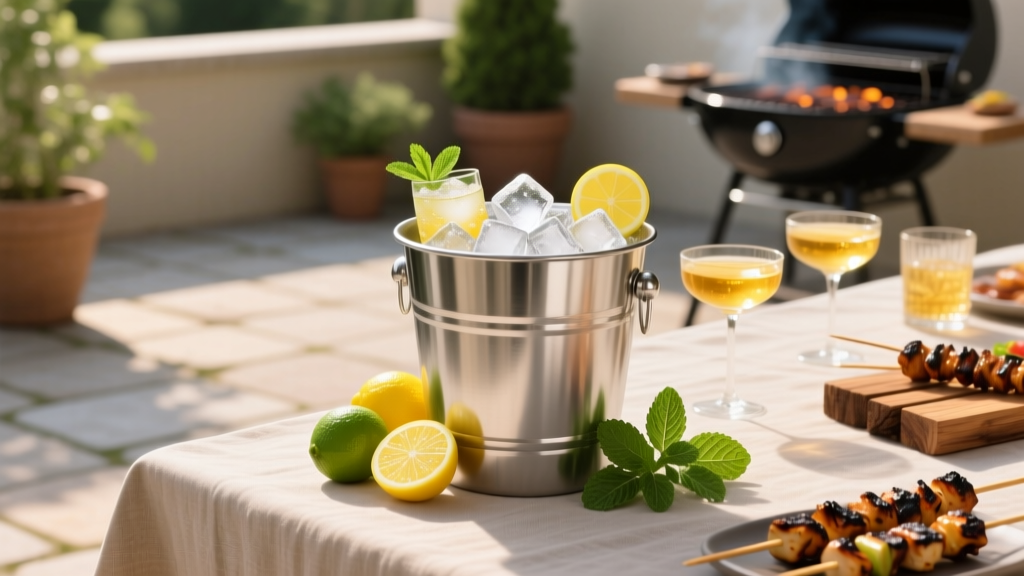
When you’re hosting a BBQ, you’re already juggling the grill, the guest list, the side dishes, and the playlist—so your drink setup needs to be effortless and look great. That’s where a well-styled ice bucket comes in. It keeps beverages cold, creates a “help-yourself” drink station, and instantly adds that polished party vibe without extra work.
Plus, ice buckets aren’t just functional—they’re décor. The right bucket (and the way you style it) can match your theme, highlight your signature drink, and keep traffic moving so you’re not playing bartender all afternoon. Whether you’re planning a backyard birthday, a neighborhood cookout, a family reunion, or a casual wedding BBQ, this guide will help you nail the look and the logistics.
Let’s turn your BBQ beverage station into a crowd-pleaser���cool, coordinated, and totally photo-worthy.
Why Ice Buckets Are a BBQ Essential (Not Just a Nice-to-Have)
An ice bucket is one of those party supplies that quietly solves multiple problems at once:
- Cold drinks stay cold (especially crucial for canned beverages and sparkling drinks).
- Less fridge traffic so your kitchen stays cleaner and calmer.
- Better flow because guests can grab what they want without asking.
- Instant “host level-up” with minimal effort—especially when styled with labels and a theme.
Current party trend: backyard “drink stations” are having a moment—think self-serve beverage bars with themed signage, matching coolers, and elevated disposables (like acrylic tumblers and patterned paper straws). The ice bucket is the centerpiece that makes it all look intentional.
Choose the Right Ice Bucket for Your BBQ
Match the Bucket to Your Party Style
Before you buy, decide what vibe you’re going for:
- Classic backyard BBQ: galvanized metal tubs, enamelware, rustic wood accents.
- Modern patio party: clear acrylic buckets, sleek stainless steel, minimalist labels.
- Poolside cookout: plastic or acrylic (shatter-resistant), bright colors, mesh drink bags.
- Boho picnic BBQ: woven baskets with liners, neutral palettes, dried florals.
- Game day + grill: team-color buckets, chalkboard labels, bottle openers clipped on.
Size Guide: What Capacity Do You Actually Need?
Use these practical quantity guidelines to avoid running out of ice or overcrowding your tub:
- Small (1–2 gallons): great for 6–12 cans, best for a “specialty drink” bucket (like seltzers only).
- Medium (3–5 gallons): fits about 18–30 cans or 8–12 bottles plus ice—ideal for most BBQs.
- Large (8–15 gallons / party tub): fits 40–80 cans—best for 20+ guests or a full beverage station.
Quick planning rule: For a 3–4 hour BBQ, plan 2 drinks per adult per hour (some will drink less, some more). If your crowd is bigger, use two buckets—one for alcoholic beverages and one for non-alcoholic—so everyone finds what they need fast.
Best Ice Bucket Materials (What Works Outdoors)
- Galvanized metal: durable, affordable, rustic-cute. Can sweat a bit—use a tray underneath.
- Acrylic: stylish, shatter-resistant, easy to clean, looks premium. Great for modern themes.
- Stainless steel: sleek and insulated options exist; often pricier but very “host upgrade.”
- Plastic party tubs: budget-friendly and lightweight; perfect for large groups and kids’ parties.
- Insulated beverage coolers: not always called “ice buckets,” but they keep ice longest in hot weather.
Product Recommendations (Price Ranges + Where to Buy)
These crowd-friendly picks cover different budgets and BBQ styles. Prices vary by season and sales, so treat these as typical ranges.
1) Galvanized Beverage Tub (Classic BBQ Look)
- Best for: rustic BBQs, country themes, casual backyard parties
- Typical price: $15–$40 (small to large)
- Where to buy: Target, Walmart, HomeGoods, Amazon, hobby/craft stores (seasonal)
- Styling bonus: add a chalkboard label or clip-on tag for a farmer’s market feel
2) Clear Acrylic Ice Bucket with Handles (Modern + Clean)
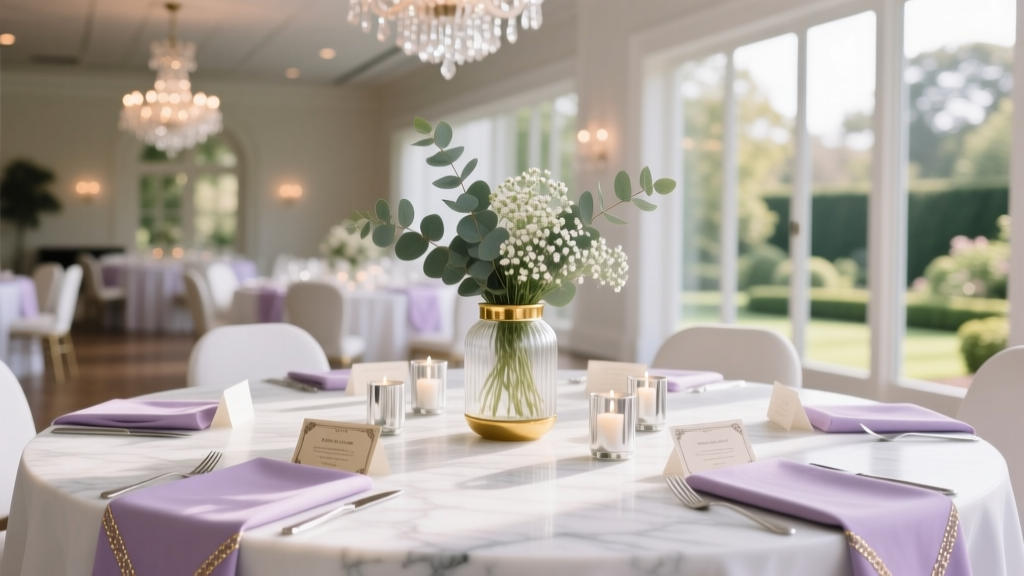
- Best for: modern patio parties, milestone birthdays, bridal showers with BBQ
- Typical price: $20–$60
- Where to buy: Amazon, Wayfair, Crate & Barrel, IKEA (similar serveware)
- Styling bonus: looks great with color-coordinated cans and a printed drink menu
3) Stainless Steel Ice Bucket (Smaller, Upscale, Great for Cocktails)
- Best for: cocktail-forward BBQs, bourbon + beer pairings, smaller groups
- Typical price: $25–$80
- Where to buy: Amazon, Williams Sonoma, Sur La Table, restaurant supply stores
- Styling bonus: pair with a matching scoop and cocktail garnish caddy
4) Extra-Large Party Tub or Tote (The “No One Runs Out of Drinks” Option)
- Best for: 20–60 guests, neighborhood cookouts, graduation parties
- Typical price: $10–$30 (basic plastic), $25–$70 (sturdier acrylic/metal)
- Where to buy: Walmart, Costco (seasonal), Sam’s Club, Amazon, party supply stores
- Styling bonus: add two zones inside: left side “NA,” right side “Beer/Seltzer” using dividers or mini bins
5) DIY Alternative: A Clean Storage Bin or Beverage Cooler You Already Own
- Best for: budget BBQs, last-minute parties, big crowds
- Typical price: $0–$15 (if you grab a new bin)
- Where to buy: big-box stores, hardware stores, dollar stores
- Styling bonus: wrap with a tablecloth, bandana print fabric, or kraft paper and add a label
Ice + Drink Quantity Cheat Sheet (So You Don’t Overbuy)
Ice is where BBQ hosts either totally nail it… or end up begging neighbors. Here’s a realistic plan.
How Much Ice to Buy
- Rule of thumb: plan 1–1.5 lbs of ice per guest for a 3–4 hour BBQ.
- Hot day (85°F+): plan 1.5–2 lbs per guest.
- If you’re also chilling food (not recommended in the same tub): add extra.
Example: 20 guests x 1.5 lbs = 30 lbs of ice. Split it into two buckets or refill halfway through.
Drink Count (Simple Planning)
- Adults: 6–8 drinks per person for a longer afternoon/evening BBQ (mix of beer, seltzer, soda, water).
- Kids/teens: 3–5 drinks each (water + juice/soda).
- Always include: plenty of bottled water or canned sparkling water—BBQs are sneaky dehydrating.
How to Set Up a BBQ Ice Bucket Station (Looks Great, Works Better)
Step-by-Step Setup
- Pick the location: near seating but out of the grill’s heat zone. Shade is a bonus for keeping ice longer.
- Build a base: use a sturdy side table, beverage cart, or folding table with a fitted tablecloth.
- Add a drip solution: place the bucket on a tray, waterproof mat, or shallow pan to catch condensation.
- Layer drinks correctly: ice first, then drinks, then a final ice layer on top for quick chilling.
- Keep tools nearby: ice scoop/tongs, bottle opener, cocktail napkins, trash bin.
- Label everything: guests shouldn’t have to guess what’s inside (or ask you).
Decoration Ideas That Make Ice Buckets Look “Styled”
These upgrades are quick, practical, and very on-trend for backyard entertaining.
- Mini signage: a small chalkboard sign, acrylic sign, or printable label in a stand (“Beer,” “Seltzers,” “Kids Drinks”).
- Color-coordinated cans: pick 2–3 can colors that match your party decorations for a curated look.
- Citrus + herb garnish: toss a few lemon wheels (in a separate garnish cup, not loose in the ice) and add fresh mint nearby for mocktails.
- Bandana wrap (timeless BBQ style): tie a red or navy bandana around a galvanized tub handle.
- Floral/greenery accent: place a small bud vase or faux greenery next to the bucket—not in it (food-safe + clean).
- Theme tags: use waterproof stickers or hang tags on bottle necks for “Spicy,” “Light,” “Zero Sugar,” etc.
Make It Functional: Little Details Guests Love
- Two-bucket system: one for alcoholic beverages, one for non-alcoholic (huge for family BBQs).
- Separate water zone: keep bottled water in its own tub so it doesn’t vanish under beer cans.
- Provide koozies: a basket of foam can coolers helps guests keep track of their drink (and keeps hands dry).
- Add a “return empties” bin: a small trash can or recycling bin right next to the station keeps your yard clean.
DIY Styling Upgrades (Budget-Friendly, Big Impact)
- Printable drink menu: list what’s available (“Lager, IPA, Lime Seltzer, Cola, Lemonade, Water”). Put it in a simple frame.
- Ice bucket liner hack: line a metal bucket with a clear trash bag for easy cleanup (especially if labels flake or bottles shed).
- Frozen water bottles: freeze a few bottles and use them as “ice blocks” to reduce meltwater (bonus: extra cold water later).
- DIY drink dividers: use small plastic bins inside a big tub to separate categories and keep labels visible.
Common Mistakes to Avoid When Choosing Party Supplies for Ice Buckets
- Buying the cutest bucket… and ignoring capacity: if it only fits 10 drinks, you’ll be refilling nonstop.
- Skipping drainage planning: condensation and meltwater are guaranteed—use a tray, mat, or outdoor-safe surface.
- Mixing glass bottles in high-traffic kid areas: choose cans or shatter-resistant bottles for family BBQs and pool parties.
- Forgetting the opener: always have at least two bottle openers (one at the drink station, one backup).
- Not labeling: guests dig through ice, cans get rearranged, and things get warm faster.
- Putting the bucket in direct sun: looks nice for photos, melts fast in reality—shade wins.
FAQ: Styling Ice Buckets for BBQs
How do I keep ice from melting so fast at an outdoor BBQ?
Keep the bucket in shade, use a larger tub (more ice mass lasts longer), and layer ice on top of drinks. If it’s very hot, add a few frozen water bottles as “ice blocks” and keep an extra bag of ice in the freezer or cooler for refills.
Should I use cubed ice or crushed ice for chilling drinks?
Cubed ice is best for chilling cans and bottles because it melts slower. Crushed ice looks fun for styling but melts quickly—use it only for short windows or smaller buckets.
What’s the best ice bucket for a big BBQ (30+ guests)?
Go with an extra-large party tub (8–15 gallons) or use two large tubs. For big groups, plastic party tubs are lightweight and practical, while galvanized or acrylic looks more elevated.
Can I put food and drinks in the same ice bucket?
It’s not recommended. Keep food (especially raw items) separate for cleanliness and easier serving. Use a second cooler/tub for food-safe chilling if needed.
How far ahead can I set up the drink station?
You can stage everything (bucket, labels, cups, napkins, openers) a few hours ahead. Add ice and drinks about 30–60 minutes before guests arrive for the coldest results and less meltwater.
What’s a good budget for a complete BBQ drink station?
- Budget-friendly: $25–$60 (basic tub + ice + cups + labels + opener)
- Mid-range: $60–$150 (nicer bucket + matching serveware + signage)
- Elevated: $150–$300 (acrylic/stainless pieces, beverage cart, coordinated décor)
Your Next Steps: A Simple Shopping + Styling Checklist
Want a stress-free BBQ beverage station that looks as good as it works? Use this quick plan:
- Choose your bucket style: galvanized (classic), acrylic (modern), party tub (big crowd).
- Plan quantities: 1–1.5 lbs ice per guest + drinks based on your guest count and duration.
- Build your station: table/cart, bucket on a drip tray, labels, opener, napkins, trash/recycling.
- Add 2–3 décor touches: sign + color-coordinated cans + bandana wrap or small greenery.
- Set up smart: shade, two-bucket system (NA vs alcoholic), and keep water easy to grab.
Ready to stock up on party supplies, drink station essentials, and BBQ-ready decorations? Explore more ideas, checklists, and celebration upgrades at smartpartyprep.com—your next backyard bash is about to look seriously put-together.
More Articles
 Budget-Friendly Banners for Graduations
 Creative Tablecloths for Bar Mitzvahs
 Does Party City Sell Helium Tanks? Yes—But Here’s Exactly What You Need to Know Before You Go (Including Hidden Fees, Safety Rules, and Better Alternatives)
What to Bring to Lunar New Year Party: The 12-Item No-Stress Checklist (That Actually Prevents Awkward 'Oops, I Forgot the Red Envelopes' Moments)
Is Party City Open Right Now? Here’s How to Instantly Check Store Hours, Avoid Closed Locations, and Get Real-Time Updates (No More Wasted Trips!)
Does Party City Sell Helium Tanks? Yes—But Here’s Exactly What You Need to Know Before You Go (Including Hidden Fees, Safety Rules, and Better Alternatives)
What to Bring to Lunar New Year Party: The 12-Item No-Stress Checklist (That Actually Prevents Awkward 'Oops, I Forgot the Red Envelopes' Moments)
Is Party City Open Right Now? Here’s How to Instantly Check Store Hours, Avoid Closed Locations, and Get Real-Time Updates (No More Wasted Trips!)
 Party Bags Trends for Surprise Parties in 2026
 Budget-Friendly Tents for BBQs: Shade, Style, and Savings for Your Backyard Bash
 Gift Bags Checklist for Engagement Parties