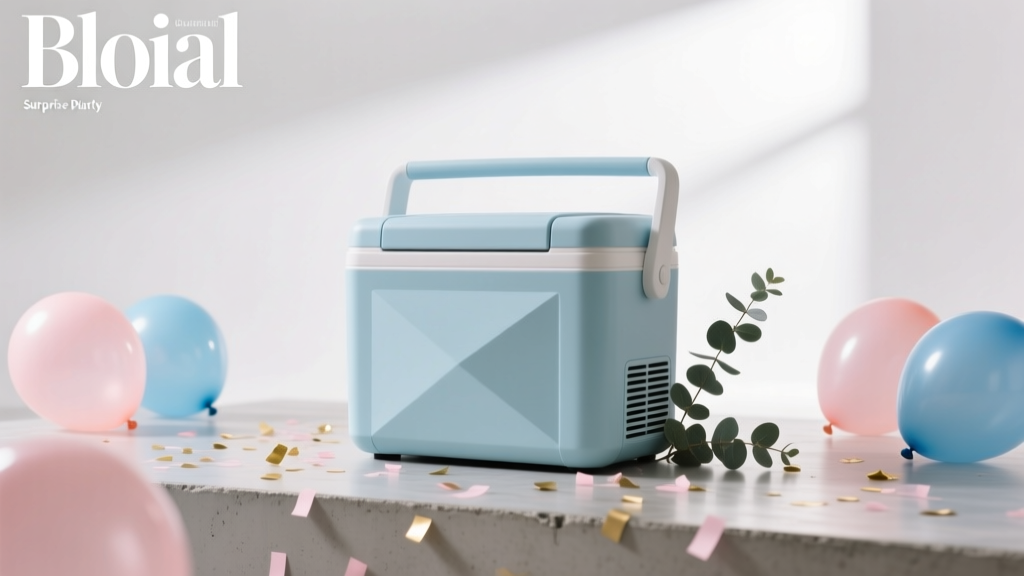
How to Style Coolers for Surprise Parties
A surprise party has one job: keep the secret and bring the wow. And while balloons, banners, and photo backdrops get most of the attention, your drink station is where guests naturally gather. That’s why styling coolers for surprise parties is such a game-changer—it’s functional, it sets the vibe instantly, and it keeps everyone refreshed without constant trips to the fridge.
Coolers are also one of the easiest “high-impact” party supplies to upgrade. With the right decorations and a few smart accessories, a basic ice chest turns into a centerpiece-worthy beverage station. Whether you’re planning a backyard surprise, an office pop-up celebration, or a glam indoor gathering, a styled cooler helps you control traffic flow, keep drinks cold for hours, and make your party setup look polished on a real-world budget.
Below are practical, expert-approved ways to style party coolers—plus product recommendations, quantity guidelines, DIY alternatives, and common mistakes to avoid so your surprise stays smooth and photo-ready.
Why a Styled Cooler Matters for Surprise Parties
Surprise parties are fast-moving: people arrive in clusters, someone’s tracking the guest of honor, and you’re trying to keep everything looking effortless. A well-planned cooler setup helps you:
- Reduce hosting stress: Guests can grab drinks without asking, and you’re not stuck playing bartender all night.
- Keep the “surprise zone” tidy: One designated beverage station means fewer spills and fewer people wandering into off-limits rooms.
- Boost your party décor instantly: Coolers can match your theme (retro, disco, rustic, sports, minimalist) with minimal effort.
- Improve guest experience: Cold drinks are always available—especially important for outdoor events or summer birthdays.
Choose the Right Cooler for the Party Style
Cooler Types That Work Best
- Rolling hard cooler (wheels + handle): Best for outdoor surprise parties, parks, and garages. Easy to move and re-position before the “SURPRISE!” moment.
- Galvanized party tub: Trendy and timeless. Great for bottled drinks and looks cute with minimal styling.
- Inflatable drink cooler bar: Budget-friendly and fun for pool parties, tiki themes, and casual backyard gatherings.
- Electric cooler / mini fridge (if allowed): Ideal for indoor venues, offices, or long events where ice management is tricky.
Capacity Guidelines (Simple Rule)
A practical estimate: plan 3–5 drinks per guest for a 3–4 hour party. Mix water + soda + sparkling + adult beverages (if applicable).
- 10 guests: 40–50 drinks total
- 25 guests: 90–120 drinks total
- 50 guests: 175–225 drinks total
Ice rule: For canned/bottled drinks, plan 1–2 lbs of ice per guest (closer to 2 lbs if outdoors and hot). If you can store extra bags nearby, do 1 lb per guest + 1–2 backup bags.
Product Recommendations (With Price Ranges + Where to Buy)
Coolers & Drink Tubs
-
Igloo BMX or Coleman Xtreme Hard Cooler (48–70 qt)
Price: $50–$150
Where to buy: Amazon, Walmart, Target, Academy Sports
Why it’s great: Strong insulation, easy to clean, dependable for big groups. -
YETI Tundra / RTIC Ultra-Tough (45–65 qt)
Price: $250–$450 (YETI), $200–$330 (RTIC)
Where to buy: YETI.com, RTICoutdoors.com, REI, Amazon (select models)
Why it’s great: Premium insulation for all-day events; looks sleek for upscale parties. -
Galvanized Metal Beverage Tub (12–20 qt)
Price: $15–$40
Where to buy: Target, Michaels, Hobby Lobby, Amazon, HomeGoods
Why it’s great: Instant party aesthetic—perfect for “beer & soda” stations. -
Inflatable Cooler Bar / Buffet Table
Price: $15–$35
Where to buy: Amazon, Party City, Walmart
Why it’s great: Fast setup, huge surface area, fun for casual themes.
Essential Cooler Styling Supplies
-
Waterproof label cards + holders
Price: $6–$18
Where to buy: Amazon, Target, Staples, Michaels
Pro tip: Use tent cards or mini clip signs so labels stay visible above ice. -
Acrylic or plastic drink bins (fridge organizer bins)
Price: $10–$30 (set or singles)
Where to buy: Amazon, The Container Store, Walmart, Target
Why it’s great: Keeps categories neat inside a large cooler (water vs. soda vs. seltzer). -
Battery-powered fairy lights (water-resistant)
Price: $8–$20
Where to buy: Amazon, Target, Michaels
Use: Wrap around the cooler base or nearby table legs for a glow-up. -
Balloon garland kit (DIY)
Price: $12–$35
Where to buy: Amazon, Party City, Etsy (custom colors)
Trend: Organic balloon clusters in theme colors (sage, terracotta, black/gold, disco silver). -
Vinyl decals / removable stickers (custom name or “Cheers!”)
Price: $8–$25
Where to buy: Etsy (custom), Amazon (generic packs), local print shops
Pro tip: Apply to clean, dry surfaces; test removal if renting/borrowing. -
Non-slip mat or small outdoor rug
Price: $10–$35
Where to buy: Target, IKEA, Walmart, Amazon
Why it’s great: Defines the drink station and helps prevent slips from condensation.
Step-by-Step: How to Style a Cooler Like a Pro
1) Pick a “Landing Spot” That Helps the Surprise
Place your cooler station where guests can access it without drifting toward the entry or “reveal” area. Great locations:
- Corner of the patio or backyard
- Side wall of a living room (not blocking traffic)
- Near snacks, but not directly next to the surprise photo backdrop
2) Build a Mini Drink Station Around the Cooler
The secret to making a cooler look intentional is giving it “supporting cast” items:
- One small side table for cups, napkins, straws, bottle opener
- One trash + recycling bin (even a lined laundry basket works)
- One sign (“Drinks,” “Cheers,” or a themed phrase)
3) Layer the Inside for Easy Grabbing
Instead of dumping everything into ice, use a simple layout:
- Bottom layer: ice + less popular drinks (extras)
- Middle layer: best-sellers (water + two main drink types)
- Top layer: “featured” drinks and non-alcoholic options
Practical tip: Pre-chill drinks in a fridge overnight. Your ice lasts longer, and the cooler doesn’t have to do all the work.
4) Add Décor That Survives Condensation
Coolers sweat. Plan decorations accordingly:
- Best materials: vinyl decals, plastic signs, acrylic holders, outdoor-safe ribbon
- Avoid directly on cooler: paper tape, cardstock glued to the lid, cheap adhesive that melts
Decoration Ideas by Surprise Party Theme
Classic Birthday Surprise (Timeless Essentials)
- Black + gold balloon cluster attached to a nearby chair or table (not the cooler lid)
- Mini chalkboard sign: “Grab a drink before we yell SURPRISE!”
- Gold fringe curtain behind the drink station for photos
Disco or “Taylor/Pop Star” Inspired (Trend Alert)
- Silver mylar balloons + a small disco ball near the cooler
- Holographic labels for drinks (“Sparkle Water,” “Disco Cola”)
- Metallic tinsel garland draped around the table (not inside the cooler)
Sports Surprise Party
- Team-color vinyl decals on the cooler
- Numbered label cards (like jersey numbers) for drink types
- Sports-themed napkins + sturdy plastic cups in team colors
Garden Party / Boho Surprise
- Galvanized tub + faux greenery garland around the base
- Neutral palette cups (sand, sage, blush) and wooden stir sticks
- DIY “Drink Menu” printed on kraft paper in a clear frame
Quantity Guidelines: Don’t Run Out (or Overbuy)
Drink Quantities (Easy Breakdown)
For a mixed crowd, a balanced shopping list per 10 guests:
- Water: 15–20 bottles/cans
- Soda: 10–15 cans
- Sparkling water: 10–15 cans
- Juice/mocktail option: 6–10 bottles/cans
- Adult beverages (optional): 20–30 servings total (mix of beer/seltzer/wine)
Cups, Napkins, and Extras
- Cups: 2 per guest (3 if you’re serving cocktails + non-alcoholic)
- Napkins: 3 per guest
- Straws: 1 per guest (plus 20% extra)
- Trash bags: at least 2 (more for outdoor parties)
Budget Ranges for Styling Your Cooler Station
-
Budget-Friendly ($25–$60):
- Inflatable cooler bar or existing cooler
- Label cards + marker
- Simple balloon bundle or paper garland
- DIY drink sign in a frame you already own
-
Mid-Range ($60–$150):
- Galvanized tub + rolling cooler combo (or one upgraded cooler)
- Balloon garland kit
- Acrylic label holders
- Battery fairy lights + small rug
-
Elevated ($150–$350+):
- Premium cooler (YETI/RTIC style)
- Custom vinyl decals + printed bar menu
- Matching drinkware sets + curated “signature drink” moment
DIY Alternatives That Still Look Amazing
- DIY drink labels: Painter’s tape on acrylic holders (not on the cooler) + bold Sharpie
- DIY cooler wrap: Wrap the cooler with a themed plastic tablecover and clip it in place (binder clips work well)
- DIY risers: Flip a sturdy crate upside down and place the tub on top for height
- DIY ice scoop: Use a clean plastic measuring cup with a handle if you don’t have a scoop
Setup Tips for a Smooth Surprise Party Reveal
- Prep the cooler 30–60 minutes before guests arrive: Add a layer of ice and the first wave of drinks.
- Hide backup supplies nearby: Extra ice, extra drinks, towels, and a spare trash bag in a bin or laundry basket.
- Create a “quiet restock plan”: Assign one helper to restock ice so the host isn’t disappearing constantly.
- Keep the lid closed: If your cooler has a lid, encourage guests to close it with a cute sign: “Close me to keep the party cold!”
- Add towels: Place a small stack of bar towels or paper towels near the station for condensation drips.
Common Mistakes to Avoid When Choosing Party Supplies for Coolers
- Picking décor that can’t handle moisture: Paper signs taped to the cooler = peeling mess. Use waterproof labels or place signs on stands.
- Underestimating ice: Warm drinks melt ice fast. Pre-chill whenever possible and buy an extra bag.
- Forgetting non-alcoholic variety: A great surprise party drink station always includes fun NA options (sparkling water flavors, mocktails, lemonade).
- Not planning for trash: A gorgeous cooler station looks bad fast without a nearby trash/recycling setup.
- Using one giant cooler for everything: Consider two zones (NA + alcoholic) to reduce crowding and keep things organized.
- Overcomplicating the theme: One or two themed elements (colors + a sign) looks more polished than ten competing decorations.
FAQ: Styling Coolers for Surprise Parties
How do I keep drinks cold longer in a party cooler?
Pre-chill drinks overnight, use a 2:1 ice-to-drink ratio if possible, keep the cooler in the shade, and minimize lid-opening. Large-format ice (bigger cubes or blocks) melts slower than small cubes.
How many coolers do I need for a surprise party?
For up to 20 guests, one large cooler can work if organized well. For 25–50 guests, plan on two coolers (or a cooler + beverage tub): one for water/NA and one for everything else.
What’s the best way to label drinks in a cooler?
Use waterproof label cards in holders placed on the cooler edge or on a small table. If using bins inside the cooler, label the bins (not the lid) for quick sorting.
Can I decorate a cooler with balloons?
Yes—just avoid attaching balloons to the lid or anywhere they’ll block opening. Anchor a mini balloon garland to a nearby table, weighted stand, or chair next to the cooler for a big visual impact.
What if my party is at a park or outdoor venue with limited setup time?
Go for a rolling hard cooler + a compact “drink station kit”: labels, a marker, bottle opener, trash bags, a small tablecloth, and a pop-up sign. Pre-chill drinks and pack décor that installs in minutes (vinyl decals, pre-made balloon clusters).
Next Steps: Build Your Cooler Station Checklist
To style coolers for surprise parties like a pro, keep it simple and strategic: choose the right cooler size, add labels and a few moisture-proof decorations, set up cups/trash nearby, and stock enough ice and drink variety to keep guests happy.
- Step 1: Estimate guest count + drinks (3–5 per guest)
- Step 2: Pick your cooler plan (one big cooler or two-zone setup)
- Step 3: Grab styling supplies (labels, sign, lights, balloon cluster)
- Step 4: Pre-chill drinks + stage backup ice
Ready to make your surprise party setup look effortless and feel organized? Explore more drink station essentials, party decorations, and event planning ideas on smartpartyprep.com.
More Articles
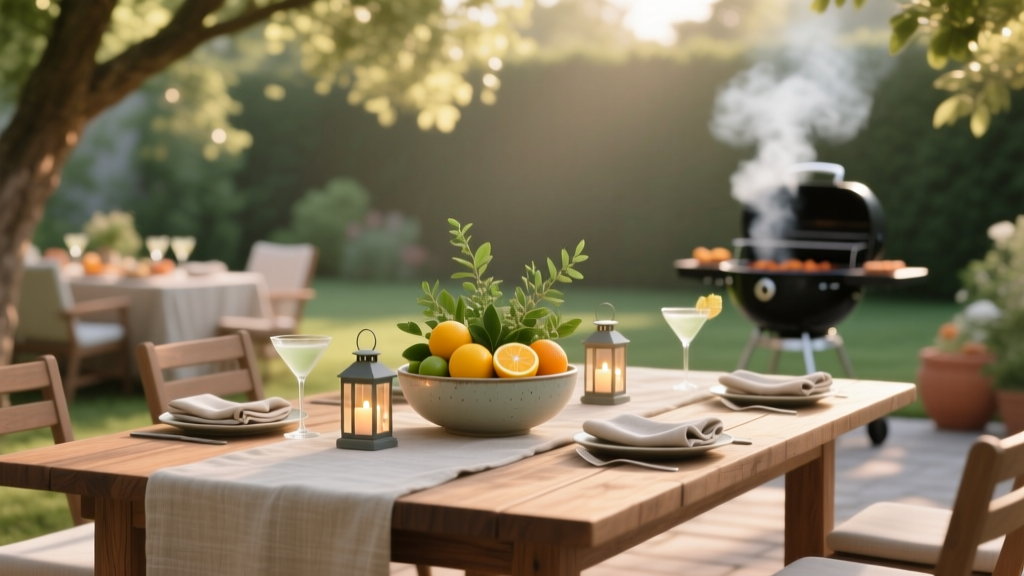 Where to Buy Centerpieces for BBQs
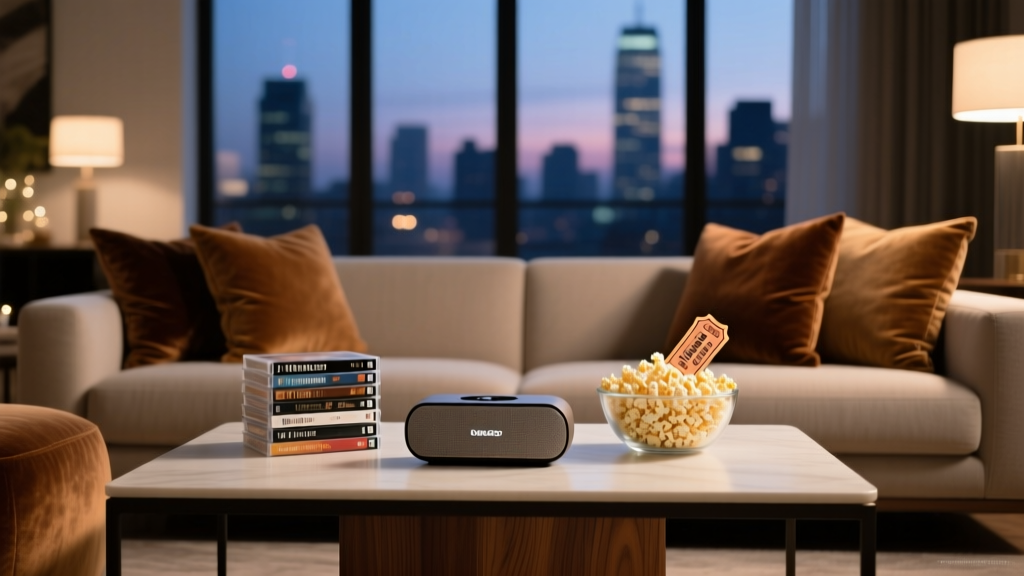 Speakers Checklist for Movie Nights
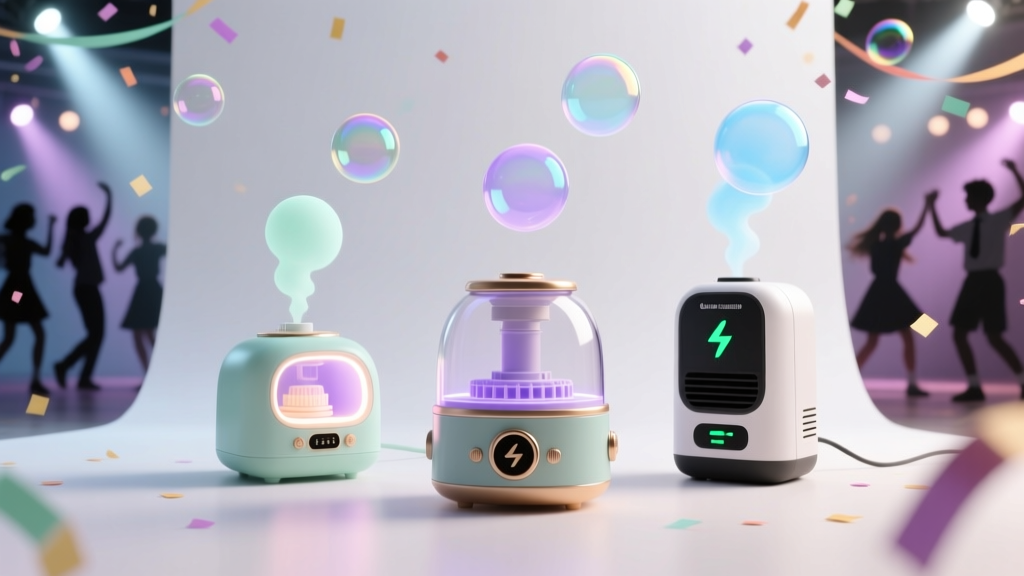 Best Bubble Machines for School Dances
Is Party City Closed Yet? Here’s the Real-Time Answer (Plus Where to Buy Supplies If It Is — No Panic, Just Smart Swaps)
Why Are Party City Stores Closing? The Real Reasons Behind the Closures — From Bankruptcy Fallout to Shifts in Consumer Behavior and What It Means for Your Next Celebration
Best Bubble Machines for School Dances
Is Party City Closed Yet? Here’s the Real-Time Answer (Plus Where to Buy Supplies If It Is — No Panic, Just Smart Swaps)
Why Are Party City Stores Closing? The Real Reasons Behind the Closures — From Bankruptcy Fallout to Shifts in Consumer Behavior and What It Means for Your Next Celebration
 How to Choose LED Lights for Your Fundraisers
Why Is Party City Shutting Down? The Real Reasons Behind the Closures, What It Means for Your Next Event, and Where to Find Reliable Party Supplies Now
How to Choose LED Lights for Your Fundraisers
Why Is Party City Shutting Down? The Real Reasons Behind the Closures, What It Means for Your Next Event, and Where to Find Reliable Party Supplies Now
 Where to Buy Cups for First Birthdays (Cute, Practical, and Spill-Smart Picks)
How Long Do Party City Helium Balloons Last? The Truth About Latex vs. Foil Lifespans, Temperature Tricks, and Why Your Balloons Deflate by Noon (Even When You Follow the Instructions)
What to Bring to Block Party: The Stress-Free, Neighbor-Approved Checklist (No Awkward Empty-Handed Arrivals Ever Again)
Where to Buy Cups for First Birthdays (Cute, Practical, and Spill-Smart Picks)
How Long Do Party City Helium Balloons Last? The Truth About Latex vs. Foil Lifespans, Temperature Tricks, and Why Your Balloons Deflate by Noon (Even When You Follow the Instructions)
What to Bring to Block Party: The Stress-Free, Neighbor-Approved Checklist (No Awkward Empty-Handed Arrivals Ever Again)