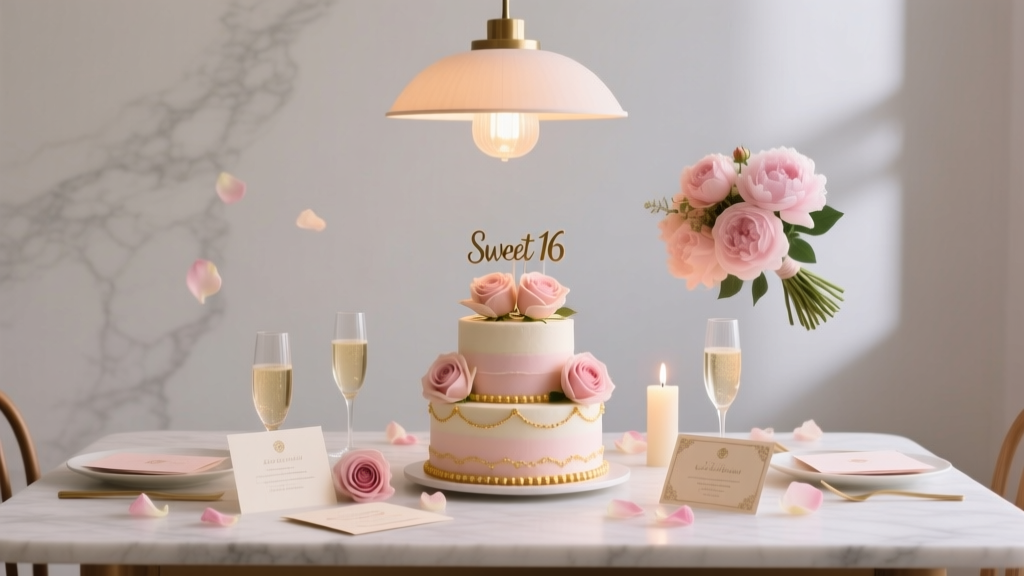
How to Choose Lighting for Your Sweet 16
Your Sweet 16 deserves more than “just enough” light to see the cake. The right lighting sets the vibe the second guests walk in—whether you’re going for glam red-carpet energy, a cozy backyard glow-up, or full-on dance floor mode. It also makes every photo look better (hello, camera roll!) and turns simple party decorations into a “wow” moment without doubling your budget.
Lighting is one of the smartest party supplies to prioritize because it pulls double duty: it’s functional (everyone can move around safely), and it’s decorative (it transforms the room). With a few key choices—string lights, LED uplights, neon signs, or a statement disco ball—you can make your Sweet 16 feel like a true event, not a hangout with snacks.
Below you’ll find practical lighting ideas, quantity guidelines, price ranges, and easy setup tips, plus the most common mistakes to avoid. Whether you’re planning at home, in a banquet hall, or outdoors, you’ll be able to match your lighting to your theme, budget, and venue rules.
Start with Your Sweet 16 “Lighting Plan” (Theme + Venue + Schedule)
1) Match lighting to your party theme
Lighting should support the vibe of your Sweet 16 theme and color palette. Current party trends lean into immersive looks—think LED color washes, neon signs, and photo-ready backdrops—while timeless essentials like warm string lights never go out of style.
- Glam / Hollywood: warm white uplights + spotlight on cake table + “Happy Birthday” neon sign
- Garden / Backyard: café string lights + lanterns + pathway lights
- Disco / Dance: disco ball + moving party lights + LED strips around the dance zone
- Modern minimalist: soft white uplighting + candles (LED) + one statement sign
- Color-pop / Y2K: LED neon rope + color-changing bulbs + themed neon wall art
2) Check venue rules before you buy
Before shopping for party lighting, confirm these details so you don’t end up with supplies you can’t use:
- Power access: How many outlets? Where are they? Are extension cords allowed?
- Hanging restrictions: Can you use hooks, tape, or zip ties? Any “no tape on walls” policies?
- Open flame policy: Many venues ban candles—LED candles are usually fine.
- Outdoor conditions: Wind, humidity, and rain = choose outdoor-rated lights.
- End time: If your event runs into evening, plan layered lighting (ambient + accent + dance).
3) Map your party zones
Sweet 16s usually have a few key areas. Your lighting should guide guests and highlight the moments that matter.
- Entrance: first impression + quick photo spot
- Main hangout area: comfortable brightness for chatting
- Food + dessert tables: brighter, flattering light so everything looks delicious
- Dance floor: dynamic, color-changing effects
- Photo backdrop: even lighting for clean pictures (no harsh shadows)
Types of Sweet 16 Party Lighting (What to Use Where)
Ambient lighting (the overall glow)
This is your base layer. If you only buy one lighting category, make it ambient.
- String lights (café or fairy): perfect for backyards, tents, and ceilings
- Paper lanterns with LED bulbs: soft, cute, and budget-friendly
- Battery-operated fairy lights: great for centerpieces and stair rails
Accent lighting (make the decor look expensive)
Accent lighting highlights your party decorations—balloon garlands, backdrops, dessert stands, and table displays.
- LED uplights: shine onto walls or columns for instant mood
- LED strip lights: outline a backdrop, dessert shelf, or DJ table
- Marquee letters/numbers: big “16” moment and photo magnet
Task lighting (so guests can actually see)
Task lighting prevents awkward moments like guests struggling to serve themselves or read labels.
- Clip-on LED lights: discreet solution for dessert tables
- Brighter bulbs near food/drinks: keep it neutral white for flattering photos
Party/dance lighting (the fun factor)
This is where your Sweet 16 shifts into celebration mode.
- Disco ball + pin spot: timeless and always a hit
- Sound-activated party lights: changing patterns with the music
- Laser projector lights: high energy, best for large rooms (use responsibly)
How Much Lighting Do You Need? Quantity Guidelines
Quick guide by guest count
- 20–40 guests (home party): 1–2 main ambient sources + 1 photo/backdrop light + optional dance light
- 40–80 guests (large home/backyard or small hall): 2–4 ambient runs (string lights or lanterns) + 4–8 uplights + 1–2 dance lights
- 80–150 guests (banquet hall): 8–16 uplights + dedicated photo lighting + DJ or dance package lighting
String light length estimates
- Standard backyard perimeter: 100–200 ft of café lights
- Overhead zig-zag across a 20x20 area: 100–150 ft
- Small indoor ceiling accent: 33–66 ft of fairy lights
Uplight placement rule of thumb
- Place uplights every 6–10 feet along key walls for an even glow.
- For a dramatic look, prioritize: behind the dessert table, behind the backdrop, and at the corners of the room.
Product Recommendations (Price Ranges + Where to Buy)
1) Café string lights (indoor/outdoor)
- Best for: patios, tents, ceilings, backyard Sweet 16 lighting
- What to look for: shatterproof bulbs, outdoor rating, connectable strands
- Price range: $25–$80 per 48–100 ft strand
- Where to buy: Amazon, Target, Home Depot, Walmart
2) Fairy lights (battery or plug-in)
- Best for: balloon garlands, centerpieces, railing wraps, backdrop sparkle
- What to look for: warm white or color options, timer mode, thin wire for hiding
- Price range: $8–$25 per 33–66 ft set
- Where to buy: Amazon, Michaels, Joann, Walmart
3) LED uplights (RGB color-changing)
- Best for: transforming a plain venue, matching theme colors, photo-ready walls
- What to look for: remote control, rechargeable battery, adjustable brightness, multiple color presets
- Price range: $20–$60 each (or $120–$350 for sets of 6–8)
- Where to buy: Amazon, Guitar Center (DJ lighting), local party rental shops (often $10–$25 each to rent)
4) Neon LED sign (or faux neon)
- Best for: photo backdrop, dessert table focal point, trendy statement decor
- What to look for: USB power, mounting kit, dimmer
- Price range: $25–$120 for pre-made signs; $150–$400 for custom
- Where to buy: Etsy (custom), Amazon (pre-made), Urban Outfitters/Home décor stores (varies)
5) Disco ball + pin spot light
- Best for: dance floor, party photos, a classic Sweet 16 moment
- What to look for: motor for rotation, appropriate ball size (8–12 inches for most home spaces)
- Price range: $20–$60 for disco ball + $25–$70 for pin spot
- Where to buy: Amazon, Party City, Guitar Center, local DJ shops
6) Photo lighting (ring light or softbox)
- Best for: keeping selfies flattering, making a DIY photo booth look professional
- What to look for: adjustable color temperature, tripod stand, dimming
- Price range: $25–$120
- Where to buy: Amazon, Best Buy, Target
Budget Ranges (What You Can Achieve at Each Level)
- $50–$150 (Budget-friendly glow-up): fairy lights + 1 neon-style sign or 1 party projector light + LED candles
- $150–$350 (Noticeable venue transformation): café lights or multiple fairy sets + 4–8 uplights + backdrop lighting
- $350–$800 (Big “event” energy): 10–16 uplights + dedicated photo lighting + disco ball + upgraded dance lights (or DJ add-on)
Setup Tips and Decoration Ideas Using Lighting
Make your photo backdrop “camera-ready”
- Light from the front: Use a ring light or softbox facing the backdrop to avoid shadows.
- Add sparkle behind: Hang a curtain of fairy lights behind a sheer fabric panel for instant glam.
- Frame the moment: Outline the backdrop with LED strip lights (hidden behind a frame or balloon garland).
Level up balloon garlands and arches
- Weave battery fairy lights through the balloons (choose thin wire). Keep battery packs hidden behind the display.
- Use uplights at the base pointing upward for a dramatic color wash.
- Keep the light color aligned with the theme: warm white for elegant, pink/purple for trendy, blue for cool modern.
Create a “sweet 16 spotlight” moment
Make the birthday star feel like a celebrity:
- Place a soft spotlight or brighter uplight on the cake/dessert table.
- Add a neon sign above: “Sweet 16,” name, or “Let’s Party.”
- Use LED candles and mirrored trays to reflect light and add sparkle.
Outdoor lighting that feels magical (and practical)
- Perimeter café lights: define the party space and keep it bright enough for safety.
- Pathway lights: solar stakes or LED lanterns guide guests to the entrance and bathrooms.
- Bug-friendly tip: warm lights attract fewer bugs than bright cool-white lights in many areas.
Extension cord and cable management (make it look clean)
- Use gaffer tape (preferred) or cord covers to secure cables on floors.
- Run cords along walls and behind tables whenever possible.
- Label plugs: “DJ,” “photo booth,” “uplights” so teardown is easy.
DIY Alternatives (Big Look, Smaller Spend)
- DIY marquee “16”: Foam board + string lights (poke holes, thread lights through). Budget: $15–$35.
- Glow centerpieces: Clear vases + fairy lights + faux flowers or pearls. Budget: $10–$25 each depending on vase.
- Ceiling canopy effect: Removable hooks + fishing line + curtain fairy lights. Budget: $30–$90.
- DIY neon wall: LED neon rope shaped into a heart or “16” and mounted to clear acrylic. Budget: $20–$60.
Common Mistakes to Avoid When Choosing Sweet 16 Lighting
- Buying only “party lights” and forgetting ambient light: Dance effects are fun, but you still need a comfortable base glow.
- Ignoring color temperature: Mixing super-cool white with warm candlelight can look messy in photos. Pick a main tone (warm white is the safest) and use colors intentionally.
- Not testing brightness at night: Test your setup after sunset or with the room darkened. What looks bright at noon may disappear at 8 PM.
- Overloading outlets: Too many plug-in strands on one outlet can trip breakers. Use a surge protector and spread loads across circuits.
- Forgetting the photo zone: A beautiful backdrop without front lighting = shadowy faces. Add a ring light or softbox.
- Using weak tape or damaging walls: Use removable hooks, clear clips, or venue-approved methods. Bring backups.
Sweet 16 Lighting Checklist (Quick Shopping List)
- Ambient: 1–3 strands café lights or 2–6 fairy light sets
- Accent: 4–12 LED uplights (depending on room size)
- Photo: ring light/softbox + optional fairy light curtain
- Party: disco ball or sound-activated party light
- Accessories: extension cords, surge protectors, gaffer tape, removable hooks/clips, extra batteries
FAQ: Sweet 16 Lighting Questions
What color lighting looks best for Sweet 16 photos?
Warm white is the most universally flattering for skin tones and desserts. For themed moments, add pops of color (pink, purple, or blue) using uplights, but keep at least one photo area lit with neutral/warm front light.
Should I rent or buy uplights for a Sweet 16?
If you’re planning one event and want zero storage, renting can be cost-effective (often $10–$25 per uplight). If your family hosts parties often, buying a set of 6–8 may pay off quickly—especially with rechargeable LED uplights.
How do I light a backyard Sweet 16 without it looking dim?
Use layers: café lights overhead (100–200 ft for most yards), plus 2–4 brighter sources near food and seating (lanterns, flood-style LED, or strong string runs). Add pathway lighting for safety.
What’s the easiest DIY photo booth lighting setup?
A ring light on a tripod aimed at the backdrop is the simplest win. Pair it with a fairy light curtain behind the backdrop for sparkle, and keep the ring light brightness adjustable so faces aren’t overexposed.
Are battery lights strong enough for a whole party?
Battery fairy lights are fantastic for accents and centerpieces, but for full-room lighting, you’ll usually want at least some plug-in options (café lights, uplights, or brighter LED fixtures). A mix gives you flexibility and keeps the look consistent.
How far in advance should I test my lighting?
Test at least 2–3 days before the event so you have time to exchange items, buy extra extension cords, or adjust your layout. Do a quick re-test on party day before guests arrive.
Your Next Steps: Choose, Test, Celebrate
Pick your Sweet 16 lighting the same way pros do: start with your vibe, build a solid ambient glow, add accent lighting to highlight decorations, and finish with a fun dance-floor feature. Once your supplies arrive, do a quick night-time test run, lock down cord management, and you’ll be set for a celebration that looks amazing in person and on camera.
Want more party planning ideas, party decorations, and event supply picks? Explore more Sweet 16 inspiration and must-have party supplies at smartpartyprep.com.
More Articles
 When Does Party City Officially Close? Here’s the Real Answer (Plus Store Hours, Holiday Closures, and How to Avoid Showing Up to Locked Doors)
 Affordable Photo Booth Props for Valentine’s Day
Do Bloody Party Streamers Stack? The Truth About Layering, Stability & Safety—Plus 5 Pro Tips to Avoid Tangled Chaos at Your Next Event
Affordable Photo Booth Props for Valentine’s Day
Do Bloody Party Streamers Stack? The Truth About Layering, Stability & Safety—Plus 5 Pro Tips to Avoid Tangled Chaos at Your Next Event
 Is Party City Closed? Here’s How to Instantly Check Store Status, Find Open Locations Near You, and Get Same-Day Alternatives If It Is — No More Wasted Trips or Last-Minute Panic
What Is Party Cut Little Caesars? The Truth Behind the Crispy, Shareable Square Slices Everyone’s Ordering for Game Day, Office Lunches, and Last-Minute Parties (No More Awkward Pizza Sharing!)
Is Party City Closed? Here’s How to Instantly Check Store Status, Find Open Locations Near You, and Get Same-Day Alternatives If It Is — No More Wasted Trips or Last-Minute Panic
What Is Party Cut Little Caesars? The Truth Behind the Crispy, Shareable Square Slices Everyone’s Ordering for Game Day, Office Lunches, and Last-Minute Parties (No More Awkward Pizza Sharing!)
 Unique Signs Ideas for Bat Mitzvahs
Where Can I Rent Party Chairs? 7 Reliable Options (With Real Pricing, Delivery Maps & Hidden Fee Warnings You’ll Wish You Knew Sooner)
Where to Buy Party Clothes That Actually Fit, Flatter, and Won’t Fade After One Night: 7 Trusted Sources (Including Budget, Plus-Size & Sustainable Options)
Unique Signs Ideas for Bat Mitzvahs
Where Can I Rent Party Chairs? 7 Reliable Options (With Real Pricing, Delivery Maps & Hidden Fee Warnings You’ll Wish You Knew Sooner)
Where to Buy Party Clothes That Actually Fit, Flatter, and Won’t Fade After One Night: 7 Trusted Sources (Including Budget, Plus-Size & Sustainable Options)
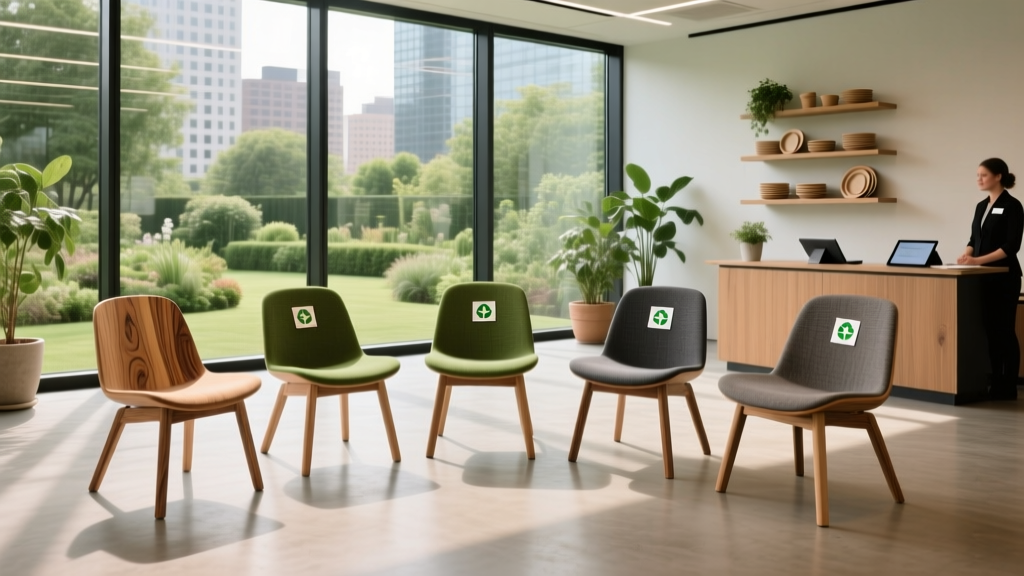 Eco-Friendly Chairs for Corporate Events