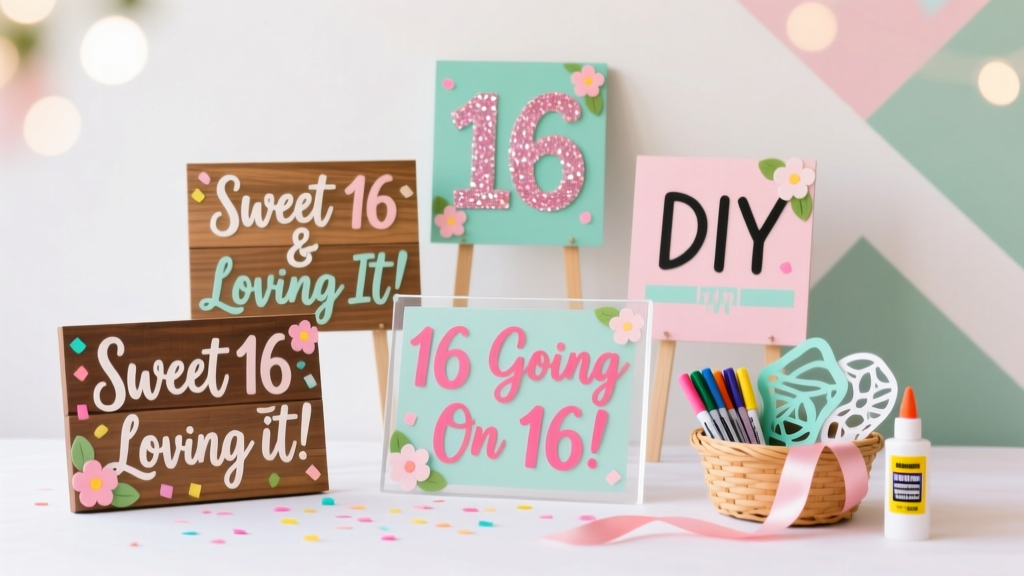
DIY Signs for Sweet 16: Fun, Photo-Ready Party Sign Ideas + Supply Shopping List
A Sweet 16 is the perfect mix of “all grown up” and “still want it to be fun,” and nothing ties those vibes together like great signage. DIY signs do more than look cute—they guide guests, spotlight special moments (hello, cake table!), and make your photos feel styled instead of accidental. If you’ve ever been to a party where everyone wandered around asking, “Where do we put gifts?” or “Where’s the photo booth?” you already know why signs matter.
The best part: Sweet 16 DIY signs can look totally luxe without blowing your budget. With the right party supplies—poster boards, acrylic blanks, vinyl letters, balloon accents, and a few dependable tools—you can create a cohesive “party brand” from the driveway to the dance floor. Below you’ll find trending Sweet 16 sign ideas, what to buy (with price ranges and where to find it), quantity guidelines, setup tips, and easy DIY alternatives for every style—from glam to minimal to full-on TikTok-worthy.
Plan Your Sweet 16 Sign “Set” First (Theme, Colors, and Tone)
Before you buy supplies, decide what your signage should feel like. Most Sweet 16 parties look best when signs match the invitations, balloons, and tableware. This also keeps DIY simple because you’ll reuse the same fonts, colors, and materials.
Popular Sweet 16 Sign Styles (Current Trends + Timeless Favorites)
- Coquette / Bow Trend: blush pink, ivory, satin ribbons, bow graphics, delicate script fonts.
- Disco + Metallics: silver mirror cardstock, holographic vinyl, disco ball accents, bold sans-serif fonts.
- Old Money / Minimal Chic: white + black + gold, crisp typography, acrylic signs, simple frames.
- Garden Party: floral borders, soft pastels, watercolor backdrops, pressed-flower accents.
- Neon Night: black foam board, neon paint markers, LED lighting, glow tape details.
- Timeless Glam: gold + white, marble patterns, elegant script + clean block font pairing.
How Many Signs Do You Actually Need?
Use this simple guideline based on guest count and venue size:
- Small (20–35 guests): 6–10 signs
- Medium (36–75 guests): 10–16 signs
- Large (76–150 guests): 16–25 signs
Must-have signs for almost every Sweet 16:
- Welcome sign
- Directional sign(s) (gifts, cards, restrooms, photo booth)
- Food/candy bar labels
- Signature drink sign (even if it’s a mocktail!)
- Photo booth instructions or hashtag sign
- Seating/table numbers (if assigned seating)
DIY Sweet 16 Sign Ideas (With Materials and Where They Look Best)
1) The Statement Welcome Sign
Your welcome sign is the “thumbnail” of the whole party—guests see it first, and it often ends up in the background of photos.
- DIY Option A: Foam Board + Vinyl Letters (clean and modern)
- DIY Option B: Acrylic Sheet + White Paint Pen (high-end look)
- DIY Option C: Poster in a Frame (fastest and most reusable)
Placement tip: Put it near the entry with a balloon garland or floral cluster so it reads as intentional décor, not a lonely sign.
2) “Cards & Gifts” Sign + Gift Table Styling
Make the gift table obvious and cute so guests aren’t awkwardly carrying bags around.
- Use a 5x7 or 8x10 sign in a frame on the table
- Add a card box (locked or slot style) beside it
- Include a small note like: “Thank you for celebrating!”
DIY alternative: Print at home on cardstock and pop into a thrifted frame—instant polish.
3) Photo Booth Instructions + Hashtag Sign
Photo areas work better when guests know what to do. Signs keep the line moving and encourage sharing.
- “Snap a pic!” / “Tag us!” / “Use the hashtag: #AvasSweet16”
- “Props this way” with an arrow
- “Phone stand + remote available” if you’re doing DIY selfies
Trend tip: Add a QR code that links to a shared photo album (Google Photos/Apple Shared Album). Guests scan, upload, done.
4) Dessert Table Labels + Candy Bar Signs
Labels make your dessert table look like a professional setup—even if you grabbed cookies from a bakery and cupcakes from the grocery store.
- Use mini tent cards for cupcake flavors
- Use a “Sweet Treats” header sign (8x10 or 11x14)
- Add allergy-friendly notes: “Contains nuts” or “Gluten-free”
5) Seating Signs and Table Numbers (If You’re Doing a Sit-Down)
If there’s a meal with seating, signs keep things smooth and prevent the “where do we sit?” shuffle.
- Table numbers: 1 per table + 1–2 extras
- Reserved signs: for immediate family, VIP friends, or the birthday girl’s table
6) “Schedule” Sign (Underrated and So Helpful)
This is a favorite for Sweet 16s with activities: candle lighting, speeches, choreographed dances, or a surprise moment.
Example:
- 6:00 – Doors open + photos
- 6:30 – Dinner
- 7:15 – Cake + candles
- 7:45 – Dancing
Supply Shopping List: Best Materials for DIY Sweet 16 Signs
Base Materials (Choose 1–2 for a cohesive look)
- Foam board (20x30): $3–$8 each at Walmart, Target, Michaels
- Poster board: $1–$3 each at Walmart, Dollar Tree, Target
- Trifold presentation board: $5–$12 at Walmart, Amazon
- Acrylic sheets (12x18 or 18x24): $12–$40 at Amazon, Home Depot, Michaels
- Chalkboard sign (countertop or easel): $10–$35 at Target, Amazon, HomeGoods
- Wood sign blanks: $8–$25 at Michaels, Hobby Lobby, Amazon
Lettering + Design Tools
- Printable cardstock (white or colored): $7–$15 per pack at Amazon, Staples, Office Depot
- Vinyl letter stickers: $6–$15 per set at Amazon, Michaels
- Paint pens (white, gold, metallic): $8–$20 set at Michaels, Amazon
- Permanent markers (black + metallic): $5–$12 at Target, Amazon
- Alphabet stencils: $5–$15 at Michaels, Amazon
- Optional upgrade: Cricut/letter cutting (great if you already own one)
Stands, Frames, and Hanging Hardware
- Sign easel stands (tabletop): $8–$20 for a 2–6 pack at Amazon, Michaels
- Floor easel: $18–$45 at Amazon, Michaels
- Frames (8x10, 11x14): $8–$25 at Target, Ikea, Amazon
- Command strips/hooks: $6–$15 at Target, Walmart, Amazon
- Double-sided tape: $4–$10 at Amazon, Staples
Decor Add-Ons That Make DIY Signs Look “Event-Level”
- Balloon garland kit: $10–$30 at Amazon, Party City
- Ribbon (satin or velvet): $4–$12 at Michaels, Joann
- Artificial florals/greenery: $10–$35 at Michaels, Amazon, Hobby Lobby
- LED fairy lights: $8–$18 at Amazon, Target
- Mirror cardstock or metallic paper: $6–$15 at Amazon, Michaels
Budget Ranges (Realistic Planning Numbers)
- Budget DIY (6–10 signs): $25–$60 (poster board + markers + a few frames)
- Mid-range (10–16 signs): $60–$140 (foam board + vinyl letters + easels + balloon accents)
- Glam upgrade (10–20 signs): $140–$300 (acrylic + paint pens + floor easel + custom prints + floral accents)
Easy Setup Tips: Make Your Signs Look Straight, Polished, and Photo-Ready
Step-by-Step: The Clean DIY Sign Process
- Measure your space: Decide which signs must be readable from 6–10 feet away (welcome, directions) vs. 1–2 feet away (food labels).
- Pick 2 fonts max: One script + one clean sans-serif is a classic Sweet 16 combo.
- Test layout on paper: Tape a printed draft to the board before committing.
- Center like a pro: Lightly mark the vertical center line on the back of the board.
- Use consistent margins: Leave at least 1.5–2 inches around edges for a finished look.
- Seal or protect (optional): If outdoors, use clear sheet protectors, laminate small signs, or place framed prints under glass.
Size Guidelines for Readability
- Welcome sign: 18x24 or 24x36 is ideal for entrances
- Directional signs: 11x14 or 12x18
- Table signs: 5x7 or 8x10
- Food labels: 3x4 to 4x6 tent cards
Decoration Ideas Using Your Signs
- Balloon moment: Place the welcome sign on a floor easel and “hug” it with a balloon garland from one side.
- Floral corner: Add a small cluster of faux flowers to the top left and bottom right corners for balance.
- Neon night: Use black foam board + neon paint pens and frame with LED fairy lights.
- Disco glam: Add mini disco balls around the sign stand and use silver mirror vinyl lettering.
- Memory lane: Pair signs with printed photos: “A few favorites through the years” beside a photo wall.
Common Mistakes to Avoid When Choosing Sweet 16 Party Supplies for Signs
- Too-small text: If guests can’t read it quickly, they’ll ignore it. Size up your lettering for key signs.
- Too many colors and fonts: A rainbow of styles can look chaotic fast. Stick to 2–3 colors and 2 fonts.
- Forgetting stands and tape: The sign isn’t helpful if it can’t stand up. Add easels, frames, or Command strips to your list.
- Skipping a waterproof plan outdoors: Wind + sun + humidity can wreck ink and foam board. Use frames, acrylic, or protective sleeves.
- Not making a “sign map”: Plan locations: entrance, gift table, food area, restrooms, photo booth, seating.
- Last-minute printing without backup: Always print one extra of the most important sign (welcome or schedule) in case of smudges or typos.
DIY Alternatives That Save Time (and Still Look Custom)
- Printable templates: Buy or design a set once, then print everything (welcome, bar sign, labels) in matching style.
- Frame it strategy: Instead of crafting every sign, print on cardstock and use matching frames for a cohesive look.
- Chalk marker boards: Reusable and fast—great for last-minute changes like “Mocktail of the Night.”
- Letter sticker packs: No special machine needed; just measure and stick.
FAQ: DIY Signs for Sweet 16
What are the must-have signs for a Sweet 16 party?
A welcome sign, cards & gifts sign, photo booth instructions/hashtag sign, dessert table labels, and at least one directional sign (restrooms/food/photo area). Add a schedule sign if you have planned moments.
Should I use foam board or acrylic for my Sweet 16 welcome sign?
Foam board is budget-friendly and easy to work with. Acrylic looks more high-end and photographs beautifully, especially with white or metallic paint pens. If the party is outdoors or you want a keepsake, acrylic is worth the upgrade.
How far in advance should I make the signs?
Plan designs 2–3 weeks out, buy supplies 10–14 days out, and assemble 3–7 days before the party. Leave final details (like timing) until you confirm your schedule.
How do I keep signs from falling over or looking flimsy?
Use the right stand: tabletop easels for small signs, a sturdy floor easel for large boards, or frame prints for instant structure. For foam board, mounting it onto a second board or using a backing easel also helps.
What’s a good budget for Sweet 16 party signage?
Most hosts spend $25–$60 for basic DIY signage, $60–$140 for a coordinated set with stands and vinyl, and $140–$300 for acrylic pieces and upgraded décor add-ons like florals and balloon garlands.
Can I make Sweet 16 signs without a Cricut?
Absolutely. Use paint pens, alphabet stencils, printable designs, or vinyl letter stickers. A well-spaced layout and consistent colors will make it look professional.
Your Next Steps: A Quick Sweet 16 Sign Checklist
- Pick your color palette (2–3 colors) and two fonts.
- List your sign locations: entrance, gift table, photo booth, food/dessert, seating, restrooms.
- Choose materials: foam board + frames (easy) or acrylic + paint pens (glam).
- Shop supplies: boards, pens/vinyl, stands, tape/Command strips, plus 1–2 décor add-ons.
- Assemble early and pack signs by zone so setup is fast on party day.
Ready to keep the celebration cohesive from the first hello to the last dance? Explore more party supplies, Sweet 16 decorations, and DIY planning ideas at smartpartyprep.com—your go-to spot for party-ready inspiration and practical shopping lists.
More Articles
 Where to Buy Masks for New Year’s Eve
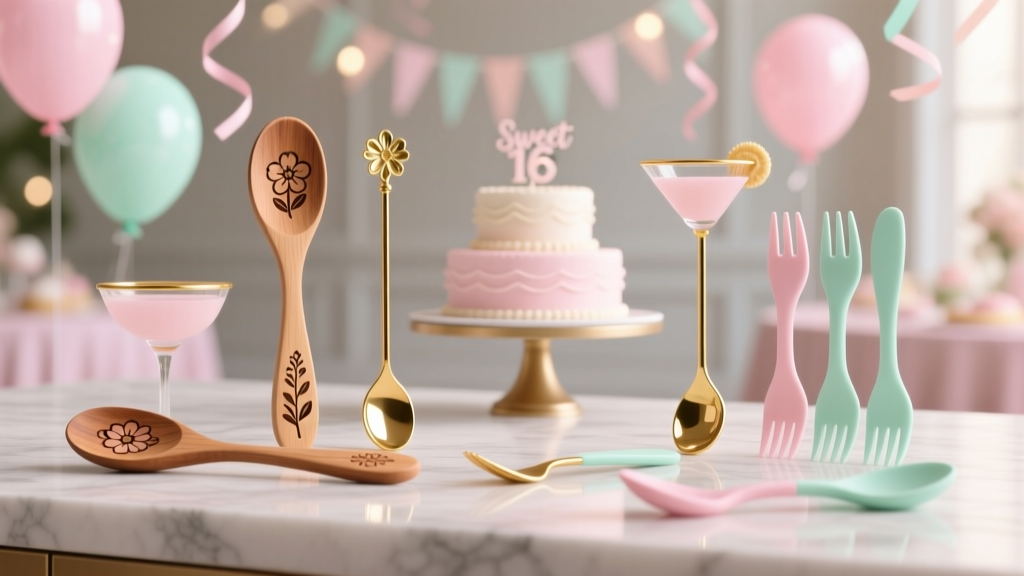 Unique Utensils Ideas for Sweet 16
What Is Little Caesars Party Cut? The Truth Behind the 24-Slice Pizza That’s Taking Over Backyard BBQs, Office Potlucks, and Teen Birthday Parties (And Why It Beats Traditional Slices Every Time)
Where to Order Party Trays in 2024: 7 Reliable Options That Deliver Fresh, Crowd-Pleasing Food—Without Last-Minute Panic or Hidden Fees
What Are Two Party Checks? The Hidden Pitfall That’s Costing Event Planners 17% in Processing Fees (And How to Fix It in 90 Seconds)
What Is a Party Popper? (Spoiler: It’s Not Just Confetti — Here’s How to Choose, Use & Avoid the 3 Most Common Safety & Cleanup Disasters)
Is JBL Party Box Waterproof? The Truth About Rain, Pools, and Beach Parties — Plus Which Models Actually Survive Splashes (Spoiler: Most Don’t)
Can You Air Fry Totino’s Party Pizza? Yes — But Doing It Wrong Wastes Time, Crisps Poorly, and Risks Burnt Cheese: Here’s the Exact 6-Minute Method That Delivers Golden Crust + Gooey Center Every Time
Unique Utensils Ideas for Sweet 16
What Is Little Caesars Party Cut? The Truth Behind the 24-Slice Pizza That’s Taking Over Backyard BBQs, Office Potlucks, and Teen Birthday Parties (And Why It Beats Traditional Slices Every Time)
Where to Order Party Trays in 2024: 7 Reliable Options That Deliver Fresh, Crowd-Pleasing Food—Without Last-Minute Panic or Hidden Fees
What Are Two Party Checks? The Hidden Pitfall That’s Costing Event Planners 17% in Processing Fees (And How to Fix It in 90 Seconds)
What Is a Party Popper? (Spoiler: It’s Not Just Confetti — Here’s How to Choose, Use & Avoid the 3 Most Common Safety & Cleanup Disasters)
Is JBL Party Box Waterproof? The Truth About Rain, Pools, and Beach Parties — Plus Which Models Actually Survive Splashes (Spoiler: Most Don’t)
Can You Air Fry Totino’s Party Pizza? Yes — But Doing It Wrong Wastes Time, Crisps Poorly, and Risks Burnt Cheese: Here’s the Exact 6-Minute Method That Delivers Golden Crust + Gooey Center Every Time
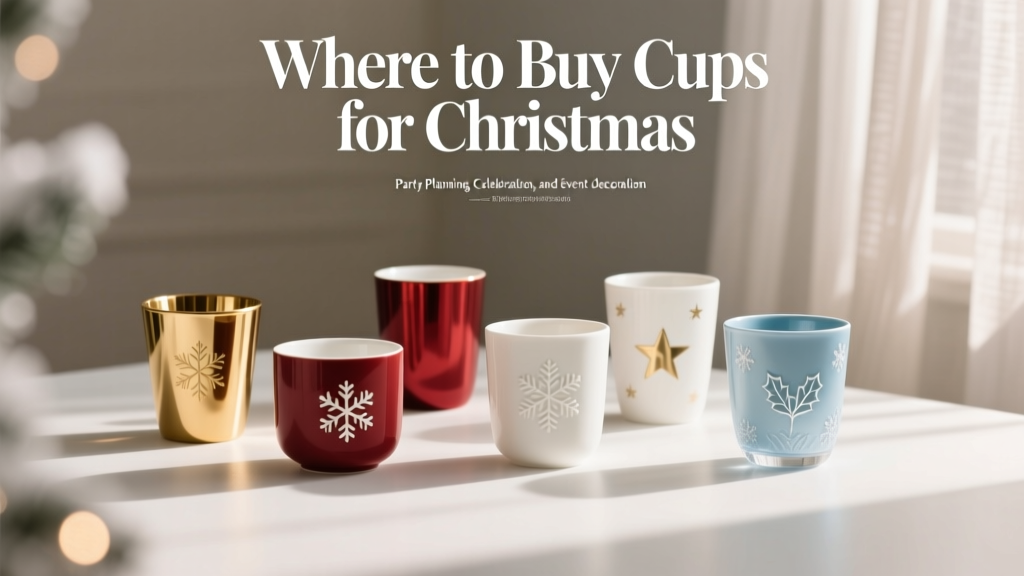 Where to Buy Cups for Christmas
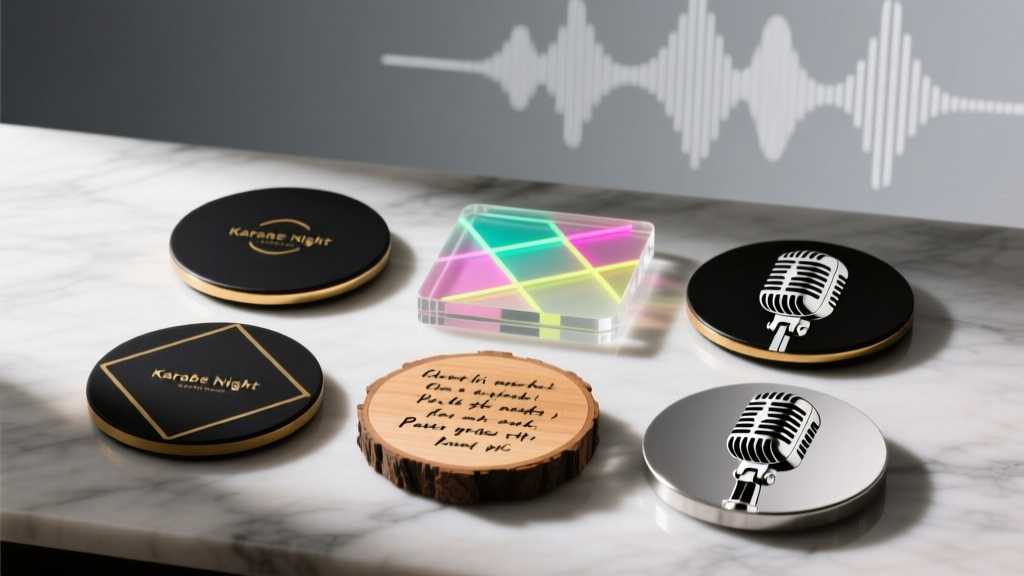 Must-Have Coasters for Karaoke Nights