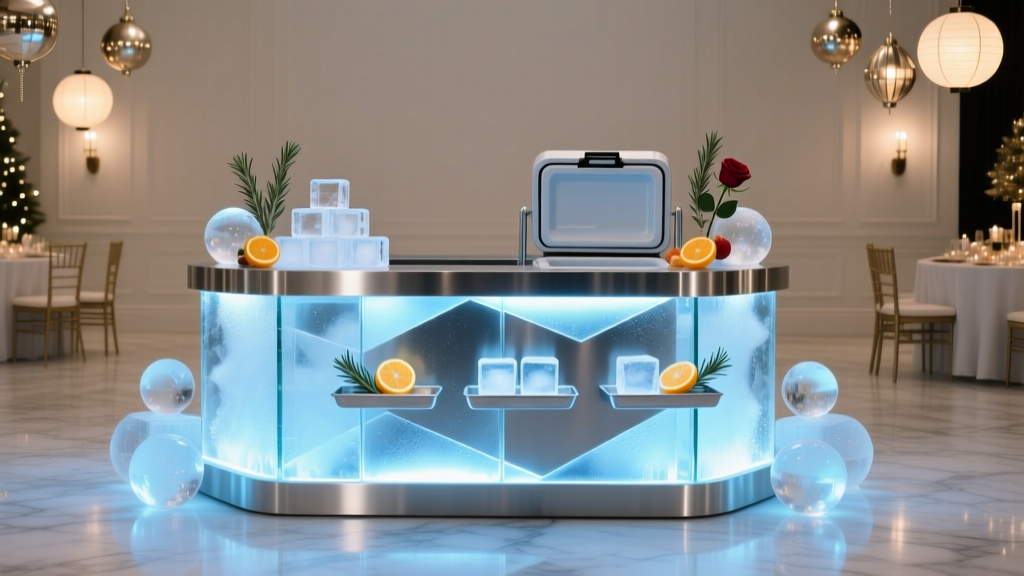
DIY Coolers for New Year’s Eve: Party-Ready Ice Stations That Look Amazing
New Year’s Eve parties have a special kind of pressure: everyone wants the drinks cold, the space photo-worthy, and the host to actually enjoy the countdown instead of running to the fridge every five minutes. That’s where DIY coolers come in. A great cooler setup is more than “a place to put ice”—it’s a functional party supply that keeps traffic flowing, prevents kitchen bottlenecks, and doubles as décor.
Whether you’re hosting a glam champagne toast, a cozy house party, or a backyard fireworks hang, you can build a cooler station that matches your theme (black-and-gold, silver disco, winter wonderland) while keeping beverages organized and easy to grab. The best part? Most DIY options use affordable supplies you can find at Target, Walmart, Home Depot, Amazon, or your local party supply store—and you can customize them with New Year’s Eve decorations, LED lights, and signage for a high-end look.
Below are the smartest, most stylish DIY cooler ideas, plus quantity guidelines, budget ranges, product recommendations, setup tips, and common mistakes to avoid so your New Year’s Eve party feels effortless from first pour to midnight cheers.
Plan Your New Year’s Eve Cooler Strategy First (It Saves You Money)
Before you buy ice or party supplies, decide how your cooler station will work. A little planning prevents overbuying, warm drinks, and messy puddles.
Quick checklist
- Guest count: How many people are you serving?
- Beverage mix: Beer/seltzer, wine, champagne, soda, water, mocktails?
- Location: Indoors, outdoors, garage, balcony, patio?
- Theme: Black & gold glam, disco ball, winter lodge, all-white, “midnight in Paris”?
- Flow: One main cooler station or two mini stations to reduce crowding?
Quantity guidelines (easy party math)
- Ice: 1–1.5 lbs per guest for a 4–6 hour party (closer to 1.5 lbs if outdoors or you’re chilling bottles in ice).
- Water: 1 bottle/can per guest, minimum (New Year’s Eve parties run late).
- Champagne/sparkling: 1 bottle per 6–8 guests for a toast (or 1 per 4–6 if you’re serving it throughout the night).
- Beer/seltzer: 2–3 drinks per guest if it’s the main option; more if your crowd is big on canned cocktails.
Budget ranges for DIY cooler setups
- Budget: $25–$60 (bins, bags of ice, basic tongs, sharpie labels)
- Mid-range: $60–$140 (nicer beverage tubs, LED lights, signage, insulated liner)
- Wow-factor: $140–$300+ (rolling cooler cart, premium acrylic tubs, battery-powered uplighting)
DIY Cooler Ideas That Double as New Year’s Eve Decorations
1) The Glam Beverage Tub Bar (Fast, Stylish, Crowd-Proof)
This is the classic party cooler upgrade: a large tub or two on a table, filled with ice and sorted drinks. It looks instantly festive with metallic accents and takes under 10 minutes to assemble.
Best for: Apartments, indoor parties, and hosts who want an elegant drink station
Supplies to buy:
- Galvanized beverage tub (12–20 qt) or acrylic beverage tub (for a modern look)
- Ice scoop or stainless ice tongs
- Label tags or small tent cards for “Beer,” “Seltzer,” “NA,” “Champagne”
- Waterproof table cover + decorative runner (sequins or metallic)
- Bar mat or tray under the tub to catch drips
How to set it up:
- Cover the table with a plastic tablecloth (easy cleanup), then layer a black or gold runner.
- Place two tubs: one for alcoholic drinks, one for non-alcoholic (or split by “cans” and “bottles”).
- Fill tub 1/3 with ice, add drinks, then top with more ice for maximum chill.
- Keep extra ice in a small cooler or ice bucket nearby.
Product recommendations (price range + where to buy):
- Galvanized beverage tub: $15–$35 at Target, Walmart, Amazon, or home improvement stores
- Clear acrylic beverage tub: $20–$50 at Amazon, Target, or party supply retailers
- Stainless ice scoop/tongs: $6–$15 at Amazon, Walmart, restaurant supply stores
- Metallic/sequin table runner: $10–$25 at Amazon, Target, or craft stores
2) The Rolling Cooler Cart (High-Function, Great for Bigger Groups)
If you want a “host-level” setup, a rolling cooler cart keeps everything in one place and moves wherever the party goes—living room, patio, garage hangout. Many models include a drain plug (huge win for cleanup).
Best for: Larger house parties, indoor/outdoor flow, hosts who want fewer refills
What to look for:
- Drain plug (non-negotiable for easy meltwater removal)
- Lid or cover to slow ice melt
- Wheels that can handle patios/thresholds
- Capacity: Aim for 50–80 cans for 15–30 guests
Product recommendations:
- Rolling cooler cart (metal, patio style): $90–$220 at Amazon, Home Depot, Lowe’s, Walmart
- Battery-powered LED puck lights (water-resistant): $12–$25 at Amazon or hardware stores
Decoration idea: Stick LED puck lights under the lid or along the inside rim for a subtle glow—especially fun for a disco ball New Year’s Eve theme. Add a small sign that says “Cheers” or “Midnight Fuel.”
3) The “Champagne & Sparkle” Ice Bucket Tower (A Photo-Op Station)
New Year’s Eve is made for sparkling wine. Create a dedicated champagne cooler station that feels like a lounge—guests know exactly where to go for the toast.
Best for: Glam parties, cocktail attire events, and anyone who loves a statement moment
DIY build:
- Use a small side table or bar cart.
- Place a champagne bucket or clear acrylic tub on top.
- Fill with ice + 2–4 bottles of bubbly.
- Add champagne flutes (plastic is totally fine) and metallic cocktail napkins.
Product recommendations:
- Stainless champagne bucket: $20–$60 at Amazon, Target, restaurant supply stores
- Disposable champagne flutes (12–48 pack): $10–$30 at Amazon, Walmart, party stores
- Gold/silver foil napkins: $5–$12 at Target, Amazon, party supply stores
4) The DIY Insulated Beverage Bin (Budget-Friendly, Surprisingly Effective)
Want cold drinks without buying a new cooler? Turn any sturdy bin into an insulated ice chest using a few smart layers.
Best for: Budget hosts, last-minute planners, small gatherings
DIY method:
- Start with a plastic storage tote (clean, sturdy).
- Line it with a heavy-duty trash bag or clear contractor bag.
- Add a layer of reflective windshield sunshade or bubble insulation around the inside walls (optional but helps).
- Add ice + drinks, then fold excess bag over the top to reduce melt.
Where to buy supplies:
- Plastic storage tote: $8–$20 at Walmart, Target, Home Depot
- Contractor trash bags: $10–$20 at hardware stores, Amazon
- Windshield sunshade: $8–$15 at auto stores or Amazon
5) The Outdoor Snow Cooler (If You’ve Got Winter Weather)
If your New Year’s Eve includes snow, lean into the season. Snow can act as a natural chilling station for canned drinks—just do it safely and neatly.
- Use a large plastic tub or clean storage bin outdoors.
- Layer snow + drinks, then top with more snow.
- Keep an indoor bin for empties so guests aren’t trekking outside every time.
Tip: Avoid placing glass bottles directly in snowbanks where they can get lost or break. Use tubs and keep it contained.
Smart Supply List: Party Cooler Essentials You’ll Actually Use
These are the “host survival” supplies that make DIY coolers work smoothly (and keep your party space clean).
- Ice scoop or tongs (more hygienic than hands)
- Drain tray or bar mat under tubs
- Waterproof labels or tags (especially for mixed seltzers/canned cocktails)
- Trash + recycling bins right next to the cooler station
- Paper towels or bar wipes for condensation
- Backup ice plan: one extra bag per 8–10 guests (or identify the nearest store)
Decoration & Setup Tips: Make Your Cooler Station Look “New Year’s Eve”
Easy upgrades that look expensive
- Color-code drinks by theme: black cherry seltzers, gold-labeled champagne, silver cans, clear waters.
- Add a mini balloon garland behind the cooler table (black/gold/silver). Keep it small so it doesn’t crowd the station.
- Use LED string lights around the table legs or behind the tubs for a glow effect.
- Confetti… strategically: Put confetti in a clear vase or around signage, not loose where it’ll stick to wet surfaces.
- Signage: Print a simple “Bar Menu” with categories: Boozy, Bubbly, NA, Water.
Flow tips (so guests don’t pile up)
- Create two grab points for 15+ guests (example: one cooler tub in the kitchen, one in the living room/patio).
- Keep glassware separate from the ice station to prevent crowding.
- Put openers where people can see them (tie one to the tub handle with ribbon).
Common Mistakes to Avoid When Choosing Party Coolers & Supplies
- Buying a cooler that’s too small: If drinks aren’t nestled in ice, they won’t stay cold. Size up or use multiple bins.
- Skipping a drip plan: Condensation and meltwater ruin floors and tablecloths. Always use a tray/bar mat and keep towels nearby.
- No drink organization: A “free-for-all” tub gets rummaged, ice melts faster, and labels get ignored. Sort by type and use tags.
- Forgetting non-alcoholic options: Trend alert: NA beverages are huge right now (sparkling waters, NA bubbly, mocktail cans). Give them their own tub so they feel intentional.
- Overdoing décor near wet zones: Paper confetti, delicate signage, and fabric garlands can get soggy. Use waterproof décor around ice.
- Only one trash can: Put trash and recycling next to the cooler station. You’ll prevent cup pyramids and mystery messes.
FAQ: DIY Coolers for New Year’s Eve
How much ice do I need for a New Year’s Eve party?
Plan for 1–1.5 lbs of ice per guest for 4–6 hours, plus extra if you’re chilling bottles in ice. If you can’t store it all, buy half upfront and restock earlier in the evening.
What’s the best DIY cooler for a small apartment party?
A beverage tub on a protected table is the easiest and most space-efficient. Use one tub for alcoholic drinks and one for non-alcoholic to keep traffic moving.
How do I keep drinks colder longer without buying an expensive cooler?
Use an insulated bin hack (tote + heavy-duty liner + optional reflective insulation), keep the tub in a shaded spot, and top with ice so cans are surrounded.
Should I use cubed ice or bagged “party ice”?
Party ice (often a mix of sizes) works great for chilling cans quickly. For bottles, larger cubes can melt a bit slower. If you’re buying one type, standard bagged cubed ice is totally fine.
How do I prevent water from pooling around my cooler station?
Use a bar mat or tray under tubs, keep paper towels nearby, and choose coolers with a drain plug when possible. Empty meltwater once or twice during the night for maximum chill.
What’s a good NA (non-alcoholic) cooler idea for New Year’s Eve?
Do a dedicated “Zero Proof Sparkle” tub with sparkling water, NA bubbly, mocktail cans, and fancy garnishes (citrus wheels, rosemary). Add a cute sign so it feels like part of the celebration, not an afterthought.
Your Next Steps: Build a Cooler Setup That Works (and Looks Great)
- Pick your cooler style: tub bar, rolling cooler cart, champagne station, insulated bin hack, or snow cooler.
- Shop your essentials: tubs/coolers, ice tools, labels, waterproof table cover, and lighting.
- Use the quantity guidelines: ice (1–1.5 lbs/guest), champagne (1 bottle per 6–8 for a toast), and plenty of water.
- Set up two stations if needed: especially for 15+ guests.
- Add one statement decoration: metallic runner + LED glow + a simple sign goes a long way.
Ready to stock up and style your celebration? Explore more party planning tips, New Year’s Eve decorations, and must-have event supplies at smartpartyprep.com—and make your midnight moment feel as cool as your drinks.
More Articles
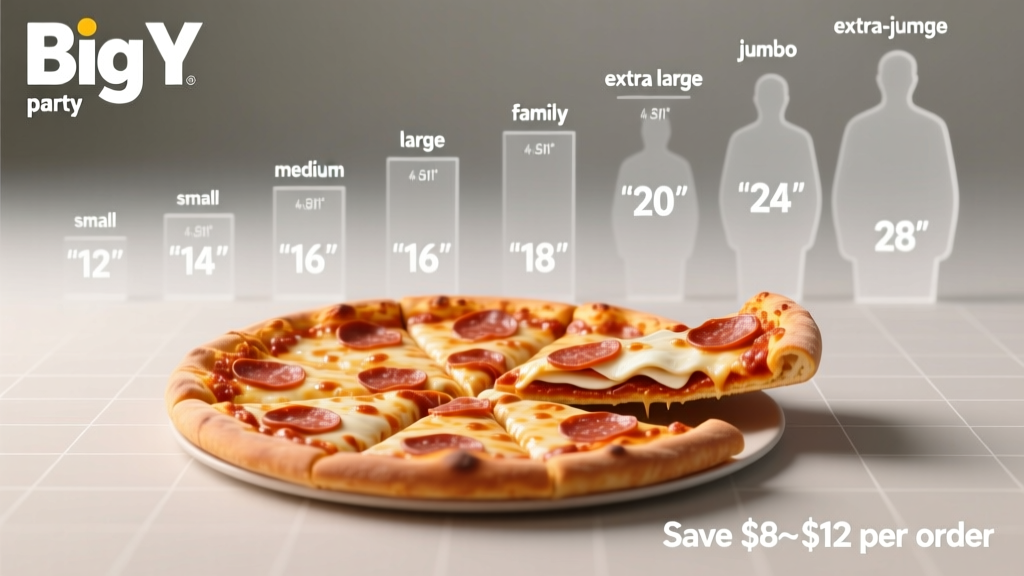 How Much Are Big Y Party Pizzas Really? We Called 12 Stores, Checked Weekly Ads, and Compared 7 Sizes—Here’s Exactly What You’ll Pay (Plus How to Save $8–$12 Per Order)
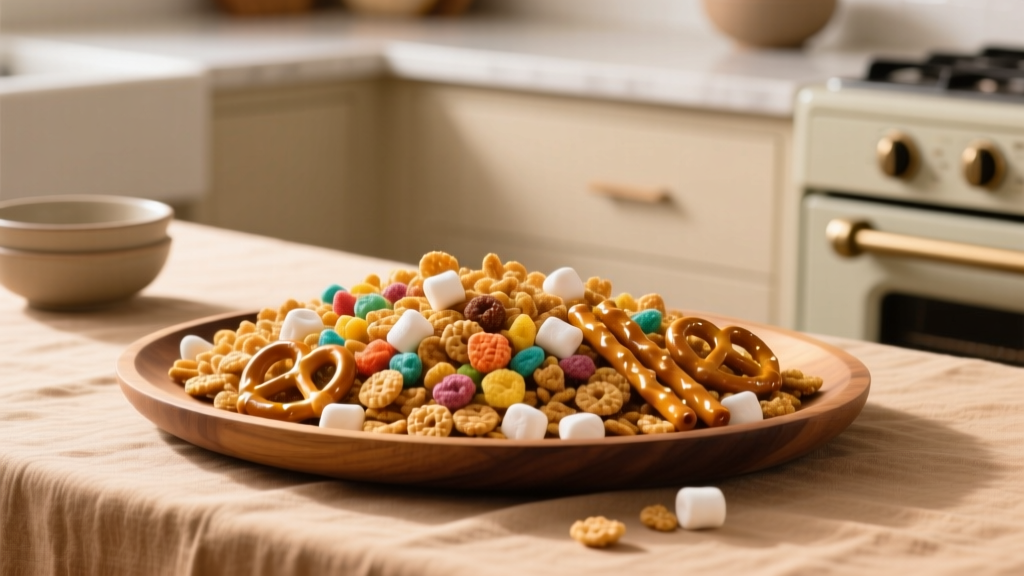 How Do You Make Chex Party Mix That Stays Crunchy, Never Soggy, and Wins Every Potluck? (The 7-Minute Oven Method Pros Swear By)
Stop Overpaying & Over-Booking: The Real Cost of Choosing the Wrong 'A and S Party Rentals' Alternative (and How to Spot the Red Flags Before You Sign)
Does Hobby Lobby Sell Party Supplies? Yes — But Here’s Exactly What’s In-Stock (2024 Inventory Deep Dive + 7 Smart Workarounds for Out-of-Stock Items)
Where to Buy Party Poppers in 2024: 7 Trusted Sources (With Real Shipping Times, Safety Certifications & Bulk Discounts You Won’t Find on Amazon)
Where to Buy Graduation Party Supplies: 7 Trusted Sources (2024) That Save Time, Avoid Last-Minute Panic, and Deliver Quality Decor, Favors & Tableware — No More Scrolling Through 47 Tabs!
How Do You Make Chex Party Mix That Stays Crunchy, Never Soggy, and Wins Every Potluck? (The 7-Minute Oven Method Pros Swear By)
Stop Overpaying & Over-Booking: The Real Cost of Choosing the Wrong 'A and S Party Rentals' Alternative (and How to Spot the Red Flags Before You Sign)
Does Hobby Lobby Sell Party Supplies? Yes — But Here’s Exactly What’s In-Stock (2024 Inventory Deep Dive + 7 Smart Workarounds for Out-of-Stock Items)
Where to Buy Party Poppers in 2024: 7 Trusted Sources (With Real Shipping Times, Safety Certifications & Bulk Discounts You Won’t Find on Amazon)
Where to Buy Graduation Party Supplies: 7 Trusted Sources (2024) That Save Time, Avoid Last-Minute Panic, and Deliver Quality Decor, Favors & Tableware — No More Scrolling Through 47 Tabs!
 Who Bought Party City? The Shocking Truth Behind the 2023 Acquisition — What It Means for Your Next Birthday Bash, Halloween Stock-Up, and Holiday Party Budget (Spoiler: It’s Not Who You Think)
Is Party City Going Out of Business in 2025? The Truth Behind the Rumors, What’s Really Happening With Stores, Online Orders, and Where to Buy Supplies Safely Right Now
Who Bought Party City? The Shocking Truth Behind the 2023 Acquisition — What It Means for Your Next Birthday Bash, Halloween Stock-Up, and Holiday Party Budget (Spoiler: It’s Not Who You Think)
Is Party City Going Out of Business in 2025? The Truth Behind the Rumors, What’s Really Happening With Stores, Online Orders, and Where to Buy Supplies Safely Right Now