Backdrops Ideas for Halloween
Halloween parties have one job: create a mood the second guests walk in. Food, music, and costumes matter—but your Halloween backdrop is what turns a normal room into a “wow” moment. It sets the scene for photos, anchors your theme, and makes even simple party supplies look intentional (and extra spooky).
The best part? You don’t need a haunted mansion budget. With the right party backdrops, photo booth props, lighting, and a few strategic decorations, you can build a Halloween setup that feels professional, photographs beautifully, and is easy to assemble—even if you’re decorating the night before.
Below are practical, trend-forward backdrop ideas (plus timeless classics), including what to buy, price ranges, quantity guidelines, setup tips, and smart DIY alternatives.
What Makes a Halloween Backdrop “Work” (Even on a Budget)
A strong Halloween backdrop usually includes three layers:
- Base layer: a backdrop curtain, wall tapestry, plastic scene setter, or fabric panel
- Dimension: balloons, garlands, webbing, cutouts, faux foliage, or hanging decor
- Lighting: LED strings, spot lighting, color bulbs, or candles (real or flameless)
Quick quantity guide (for a 6–8 ft wide photo area):
- Backdrops/curtains: 1–2 panels (or 2–4 plastic scene setter sheets)
- Balloon garland: 6–10 ft (typically 60–120 balloons total)
- Cobwebs: 1–2 bags (60–120 g each) for moderate coverage
- Lighting: 1–2 strands (10–20 ft) or 1–2 color bulbs in a nearby lamp
Backdrop Ideas for Halloween (With Supplies & Setup Tips)
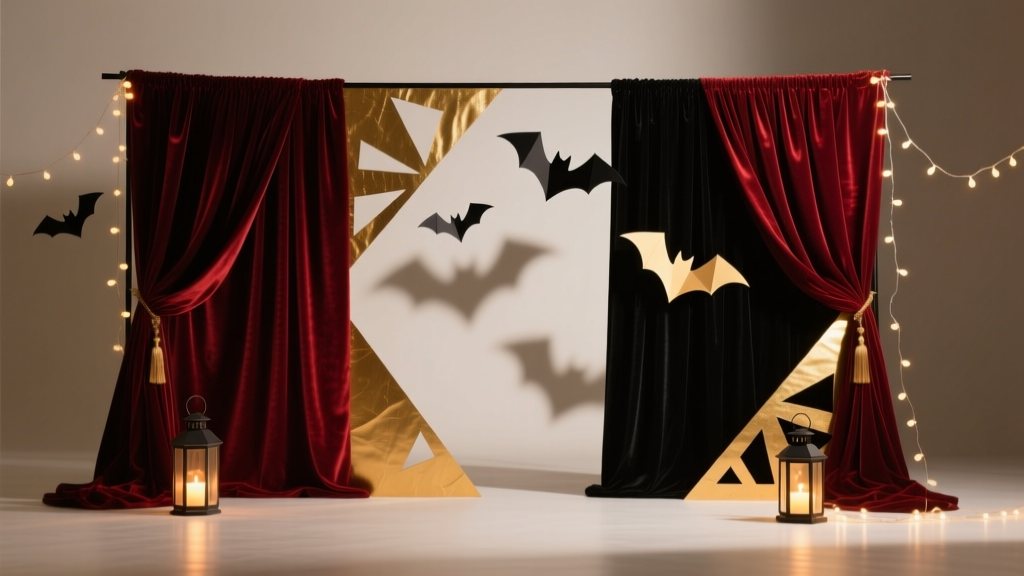
1) Classic “Haunted Mansion” Wall (Dark + Dramatic)
This is a timeless celebration essential because it works for adults, kids, and mixed-age events—and it photographs like a movie set.
What to buy (price ranges + where to shop):
- Black backdrop curtain (polyester): $15–$35 (Amazon, Party City, Etsy, Walmart)
- Plastic Halloween scene setter (haunted house, cemetery): $10–$25 (Party City, Amazon, Spirit Halloween)
- Stretchy cobwebs + spiders: $6–$15 (Target, Walmart, Amazon)
- Battery LED candles or flicker lights: $12–$35 (Target, Amazon, Michaels)
Setup tips:
- Hang your curtain or scene setter using removable hooks (Command) or painter’s tape on smooth walls.
- Pull cobwebs thin—less is more. Add 3–6 spiders clustered near corners for a creepy focal point.
- Place LED candles on a small table in front of the backdrop for depth.
DIY alternative: Use a black bed sheet and print “cracked mirror” or “gothic frame” templates on cardstock to tape around it.
2) Trendy Halloween Balloon Garland Backdrop (Cute-Spooky Combo)
Balloon garlands are still one of the biggest party trends because they instantly look high-end. For Halloween, you can go spooky, glam, or kid-friendly.
Best color palettes:
- Classic spooky: black, orange, white
- Modern neutral: black, cream, taupe + a pop of orange
- Glam goth: black, purple, silver
- Witchy: black, green, iridescent
What to buy:
- Balloon garland kit (60–140 pcs): $12–$35 (Amazon, Walmart, Target, Etsy)
- Backdrop stand (adjustable 6.5–8 ft): $25–$70 (Amazon, Walmart)
- Black fringe curtain or shimmer foil backdrop: $8–$18 (Party City, Amazon, Target)
- Balloon pump (hand/electric): $8–$30 (Amazon, Target)
Quantity guideline: For a standard 6.5 ft stand, a 10 ft garland looks full and photo-ready.
Setup tips:
- Inflate balloons to varied sizes (5”, 10”, 12”) for a designer look.
- Attach garland to the stand, then add “filler” mini balloons to hide gaps.
- Layer a fringe curtain behind for extra texture and sparkle under flash.
Pro move: Add 2–4 oversized 18” foil balloons (pumpkin, ghost, skull) as focal points.
3) Spooky Forest / Witch’s Lair Backdrop (Moody + Magical)
Perfect for witch themes, enchanted forest parties, and more elevated Halloween event planning.
What to buy:
- Faux vines/ivy garlands (6–12 ft each): $8–$25 (Amazon, Michaels, Joann)
- Black or deep green fabric backdrop: $15–$40 (Amazon, Etsy)
- LED string lights (warm white or purple): $10–$25 (Target, Amazon)
- Hanging witch hats (pack of 6–12): $10–$25 (Amazon, Party City)
Setup tips:
- Hang the fabric backdrop first (wrinkles read “costume,” not “decor”). Steam or lightly iron if needed.
- Crisscross vines diagonally and secure with clear tape or small binder clips on the top edge.
- Weave lights through the vines so the glow looks organic.
- Hang witch hats at different heights using clear fishing line for a floating effect.
Budget range: $40–$120 depending on how lush you go with vines and lighting.
4) Graveyard Scene Setter (Fastest Big Impact)
If you need “Halloween instantly,” a graveyard backdrop is the quickest win—especially for last-minute hosts.
What to buy:
- Graveyard scene setter (multiple plastic panels): $12–$30 (Party City, Amazon, Spirit Halloween)
- Foam tombstones (set of 3–6): $20–$60 (Home Depot, Lowe’s, Spirit Halloween)
- Fog machine (optional but epic): $30–$80 (Amazon, Spirit Halloween)
Setup tips:
- Use painter’s tape for walls; for outdoors, clip panels to a fence or string line.
- Place tombstones in front for depth (photos look more “real scene,” less “flat wall”).
- Keep fog low and brief—just enough for atmosphere without setting off alarms indoors.
DIY alternative: Cut tombstones from cardboard, paint gray, dry-brush with white, and add “RIP” lettering with a paint pen.
5) Monster Mash Photo Booth (Kid-Friendly + Bright)
For school parties and family gatherings, lean into friendly ghosts and playful colors. It still feels festive, just less scary.
What to buy:
- Halloween photo booth kit (props + banner): $10–$25 (Amazon, Party City)
- Pastel Halloween balloons or orange/purple mix: $12–$30 (Target, Amazon)
- Backdrop paper roll (solid color): $25–$60 (Amazon, photography supply stores)
Setup tips:
- Choose a solid backdrop color so costumes pop (light lavender, mint, or classic white).
- Attach props to dowels so kids can hold them easily for photos.
- Keep balloons to the sides—center area should stay clear for group shots.
6) “Bloody” Horror Backdrop (Adults-Only Party Energy)
Going for slasher vibes or haunted house intensity? This backdrop hits hard—and it’s surprisingly affordable.
What to buy:
- White plastic tablecloths (2–4): $4–$12 total (Dollar Tree, Walmart, Target)
- Fake blood gel/spray: $6–$18 (Spirit Halloween, Amazon)
- Warning tape / caution tape: $5–$12 (Amazon, Home Depot)
- Red LED lights: $10–$25 (Amazon, Target)
Setup tips:
- Layer tablecloths as a wall covering using painter’s tape.
- Add fake blood in controlled splatters (test first—some formulas stain).
- Cross caution tape diagonally for a “crime scene” graphic look.
- Light the area with red LEDs for maximum drama.
Budget range: $25–$70 depending on lighting and extras.
Where to Place Your Halloween Backdrop (Best Party Layout Ideas)
Backdrop placement is half the success. Choose a spot where guests naturally gather:
- Near the entry: instant theme-setting moment
- Behind the dessert table: makes treats look styled and photo-ready
- Next to the bar: encourages more photos (and creates a focal zone)
- Outdoor fence/garage door: ideal for larger props and fog effects
Space guideline: Aim for at least 6 ft wide and 4–6 ft of open space in front so groups can pose without bumping decor.
Must-Have Supplies for Easy Setup (And What They Cost)
These are the unsung heroes of Halloween decorating:
- Balloon arch tape + glue dots: $5–$12 (Amazon, Party City)
- Command hooks / strips: $6–$18 (Target, Walmart, Amazon)
- Painter’s tape (multi-pack): $8–$15 (Home Depot, Lowe’s)
- Backdrop clamps: $8–$15 (Amazon)
- Extension cords + power strip: $10–$30 (hardware stores)
Practical tip: Build your backdrop the day before, then do a 2-minute “photo test” with flash at night. If it looks dull, add one more light source or a reflective layer (foil fringe, shimmer curtain, metallic balloons).
Common Mistakes to Avoid When Choosing Halloween Backdrops
- Picking a backdrop that’s too small: A narrow banner gets swallowed in photos. Aim for 6–8 ft wide for group shots.
- Ignoring lighting: Even the best Halloween decorations look flat in dim rooms. Add LED strings, a lamp with a colored bulb, or a ring light nearby.
- Overloading the center: Keep the middle open for posing. Put balloons, props, and spooky extras around the edges.
- Using shiny plastic with harsh flash: Some scene setters glare. Balance with matte elements (fabric, vines, balloons) or angle lights away from the wall.
- Weak attachment choices: Regular tape fails on textured walls. Use painter’s tape for delicate surfaces and removable hooks for heavier items.
- Forgetting the floor: Photos show everything. Add a small rug, faux leaves, or a black tablecloth draped on the ground to finish the scene.
Budget Plans (Pick Your Halloween Backdrop Tier)
$25–$60: Quick + Cute
- Fringe curtain or plastic backdrop
- 1 balloon pack + hand pump
- Cobwebs + 1 light strand
$60–$150: Photo Booth Worthy
- Backdrop stand
- Balloon garland kit (100+ balloons)
- Foil focal balloons + lighting
$150–$300: Statement Scene
- Premium fabric backdrop or layered panels
- Specialty lighting (uplights, colored bulbs)
- Props (tombstones, fog machine, themed cutouts)
FAQ: Halloween Backdrop Planning
How many balloons do I need for a Halloween balloon garland?
For a full 8–10 ft garland, plan on 80–120 balloons. If you want a super dense, luxe look, go closer to 140 with extra minis for filling gaps.
What’s the easiest Halloween backdrop for a last-minute party?
A plastic scene setter or fringe curtain is fastest. Add cobwebs and one string of LED lights, and you’ll have a photo-ready setup in 20–30 minutes.
Can I use a Halloween backdrop outdoors?
Yes—choose heavier materials (vinyl banners, fabric on a stand) and secure everything with clamps or zip ties. Skip lightweight fringe if it’s windy, or place it in a sheltered area.
How do I hang a backdrop without damaging walls?
Use removable hooks/strips for fabric and lightweight items. For plastic scene setters, use painter’s tape on clean, dry surfaces and reinforce corners.
Where should I put the photo booth backdrop at a Halloween party?
Put it where guests naturally pause: near the entrance, by the dessert table, or near the bar. Leave 4–6 feet of open space in front for group photos.
What’s a good backdrop color if guests will wear dark costumes?
Choose light or reflective backdrops: white/cream fabric, shimmer foil, silver accents, or a lightly patterned scene setter so costumes don’t blend into the background.
Your Next Steps: Build a Halloween Backdrop Plan in 30 Minutes
- Pick a theme: haunted mansion, witchy forest, graveyard, cute monsters, or horror.
- Choose your base layer: fabric curtain, scene setter, fringe, or a stand + paper roll.
- Add dimension: balloon garland, vines, cobwebs, props, or themed cutouts.
- Lock in lighting: one overhead light replacement (color bulb) plus one accent (string lights/candles).
- Do a test photo: check glare, shadows, and spacing for group shots.
Ready to turn your space into a Halloween moment guests will actually photograph (and post)? Explore more Halloween party supplies, backdrop ideas, decorations, and event planning tips on smartpartyprep.com—your shortcut to a party that looks styled, feels fun, and runs smoothly.
More Articles
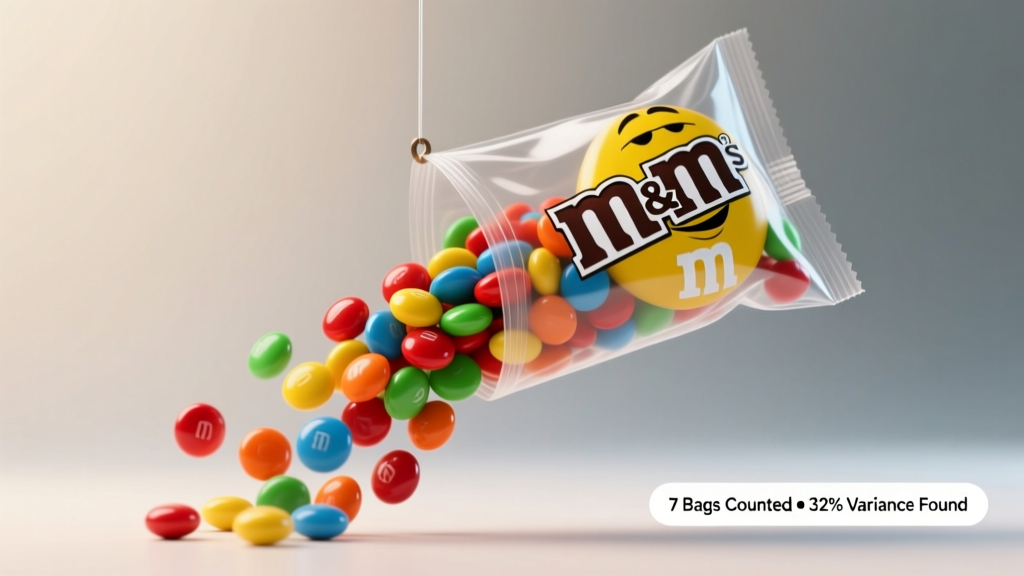 How Many M&Ms in a Party Size Bag? We Counted 7 Bags (and Found a 32% Variance You Can’t Ignore)
What to Bring to St. Patrick’s Day Party: The 12-Item No-Stress Checklist (That Saves You From Last-Minute Panic & Awkward Empty-Handed Arrival)
How Many M&Ms in a Party Size Bag? We Counted 7 Bags (and Found a 32% Variance You Can’t Ignore)
What to Bring to St. Patrick’s Day Party: The 12-Item No-Stress Checklist (That Saves You From Last-Minute Panic & Awkward Empty-Handed Arrival)
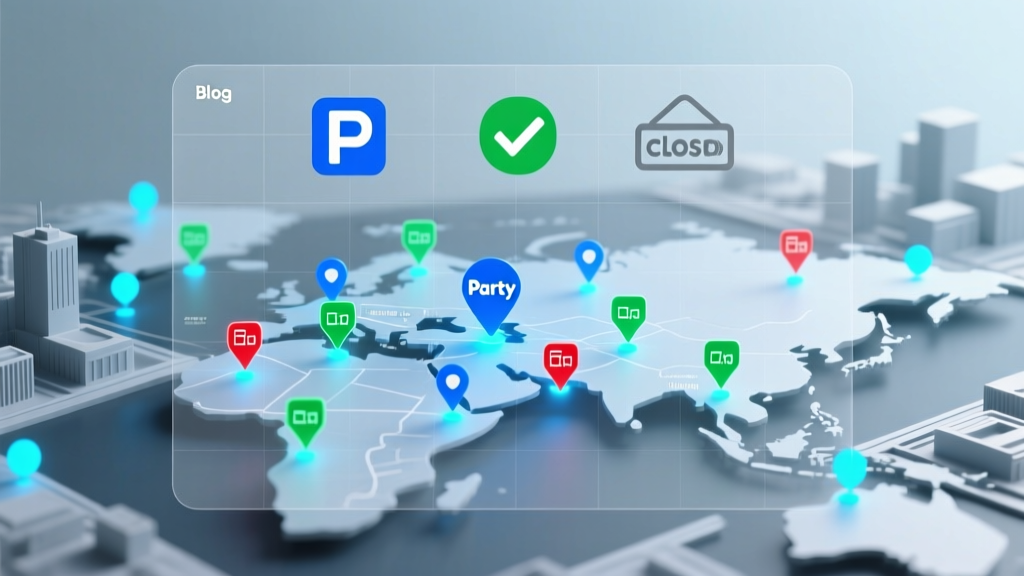 Where Is Party City Located Near You? We Mapped Every Store—Plus Real-Time Inventory, Parking Tips, and How to Avoid Closed Locations (2024 Updated)
Is Party City Permanently Closed? The Truth Behind the Store Closures, What’s Still Open in 2024, and Where to Get Party Supplies Right Now (No Guesswork)
Where Is Party City Located Near You? We Mapped Every Store—Plus Real-Time Inventory, Parking Tips, and How to Avoid Closed Locations (2024 Updated)
Is Party City Permanently Closed? The Truth Behind the Store Closures, What’s Still Open in 2024, and Where to Get Party Supplies Right Now (No Guesswork)
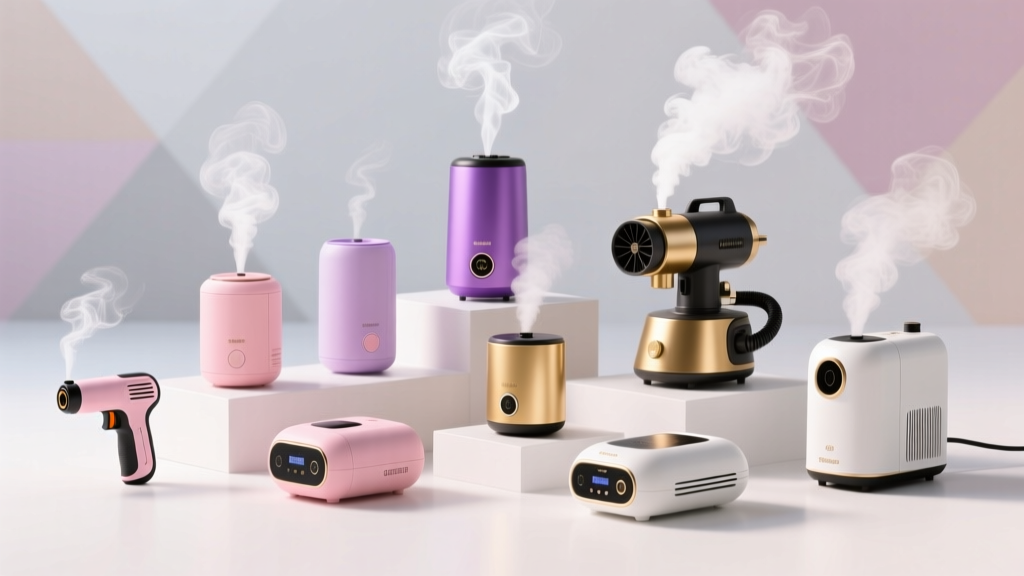 Top 20 Smoke Machines for Easter
 Ultimate Guide to Ribbons for Weddings
Where Can I Buy a Beer Party Ball? 7 Verified Retailers (Including Same-Day Pickup & Bulk Discounts You’re Missing)
Ultimate Guide to Ribbons for Weddings
Where Can I Buy a Beer Party Ball? 7 Verified Retailers (Including Same-Day Pickup & Bulk Discounts You’re Missing)
 Eco-Friendly Streamers for Sweet 16: Big Party Energy, Low-Waste Style
 Budget-Friendly Masks for Block Parties