
How to Plan a Graduation Party Like a Pro
A graduation party looks simple on the surface: food, friends, photos, and a proud graduate. In reality, it’s one of the trickiest personal events to coordinate because it happens during a busy season when venues and vendors book fast, families are traveling, and schedules change at the last minute. Add in the emotional significance—celebrating years of work—and the pressure to “get it right” climbs quickly.
Professional event planning isn’t about making things complicated. It’s about building a clear plan, setting priorities, and creating a guest experience that feels effortless. With the right timeline, a realistic budget, and a few proven party organization strategies, you can host a graduation celebration that runs smoothly and feels genuinely memorable for your graduate and your guests.
This guide breaks the process into practical steps, includes checklists and templates, and highlights current event planning trends so you can plan with confidence—whether you’re hosting in a backyard, a community hall, or a restaurant space.
Step 1: Set the Party Vision (Theme, Style, and Guest Experience)
Before you book anything, define what “success” looks like. A clear vision helps you make faster decisions, prevents overspending, and keeps the party cohesive.
Key questions to answer
- Who is the party for? High school, college, grad school, trade program, or multiple grads?
- What’s the vibe? Open house, sit-down dinner, backyard BBQ, dessert-only, or cocktail-style for adults?
- How many guests? Create an “A list” and “B list” early.
- What matters most? Food, photos, décor, music, or a meaningful program/speeches?
- Any constraints? Curfew, neighborhood noise rules, parking, accessibility, dietary needs.
Real-world example: Choosing a format that fits
If your grad has a large network (sports team, club, extended family), an open-house style party with a 2–3 hour drop-in window reduces pressure on seating and food timing. If the guest list is smaller, a structured dinner creates a more intimate feel and allows for speeches and a slideshow.
Step 2: Build a Graduation Party Budget That Won’t Surprise You Later
A professional event planning budget has two essentials: category targets and a contingency. Graduation season is competitive, and last-minute add-ons can creep in fast (extra ice, more chairs, a second appetizer run).
Simple budget breakdown (common ranges)
Adjust these percentages based on your priorities and whether you’re hosting at home or a venue.
- Food & beverages: 35–45%
- Venue & rentals (chairs, tables, tent, linens): 15–30%
- Decor & paper goods: 8–12%
- Entertainment (DJ, playlist setup, games): 5–10%
- Photography/photo booth: 5–12%
- Invitations & postage: 2–5%
- Miscellaneous (permits, extra ice, signage): 2–5%
- Contingency: 8–10%
Sample budget at three price points
- Budget-friendly (40 guests / $800–$1,200): Backyard, deli platters, homemade desserts, DIY playlist, simple balloon garland.
- Mid-range (60 guests / $2,000–$3,500): Drop-off catering, rentals, upgraded dessert table, printed signage, photographer for 1–2 hours.
- Premium (80 guests / $5,000–$8,000+): Venue rental, full-service catering, DJ, photo booth, custom décor, professional coordination.
Cost-control tips that still feel elevated
- Host during a brunch or afternoon window to reduce alcohol costs and heavy dinner portions.
- Choose two “hero” décor moments (entry + photo backdrop) instead of decorating every surface.
- Use digital invitations for the main invite, then print a small batch for older relatives who prefer mail.
- Offer one signature mocktail (and optional spirit add-on) to keep the bar simple and trendy.
Step 3: Choose the Date, Time, and Guest List Strategically
Graduation party organization starts with the calendar. During peak season, guests may have multiple celebrations in one weekend.
Scheduling guidelines
- Check school dates: graduation, exams, prom, senior trips, move-out days.
- Consider a “non-peak” time: Friday evening or Sunday afternoon can reduce conflicts.
- Set a clear window: for open houses, 2–3 hours is ideal; for dinners, 3–4 hours with a defined start time.
- Estimate headcount honestly: if you invite 80 to an open house, plan for 50–70% attendance depending on season and distance.
Trend to use: Time-blocked flow
Many planners now use a time-blocked guest flow for open houses (not strict “appointments,” just suggested visiting windows). Example: “Drop in anytime between 1–4 PM. Family friends often come 1–2, teammates 2–3, neighbors 3–4.” This helps space out arrivals and reduces food rush.
Step 4: Book Your Venue, Rentals, and Key Vendors
Vendor selection is where professional coordination makes the biggest difference. The best vendors book early and communicate clearly.
Venue options and what to evaluate
- Home/backyard: budget-friendly, personal; plan for weather, restrooms, parking, and rentals.
- Restaurant/private room: built-in food and service; confirm minimum spend, time limits, and décor rules.
- Community center/clubhouse: space and tables included; ask about kitchen access and cleanup requirements.
- Park pavilion: scenic and affordable; check permits, power access, and rain plan.
Vendor selection checklist (use this for caterers, DJs, photographers)
- Are they available on your date and confirm in writing?
- Do they have clear packages and transparent pricing?
- What’s included: setup, breakdown, staffing, travel fees, overtime rates?
- Can they support your guest count and dietary needs?
- Do they have reviews and recent photos of similar events?
- What’s their backup plan (staff illness, equipment failure)?
Rental essentials (especially for backyard parties)
- Tables and chairs (plus 10% extra chairs)
- Linens or table covers
- Tent or canopy (and sidewalls if weather is unpredictable)
- Lighting (string lights, uplights, or battery lanterns for evening)
- Coolers, beverage tubs, ice
- Trash cans and extra liners
Step 5: Plan the Menu and Beverage Setup Like a Caterer
Food is often the biggest line item and the biggest stress point. The goal: keep it abundant, easy to serve, and safe at the right temperatures.
Menu planning rules of thumb
- Choose “holdable” foods: items that stay fresh for 1–2 hours (sliders, wraps, pasta salad, fruit, cookies).
- Offer a balanced spread: protein + vegetarian option + gluten-friendly option + kid-friendly choice.
- Label allergens: simple tent cards reduce repeated questions.
- Limit variety, increase quantity: 6 strong options beat 14 small ones.
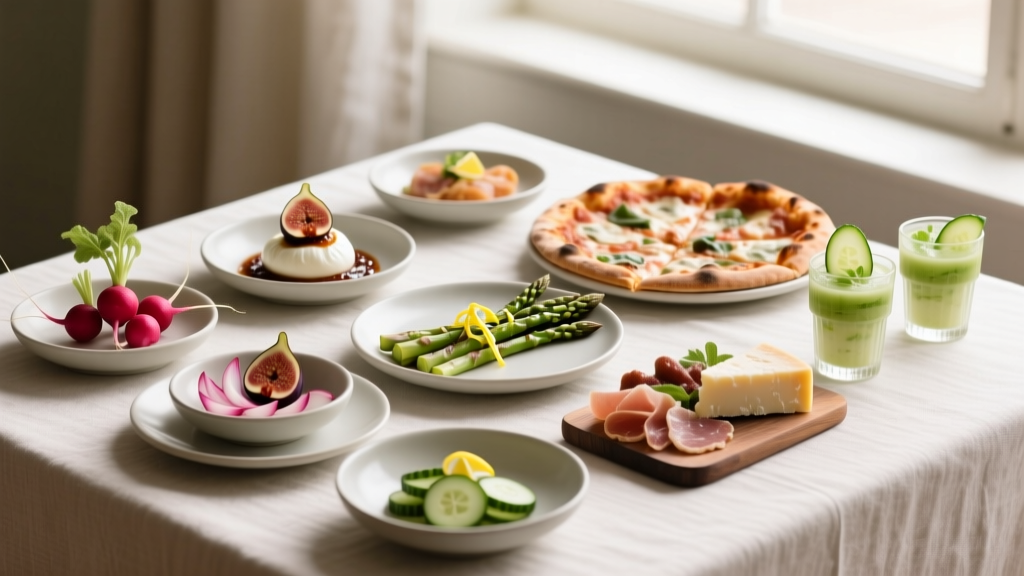
Easy graduation party menu ideas (open house)
- Build-your-own taco bar or baked potato bar
- Deli sandwich platter + salad trio
- BBQ pulled chicken + coleslaw + rolls
- Appetizer-style spread: meatballs, veggie cups, fruit skewers, chips & dips
Beverage station setup (simple and modern)
- Two large dispensers: one water with citrus, one lemonade/iced tea
- Cooler of canned drinks (soda/sparkling water)
- Signature mocktail sign (trend-forward and inclusive)
- Separate adult beverage area if serving alcohol, away from the main drink station
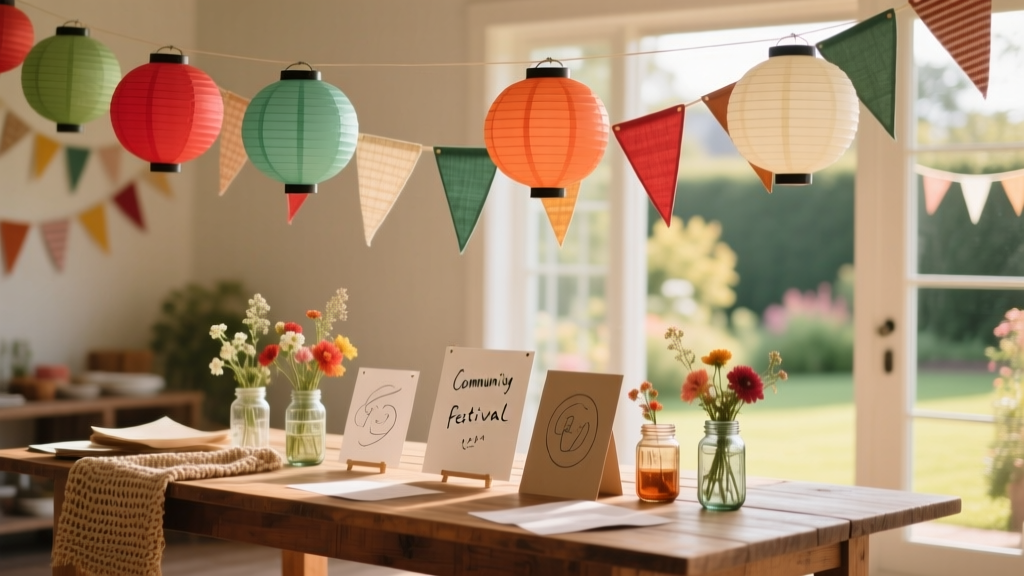
Step 6: Design Décor and a Photo Moment That Feels Personal
Graduation décor trends are shifting toward clean color palettes, personalized signage, and “memory lane” storytelling rather than overwhelming themed props. Focus on a few intentional moments that photograph well.
Pro décor priorities
- Entry: welcome sign + a pop of color (balloons, florals, or pennants).
- Photo backdrop: keeps guests engaged and creates shareable photos.
- Memory display: a table or wall of photos, awards, and keepsakes.
Real-world example: A cohesive setup on a modest budget
Choose school colors plus a neutral (white/black). Use a balloon garland over a simple backdrop (curtain panel or streamer wall), a “Class of 2026” sign, and a memory table with framed photos from kindergarten through senior year. Add a card box and guest book at the same station to streamline traffic.
Step 7: Use a Step-by-Step Planning Timeline (with Checklists)
This planning timeline keeps your party organization on track and prevents last-minute scrambling.
8–10 weeks before
- Confirm party style (open house vs. dinner) and set your total budget
- Draft guest list and collect addresses/emails
- Pick date/time and secure venue (or commit to home)
- Request quotes from caterers/rentals/photographer/DJ
- Decide on theme/colors and your “must-have” moments (photo backdrop, dessert table)
6–7 weeks before
- Book key vendors and pay deposits
- Order invitations (or create digital invite)
- Plan menu and beverage approach (catered, drop-off, or DIY)
- Start décor list (backdrop, signage, table items, balloons)
- Create a basic event layout: food table, seating, photo area, gift/card area
4–5 weeks before
- Send invitations
- Reserve rentals (tables, chairs, tent, linens) and confirm delivery windows
- Plan music and entertainment (playlist, speaker, games)
- Order cake/desserts and confirm pickup time
- Arrange helpers (setup crew, food replenisher, cleanup lead)
2–3 weeks before
- Track RSVPs and follow up with non-responders
- Finalize menu quantities based on projected attendance
- Purchase non-perishables: plates, cups, napkins, utensils, trash liners
- Prepare signage: food labels, directions, “Please sign the guest book”
- Confirm vendor arrival times and contact numbers
7 days before
- Create a day-of schedule (setup, food arrival, photo time, speeches)
- Confirm weather and activate rain plan if needed
- Prep your playlist and test speakers
- Deep clean key areas (bathroom, kitchen, backyard zones)
- Set up an “event kit”: scissors, tape, pens, zip ties, stain remover, first-aid basics
48–24 hours before
- Shop for perishables and pick up ice plan (or schedule delivery)
- Pre-stage serving trays, coolers, tablecloths, décor bins by zone
- Charge devices (camera, speaker, string lights)
- Set up as much as possible: signage frames, memory table, photo backdrop base
Day-of checklist (quick operational list)
- Assign roles: greeting, food management, trash patrol, photo helper
- Set out card box and guest book with pens
- Start music 15 minutes before start time
- Keep hot foods hot and cold foods cold; rotate trays instead of overfilling
- Do a 10-minute reset every hour (trash, restock drinks, wipe surfaces)
- Pack leftovers intentionally (labeled containers) before guests leave
Budget and Vendor Tips Pros Use to Stay on Track
Smart ways to compare vendor quotes
- Ask vendors to quote the same headcount and service style.
- Confirm whether gratuity, delivery, setup, and taxes are included.
- Request a sample timeline from DJs/photographers to see how they run events.
- Get everything in writing: scope, payment schedule, cancellation policy.
Where to spend vs. save
- Spend: food quality, enough seating, clear lighting, a strong photo moment, reliable rentals.
- Save: overly elaborate centerpieces, too many dessert varieties, custom favors (most get left behind).
Common Graduation Party Planning Mistakes (and How to Avoid Them)
- Inviting before confirming the budget: set the budget first, then build the guest list to match.
- No weather plan: if outdoors, decide now what happens if it rains or gets windy.
- Underestimating seating: even at open houses, people stay longer than expected; plan enough places to sit.
- Overcomplicating the menu: too many items causes prep and replenishing chaos. Choose fewer, bigger wins.
- Forgetting flow and signage: guests need obvious cues—where to go, where to put cards, where food starts.
- Skipping help: you can’t host and manage logistics alone. Assign roles or hire day-of support.
FAQ: Graduation Party Planning and Coordination
How far in advance should I start planning a graduation party?
Start 8–10 weeks out for a home party and 10–12 weeks out if you need a venue, caterer, rentals, or a photographer. In peak graduation weekends, earlier is better—especially for tents and drop-off catering.
How long should a graduation open house be?
Plan for 2–3 hours. That window is long enough for guests to rotate through without dragging energy. If you expect heavy turnout, 3 hours works well with ongoing food replenishment.
How much food should I plan per person?
For a meal-style event, plan 1 main portion per person plus sides. For an open house with grazing, plan a moderate spread and keep replenishing. A practical approach: plan for 60–70% of invited guests to eat if the event overlaps a typical meal time.
Should I do a cash bar, limited bar, or no alcohol?
For most family graduations, a limited bar or signature drink setup works best. Keep it simple, clearly labeled, and separated from the main drink station. If many guests are under 21, consider a mocktail-forward menu that still feels special.
What are the most “worth it” rentals for a backyard graduation party?
Chairs, extra tables, and a tent (or at least shade coverage) are the top priorities. Add lighting if the party extends into the evening. These rentals improve comfort and reduce stress far more than extra décor.
How do I keep the party from feeling chaotic?
Create zones (greeting/card table, food, drinks, seating, photo area), add simple signage, and assign at least two helpers: one for food/drinks and one for guest flow and quick resets.
Next Steps: Your Pro-Level Graduation Party Plan
To move from “idea” to organized event, take these actions today:
- Choose your party format and write down the top 3 priorities (food, photos, friends—whatever matters most).
- Set a total budget with a 10% contingency.
- Lock in the date/time and draft the guest list in two tiers (A/B).
- Request vendor quotes and book the big items first (venue, food, rentals).
- Build your timeline and day-of checklist so setup and hosting feel manageable.
For more event planning tips, party organization checklists, and coordination strategies for milestone celebrations, explore the latest guides on smartpartyprep.com.
More Articles
 What to Serve with Pizza at a Party for Adults: 12 Unexpectedly Sophisticated Pairings (That Keep Guests Eating, Talking, and Coming Back for More)
What Do People Do at Graduation Parties? 12 Proven Activities (Backed by 200+ Real Hosts) That Keep Guests Laughing, Connecting, and Celebrating — Not Just Standing Around Awkwardly
What to Serve with Pizza at a Party for Adults: 12 Unexpectedly Sophisticated Pairings (That Keep Guests Eating, Talking, and Coming Back for More)
What Do People Do at Graduation Parties? 12 Proven Activities (Backed by 200+ Real Hosts) That Keep Guests Laughing, Connecting, and Celebrating — Not Just Standing Around Awkwardly
 How to Choose a Theme for a Community Festival
 How Do You Change Your Political Party in Florida? A Step-by-Step Guide That Takes Less Than 5 Minutes (No Mail, No Wait, No Mistakes)
 What Food to Bring to a Party: The Stress-Free 7-Minute Decision Framework (No More Last-Minute Panics, Awkward Dishes, or Showing Up Empty-Handed)
Is Party Animals Crossplay PS5? The Truth About Playing With Friends on PlayStation, Xbox, Switch & PC in 2024 — No More Exclusion, No More Confusion
How Much to Rent a Party Bus for a Night: The Real Cost Breakdown (Spoiler: It’s Not Just $300–$800 — Location, Size & Timing Change Everything)
What Food to Bring to a Party: The Stress-Free 7-Minute Decision Framework (No More Last-Minute Panics, Awkward Dishes, or Showing Up Empty-Handed)
Is Party Animals Crossplay PS5? The Truth About Playing With Friends on PlayStation, Xbox, Switch & PC in 2024 — No More Exclusion, No More Confusion
How Much to Rent a Party Bus for a Night: The Real Cost Breakdown (Spoiler: It’s Not Just $300–$800 — Location, Size & Timing Change Everything)
 When Did the Song Party in the USA Come Out? The Exact Date, Chart History, and Why It Still Dominates Playlists at Weddings, Graduations, and Summer Parties in 2024